
📑 Table of Contents ▶
- Part 1 — Protein Jello Recipe
- Fundamentals
- Preparation/setup
- Directions
- Part 2 — Crafting Protein Jello Masterpieces
- Technique
- Tips/tricks
- Part 3 — Enhancing Your Protein Jello Experience
- Perfecting results
- Troubleshooting/variations
- Part 4 — Serving and Storing Your Delicacies
- Serving/presentation
- Pairings/storage
- Conclusion
- Protein Jello
- Ingredients
- Method
Protein Jello Recipe
Welcome to Eatimi! I’m Olivia Hart — a home-cook who believes delicious food doesn’t need complicated techniques. Here I share easy everyday recipes, family meals, quick ideas for busy days, and helpful kitchen tips to make cooking simple and fun. My goal is to help you feel confident in the kitchen and enjoy homemade food with joy, comfort, and love. 💛
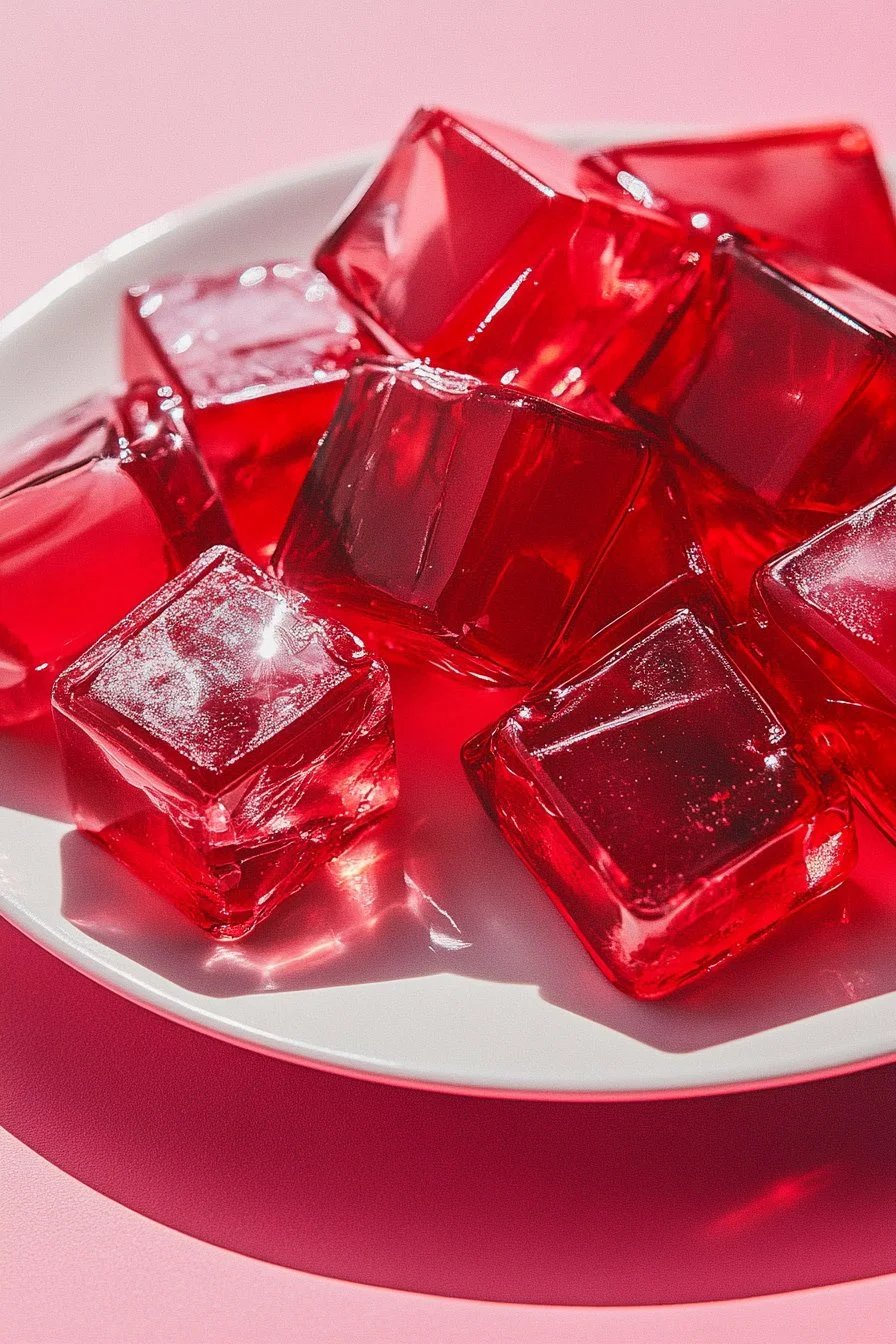
Creating a protein jello brings back memories of childhood treats. I remember enjoying jello at picnics, its wobbly texture capturing everyone’s attention. Now, as a home cook and fitness enthusiast, I strive to recreate those nostalgic flavors while boosting their nutritional content. This protein jello recipe does just that, combining the sweetness of jello with the creaminess of Greek yogurt and the added benefits of protein powder.
This recipe appeals to anyone looking for a refreshing snack. With just a few ingredients, you can whip up a delightful treat that’s not only quick but also packed with goodness. It’s time to embrace a snack that satisfies your sweet tooth while fueling your body.
Part 1 — Protein Jello Recipe
Fundamentals
Understanding the basics of making protein jello sets the foundation for your delightful treat. First, it’s essential to start with sugar-free jello. This ingredient brings vibrant flavors without the added sugar, making it a healthier option. Speaking of health, the addition of protein powder elevates the nutritional profile significantly. Choose a vanilla protein powder to complement the flavors in this recipe.
Finally, the full-fat plain Greek yogurt adds creaminess and a rich texture. This blend creates a jello that’s not only tasty but also nutritious. Each component plays a crucial role in achieving the perfect balance of taste and health benefits.
Preparation/setup
Preparing protein jello doesn’t require much time or effort. Start by gathering all your ingredients. You’ll need one large box of sugar-free jello, two cups of hot water, 60 grams of vanilla protein powder, and two cups of full-fat plain Greek yogurt. Having everything ready simplifies the entire cooking process.
Dissolving the sugar-free jello in hot water is your first step. Ensure you mix thoroughly until it’s completely dissolved. This step is crucial; any undissolved powder could ruin the smooth texture of your final product. Once mixed, you can transfer this solution to your blender for the next steps.
Ingredients
Here’s the ingredient list for your protein jello:
- 1 large box (0.6 oz) sugar-free jello
- 2 cups hot water
- 2 scoops (60 grams total) vanilla protein powder
- 2 cups full-fat plain Greek yogurt
These ingredients come together to create a sweet and creamy dessert. Remember, the quality of your ingredients will impact the final taste, so opt for high-quality protein powder and yogurt.
Directions
- In a bowl, completely dissolve the sugar-free jello in warm water.
- Pour the jello and water mixture into a blender.
- Add the protein powder and Greek yogurt to the blender.
- Blend until smooth.
- Pour into eight 5.5 oz cups and refrigerate for 1 hour or until set.
Part 2 — Crafting Protein Jello Masterpieces
Technique
Achieving the perfect protein jello not only lies in the ingredients but also in the technique. Once you dissolve the jello properly, blending is key. Blend the mixture until it’s velvety smooth. This ensures an even distribution of flavors and textures throughout the jello.
Consider using a high-speed blender to achieve the smoothest consistency. Take your time blending to make sure all ingredients are well incorporated. If you notice any clumps, blend for a few extra seconds.
Tips/tricks
A few tips can elevate your protein jello to the next level. Use a variety of flavors by mixing different sugar-free jellos for a layered effect. For instance, try raspberry jello combined with a vanilla yogurt base for an eye-catching dessert.
You can also adjust the sweetness according to your preference. If you prefer it sweeter, add a bit of your favorite sweetener before blending. Remember to taste the mixture before pouring it into cups to ensure it meets your taste buds’ demands.
Part 3 — Enhancing Your Protein Jello Experience
Perfecting results
To perfect your protein jello, focus on the chilling process. Allow it to refrigerate for at least one hour; this ensures that the jello sets firmly, making it easier to serve. If your jello doesn’t set well, it could be due to incomplete dissolution of the sugar-free jello, so check this step carefully.
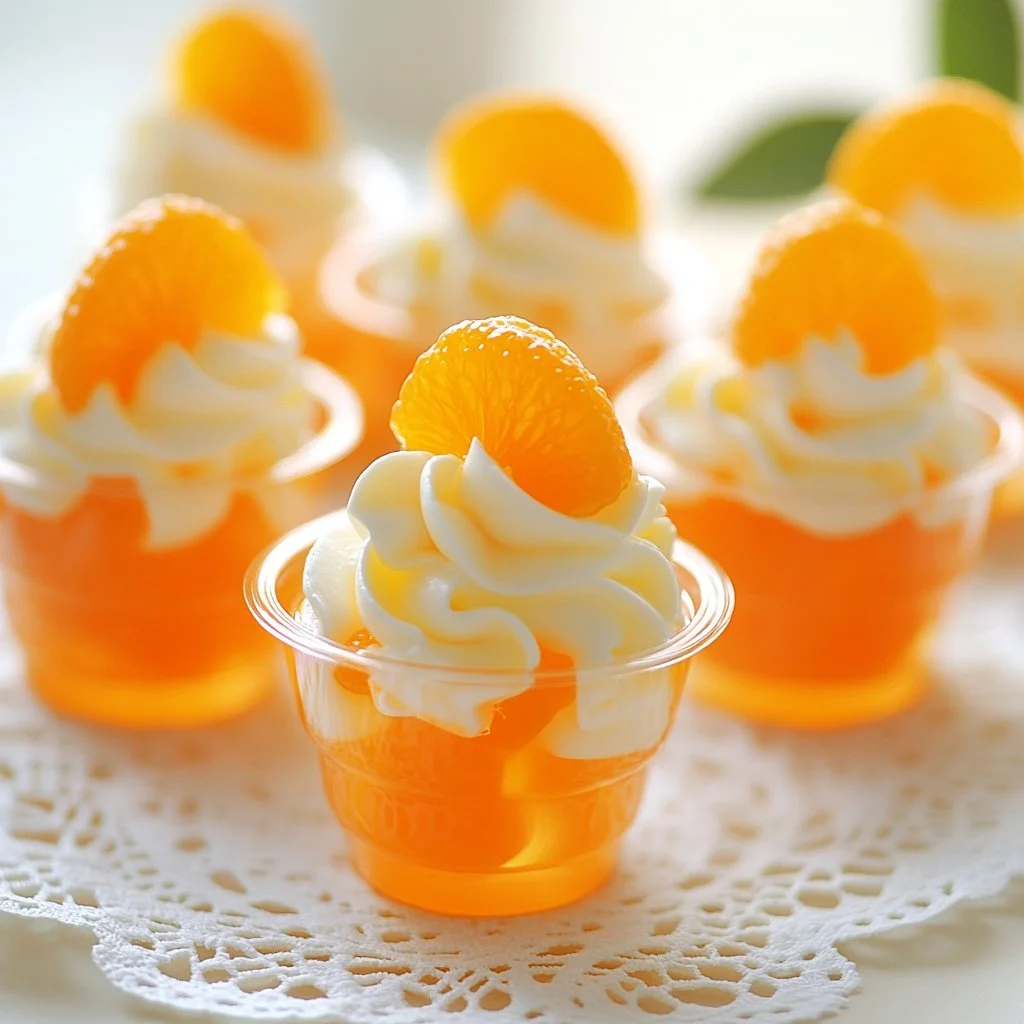
Presenting your jello nicely boosts its appeal. Cup servings make it convenient, but consider garnishing with fruit or a dollop of whipped cream for an added visual element. Such touches can transform your simple treat into a stunning dessert.
Troubleshooting/variations
If you find your jello is not setting properly, verify that the water was hot enough during the mixing process. If you prefer a lighter texture, experiment with using one cup of Greek yogurt and one cup of almond milk instead. This change will still provide creaminess but lighten the overall density of the jello.
For those interested in varying flavors, explore using flavored Greek yogurt, such as vanilla or coconut. This introduces new taste profiles while maintaining the protein advantages.
Part 4 — Serving and Storing Your Delicacies
Serving/presentation
When serving your protein jello, aim for presentation. Use nice cups or bowls to make the treat inviting. Add fresh fruit on top or serve with a sprinkle of nuts for crunch. This not only enhances the aesthetic but also packs extra nutrition.
Serving chilled offers the best experience. The texture remains firm yet melts in your mouth, providing a satisfying feel that complements the flavors.
Pairings/storage
To accompany protein jello, serve it alongside fresh fruit, nuts, or even a small serving of granola. These options enhance the snack while keeping the focus on your delightful protein treat.
For storage, keep any leftovers in the refrigerator. It maintains its taste and texture for up to five days. Ensure to cover each cup with cling film or a lid to prevent any absorption of other odors in the fridge.
Conclusion
Protein jello combines nostalgia with nutrition, reminding us that simple treats can be healthy and satisfying. The blend of sugar-free jello, creamy Greek yogurt, and protein powder crafts a delightful dessert that fits seamlessly into any healthy lifestyle. With options to personalize this recipe, it becomes more than just a treat; it transforms into a canvas for your culinary creativity. Enjoy this refreshing snack as part of your daily routine, knowing you’re nourishing your body while enjoying something truly delicious.
Protein Jello
Ingredients
Method
- In a bowl, completely dissolve the sugar-free jello in warm water.
- Pour the jello and water mixture into a blender.
- Add the protein powder and Greek yogurt to the blender.
- Blend until smooth.
- Pour into eight 5.5 oz cups and refrigerate for 1 hour or until set.