
📑 Table of Contents ▶
- Perfecting Sourdough Focaccia
- Fundamentals
- Preparation/setup
- Directions
- Sourdough Focaccia Techniques
- Technique
- Tips/tricks
- Enhancing Your Sourdough Focaccia Experience
- Perfecting results
- Troubleshooting/variations
- Serving and Storing Sourdough Focaccia
- Serving/presentation
- Pairings/storage
- Sourdough Focaccia
- Ingredients
- Method
A Simple Sourdough Focaccia
Welcome to Eatimi! I’m Olivia Hart — a home-cook who believes delicious food doesn’t need complicated techniques. Here I share easy everyday recipes, family meals, quick ideas for busy days, and helpful kitchen tips to make cooking simple and fun. My goal is to help you feel confident in the kitchen and enjoy homemade food with joy, comfort, and love. 💛
Sourdough focaccia holds a special place in my heart. I still remember the first time I made it in my tiny kitchen. With flour dusting the countertops and the rich aroma of dough rising, the entire experience felt magical. Watching the dough transform into a golden, crusty loaf filled my home with warmth and excitement. Each bite of that focaccia delivered a combination of crunchy texture and soft, airy insides that made my taste buds sing.
Using just a few ingredients, this simple sourdough focaccia recipe brings people together around the table. The fulfilling process of making this bread renews my spirit, and every time I bake, I find joy in sharing it with friends and family. Just as the dough grows and expands, so too do the memories created with each loaf. Get ready to dive into the world of homemade focaccia.
Perfecting Sourdough Focaccia
Fundamentals
Before jumping into the preparation, understanding the basics of sourdough focaccia ensures a successful bake. Sourdough focaccia relies heavily on the natural fermentation from a ripe sourdough starter. This process imbues the focaccia with a lovely tang and depth of flavour. It’s not just about the ingredients; it’s about the time and love that goes into nurturing the dough.
Using a blend of all-purpose and high-protein bread flour contributes to the focaccia’s structure. The all-purpose flour gives a light texture, while the bread flour adds the strength needed for a great rise. When working with water, the right hydration level creates that wonderful airy crumb. Salt not only enhances flavour but also strengthens gluten development, making it essential to the recipe.
Preparation/setup
Setting up your workspace is crucial for a smooth baking experience. Gather your ingredients: 423g of all-purpose flour, 181g of high-protein bread flour, 459g of water, 11g of salt, 115g of ripe sourdough starter, and 12g of extra virgin olive oil. Ensure everything is measured accurately for the best results.
Start by mixing the two types of flour in a large bowl. The blend will help develop both flavour and texture. Slowly incorporate the water, ripe sourdough starter, and salt into the mixture until everything is evenly combined. When the dough reaches a shaggy consistency, let it rest for about 30 minutes. This process, known as autolyse, allows the flour to absorb water, making the dough easier to handle later.
Ingredients
- 423g all-purpose flour
- 181g high-protein bread flour
- 459g water
- 11g salt
- 115g ripe sourdough starter
- 12g extra virgin olive oil
Directions
- Mix both flours, 459g water, 11g salt, and 115g ripe sourdough starter in a bowl or stand mixer until a shaggy dough forms.
- Allow the dough to rest for 30 minutes. After resting, gradually incorporate 12g of extra virgin olive oil into the dough.
- Let the dough ferment at room temperature for 2 hours. During the first hour, perform a series of stretch and folds every 20 minutes to develop strength.
- After 2 hours, transfer the dough into an oiled pan. Proof the dough in the pan for 4 hours, stretching it periodically to enhance its structure.
- Preheat your oven to 450°F (230°C) about 30 minutes before baking.
- Once proofed, dimple the surface of the dough with your fingers and brush it with olive oil.
- Bake the focaccia for 30 minutes or until golden and crisp.
- Allow it to cool on a wire rack before serving.

Sourdough Focaccia Techniques
Technique
Mastering the technique behind sourdough focaccia elevates the dish from good to great. The fermentation time is pivotal for developing the signature sourdough flavour and texture. Allowing the dough to ferment properly gives the yeast time to do its magic.
Understanding stretch and folds is essential for building strength in the dough. When you stretch and fold the dough, it helps to create a network of gluten that gives the focaccia its desired texture. The more hydrations the dough has, the more stretch you can achieve without tearing.
Tips/tricks
Here are critical tips to consider:
- Use a digital scale for precise measurements.
- A warm environment encourages fermentation. Consider preheating your oven slightly and then turning it off, letting the dough ferment inside.
- Experiment with flavours. You can add herbs or herbs to the dough for additional depth.
- Keep an eye on the dough during the rise. Each environment can affect fermentation times, so adjust your timings accordingly.
Enhancing Your Sourdough Focaccia Experience
Perfecting results
Achieving the perfect sourdough focaccia may require practice, but it’s worth it. A few indicators of readiness include the dough’s puffiness and a slight jiggle when touched. The top should also have a shiny appearance due to the olive oil, and the edges should pull away slightly from the pan before baking.
Should you notice that your focaccia comes out denser than desired, increase the fermentation time gradually. Be patient and allow the extra time needed for the yeast to work its magic.
Troubleshooting/variations
If your focaccia doesn’t rise as expected, multiple factors could be at play. Insufficient fermentation time or a weak starter can impact the dough’s rise. Test your sourdough starter to ensure it’s bubbly and active before using it.
In case of overly dry and crumbly focaccia, it might indicate either too much flour or not enough hydration. When you find the right balance, the texture will evoke that perfect focaccia experience.
Serving and Storing Sourdough Focaccia
Serving/presentation
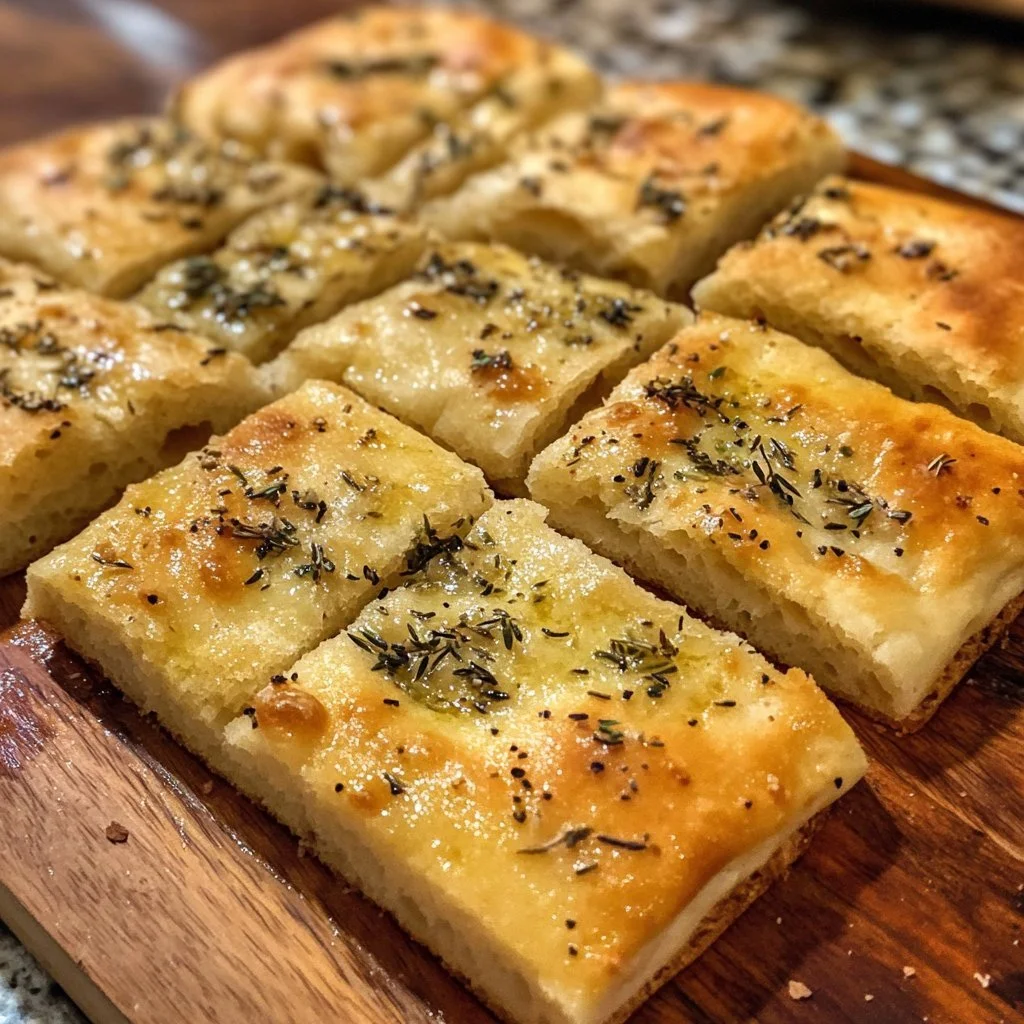
Serving your sourdough focaccia can be as simple or as sophisticated as you want. Cut it into squares or wedges and place them on a rustic wooden board for a charming display. Serve alongside a bowl of extra virgin olive oil and a sprinkle of flaky sea salt for dipping.
Feel free to expand on the experience by slicing the focaccia to make delicious sandwiches or toast for breakfast. You can also tear it into pieces for sharing at gatherings, making it an ideal dish for entertaining.
Pairings/storage
Storing sourdough focaccia keeps it fresh and delicious. Wrap it in a clean kitchen towel or place it in a paper bag to maintain its crust. For longer storage, you can freeze the focaccia. Slice and wrap it in plastic before placing it in a freezer bag. Defrost at room temperature when you’re ready to enjoy it again.
Pair this focaccia with a variety of dishes, from salads to soups. Use it as a delightful side to complement a hearty meal.
Let the process of crafting sourdough focaccia inspire you, just as it did for me. With each loaf, anticipate the joy it brings when shared with others, creating memories that last long after the last slice is gone.
Sourdough Focaccia
Ingredients
Method
- Mix both flours in a large bowl.
- Slowly incorporate the water, sourdough starter, and salt until evenly combined.
- Let the dough rest for about 30 minutes (autolyse) to allow the flour to absorb water.
- Gradually incorporate the extra virgin olive oil into the dough.
- Let the dough ferment at room temperature for 2 hours, performing stretch and folds every 20 minutes during the first hour.
- Transfer the dough into an oiled pan and proof for 4 hours, stretching it periodically.
- Preheat your oven to 450°F (230°C) about 30 minutes before baking.
- Once proofed, dimple the surface of the dough with your fingers and brush it with olive oil.
- Bake the focaccia for 30 minutes or until golden and crisp.
- Allow it to cool on a wire rack before serving.