
📑 Table of Contents ▶
- Boxed Cake Mix Basics
- Fundamentals
- Preparation and Setup
- Directions
- Mastering the Art of Boxed Cake Mix
- Technique
- Tips and Tricks
- Perfecting Your Boxed Cake Mix Results
- Perfecting Results
- Troubleshooting and Variations
- FAQs: Boxed Cake Mix Serving
- Serving and Presentation
- Pairings and Storage
- Conclusion
- Ingredients
- Method
Boxed Cake Mix
Welcome to Eatimi! I’m Olivia Hart — a home-cook who believes delicious food doesn’t need complicated techniques. Here I share easy everyday recipes, family meals, quick ideas for busy days and helpful kitchen tips to make cooking simple and fun. My goal is to help you feel confident in the kitchen and enjoy homemade food with joy, comfort and love. 💛
Finding ways to simplify baking while satisfying the sweet tooth in my family has always been a delightful challenge. Boxed cake mix became my secret weapon. One box can transform into a delicious, versatile dessert with just a few simple ingredients. I remember the first time I decided to use boxed cake mix—it was for my daughter’s birthday. With limited time but high expectations, I reached for a pack of vanilla mix.
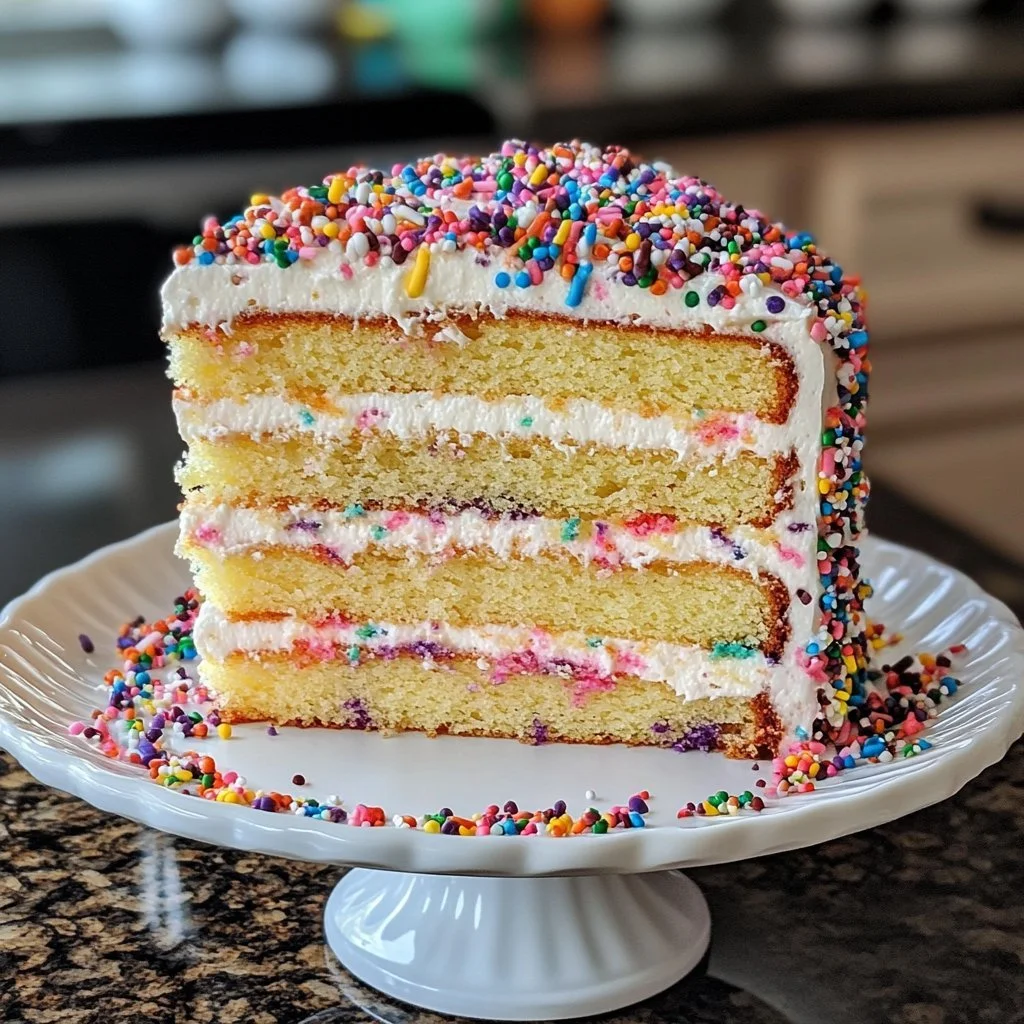
Using that one box, I created a cake full of personality, embellishing it with chocolate chips and a sprinkle of cinnamon. The joy on my daughter’s face as she savoured every bite was truly priceless. Since then, boxed cake mix has been a staple in my pantry, a trusty ally for celebrations, gatherings, or simply to treat myself on a weekday.
Here, I will explore the magic of boxed cake mix further, from fundamentals to perfecting results. Prepare to be inspired!
Boxed Cake Mix Basics
Fundamentals
Understanding boxed cake mix is crucial for unleashing its full potential. Manufacturers design these mixes for convenience, ensuring deliciousness without complicated steps. By starting with a basic mix, you have a canvas to craft your unique creations.
Whether you choose vanilla, chocolate, or any of your favourite flavours, each box simplifies the process of making a cake. The beauty of boxed cake mix lies not only in the simplicity but also in the variety it offers.
When you think about boxed cake mix, consider the additional ingredients you can introduce. From spices like cinnamon to mix-ins such as fruits, nuts, or chocolate chips, each element will add character and depth. Ultimately, boxed cake mix is only the beginning of your baking adventure.
Preparation and Setup
Preparing to bake might sound simple, but it sets the stage for your success. Follow these essential steps for an efficient setup. First, gather all your ingredients: one box of cake mix, three large eggs, one cup of water, and half a cup of vegetable oil—or for a rich twist, melted butter works wonders too.
Choose your cake pan, ensuring it matches the size recommended on the box. Greasing the pan lightly with butter or non-stick spray prevents your cake from sticking. Preheating the oven is crucial, so follow the temperature stated on the box before jumping into the mixing.
Organise your workspace to facilitate smooth cooking. Keep utensils handy, and prepare for a fun, and mess-free experience. Remember, the right setup troubleshoots many potential baking mishaps before they start.
Ingredients
The heart of any cake lies in its ingredients, and boxed cake mix is no exception. Here’s what you need for the basic recipe:
- 1 box of cake mix (vanilla, chocolate, or your choice),
- 3 large eggs,
- 1 cup of water (using milk creates a richer flavour),
- 1/2 cup of vegetable oil (or melted butter for added richness),
- Optional add-ins: fruits, nuts, chocolate chips, or spices like cinnamon.
These components harmonise beautifully, bubbling together to create a light and fluffy cake. Don’t hesitate to elevate your basic mix by experimenting with your add-ins. Just consider the flavour combinations possible, and let your imagination guide you!
Directions
Now comes the fun part: getting everything mixed and ready for the oven! Follow these straightforward steps to ensure a smooth process.
- Preheat the oven to the specified temperature on the box.
- In a large mixing bowl, combine the cake mix, eggs, water (or milk), and vegetable oil.
- Blend the ingredients on medium speed for 2-3 minutes until smooth.
- Pour the batter into the prepared cake pan.
- Bake according to the time indicated on the package or until a toothpick inserted in the centre comes out clean.
- Allow the cake to cool in the pan for 10 minutes before transferring it to a wire rack to cool completely.
As simple as that! You have transformed a box of cake mix into a delightful treat.
Mastering the Art of Boxed Cake Mix
Technique
Baking with boxed cake mix may seem easy, but mastering the technique takes practice. The key lies in following the instructions for the best possible results. Mix the batter thoroughly, ensuring no lumps remain. This step is vital for achieving that lovely, fluffy texture everyone loves.
When adding optional items such as chocolate chips or fruit, fold them gently into the batter. Overmixing after adding additional ingredients can lead to a denser cake, which isn’t always desirable.
Another great technique involves experimenting with your ingredients. Substituting milk for water or using melted butter might seem like minor adjustments, but they dramatically enhance the cake’s richness.
Tips and Tricks
To boost your boxed cake experience, try these simple tips. First, don’t be afraid to experiment with flavours. Add spices or a hint of extract to complement your cake mix. Vanilla, almond, or even a splash of orange zest can elevate basic flavours into something magical.
Keep an eye on the baking time as you approach the minimum suggested time. Ovens vary in temperature accuracy, so perform the toothpick test to determine the right moment to pull your cake out.
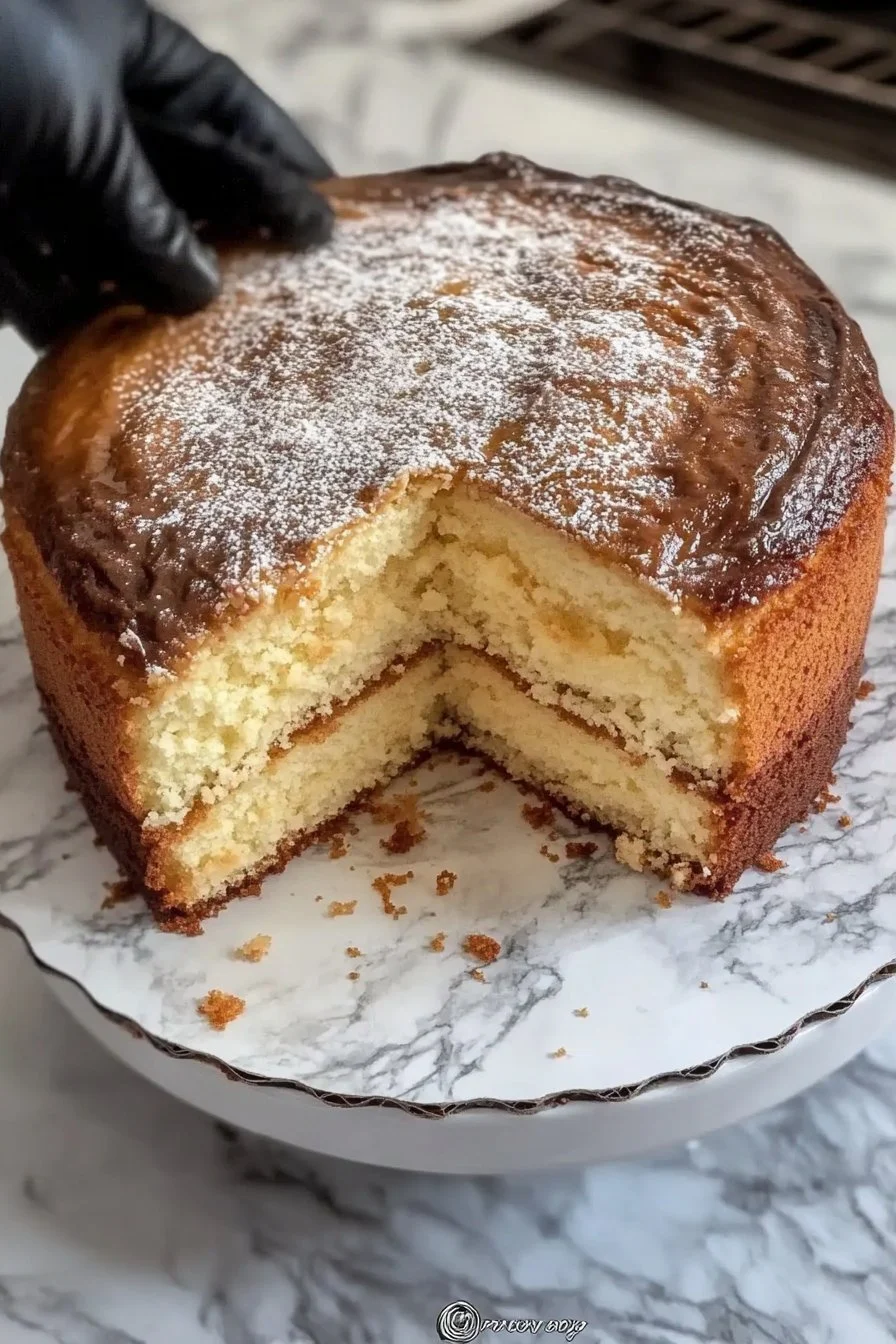
Finally, always remember the power of decoration. A simple dusting of icing sugar or a dollop of whipped cream can transform a basic cake into a sensational dessert. Don’t overlook the power of presentation!
Perfecting Your Boxed Cake Mix Results
Perfecting Results
Creating the perfect cake from boxed mix requires attention and a few tricks of the trade. Make sure not to skip essential steps like preheating the oven and greasing the pan. These actions alone can improve the final result dramatically.
Use room temperature eggs and ingredients when mixing. Cold ingredients can produce an uneven batter that affects the texture. Additionally, avoid over-baking your cake to retain moisture.
To ensure a consistent mix, blend all ingredients thoroughly to avoid lumps. Leave the batter to sit for 10 minutes before pouring into the cake pan. This lets the ingredients settle and fully mix.
Troubleshooting and Variations
Sometimes things might not go as planned, and that’s okay! If your cake sinks in the centre after baking, this can result from underbaking or overmixing the batter. Aim for the golden balance between mixing consistency and baking time by following the instructions closely.
If you encounter dryness, ensure to check your oven’s temperature calibration. Also, consider adjusting the ratio of liquid ingredients because every box might behave differently.
Feel free to shake things up with variations! Different flavour combinations can bring out loved family recipes or lead to flavour discoveries that excite your taste buds.
FAQs: Boxed Cake Mix Serving
Serving and Presentation
Serving your boxed cake mix masterpiece is where creativity shines! Slice it into even pieces, and for an extra touch of elegance, plate the slices atop a bed of fruit coulis or cream.
Consider adding a scoop of ice cream alongside warm cake for a delightful contrast of temperatures. This touch elevates the experience into something luxurious.
Presentation matters, so think about drizzling icing or ganache over the cake just before serving. Play around with colors for an appealing look that tantalises the eyes as much as the taste buds!
Pairings and Storage
Pair your boxed cake creations with delightful accompaniments. Fresh fruits, whipped cream, or a rich chocolate sauce can enhance the sweet flavours, leading to a satisfying dessert experience.
Storing your leftovers will keep the cake fresh. Place any uneaten pieces in an airtight container and store in the fridge for up to a week. You can also freeze portions wrapped tightly for longer storage. Just make sure to let the cake cool completely before freezing to keep that delightful texture intact.
Conclusion
Exploring the wonders of boxed cake mix uncovers endless opportunities for creativity and enjoyment. By mastering basic techniques, using clever tips, and embracing your unique flair, you elevate these humble beginnings to extraordinary heights. Whether baking for a celebration or a quiet indulgence, boxed cake mix stands ready to bring joy to your kitchen. By understanding how to use it properly, you lay the groundwork for success and delightful memories with every bite.
Boxed Cake Mix
Ingredients
Method
- Preheat the oven to the temperature specified on the box.
- In a large mixing bowl, combine the cake mix, eggs, water (or milk), and vegetable oil.
- Blend the ingredients on medium speed for 2-3 minutes until smooth.
- Pour the batter into the prepared cake pan.
- Bake according to the time indicated on the package or until a toothpick inserted in the centre comes out clean.
- Allow the cake to cool in the pan for 10 minutes before transferring it to a wire rack to cool completely.