
📑 Table of Contents ▶
Cake Pops
Welcome to Eatimi! I’m Olivia Hart — a home-cook who believes delicious food doesn’t need complicated techniques. Here I share easy everyday recipes, family meals, quick ideas for busy days and helpful kitchen tips to make cooking simple and fun. My goal is to help you feel confident in the kitchen and enjoy homemade food with joy, comfort and love. 💛
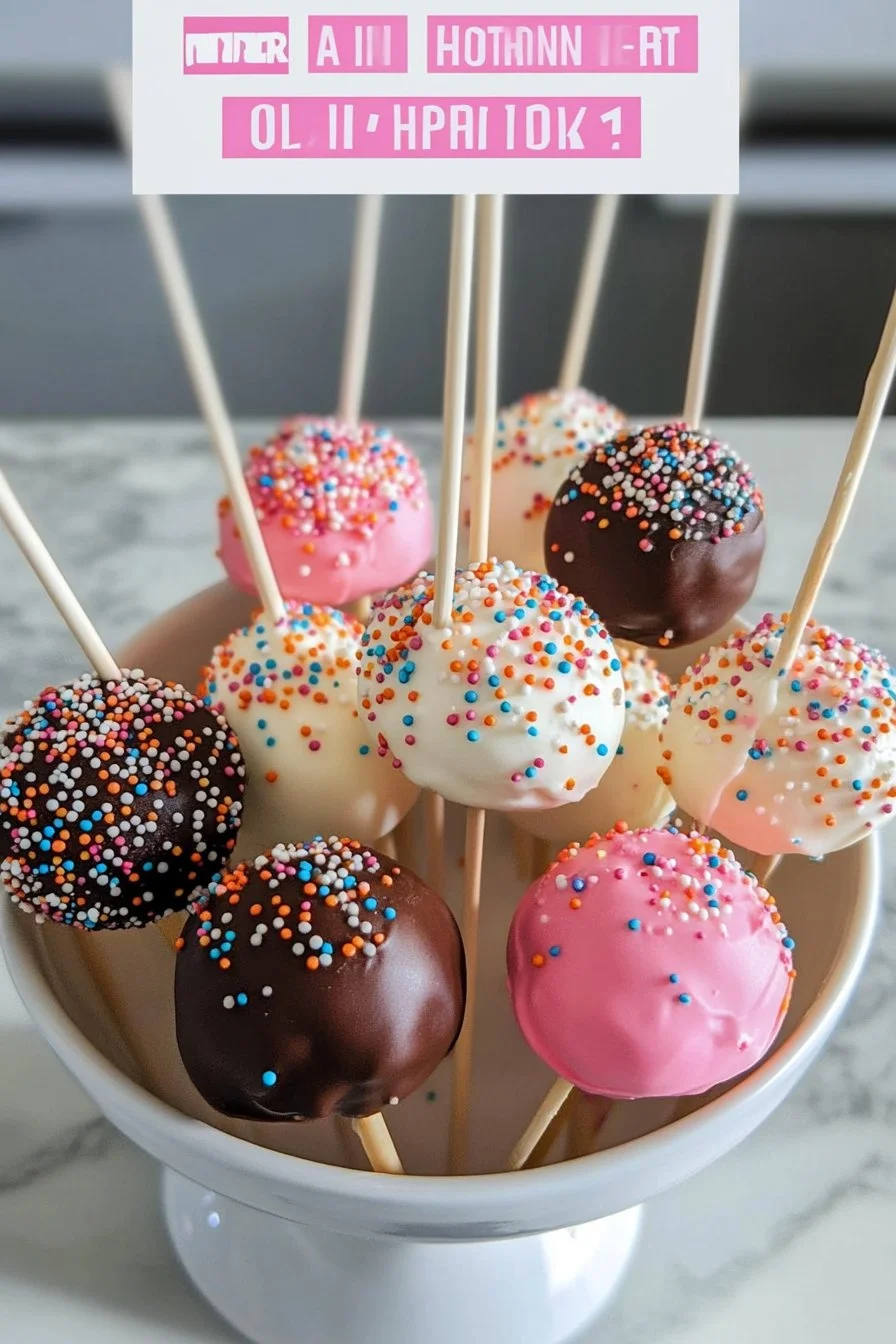
Baking transforms simple moments into sweet memories. I still recall the first time I made cake pops. They looked like little pops of joy, and I couldn’t help but smile. It was a rainy afternoon, and I decided to whip up a delightful treat. The smell of freshly baked cake filled the house as I crumbled the cake into the mixing bowl.
The magic happened when I combined it with frosting. Rolling the mixture into balls felt satisfying, and inserting the lollipop sticks was the cherry on top. Dipping them into colourful candy melts turned my kitchen into a mini candy factory. Today, cake pops remain a favourite in my home. They are easy to make and fun to decorate, perfect for parties or cosy evenings at home.
Join me in exploring the wonderful world of cake pops. Let’s unleash our creativity and indulge in these sweet treats together. Whether you’re baking for a crowd or just satisfying a sweet tooth, these cake pops add a touch of fun and deliciousness to any occasion.
Cake Pops: A Delicious Delight
Fundamentals
Cake pops are essentially bites of cake, coated in a sweet candy shell. They carry the delightful flavours of cake and frosting, making them irresistible. Knowing the basics is the first step to creating these charming confections. Simple ingredients create an array of flavours and colours, perfect for any celebration.
A box of cake mix simplifies the process. You can choose your favourite flavour, from chocolate to vanilla, to start the journey. The addition of frosting binds the crumbles and enhances the taste. You’ll also need colourful candy melts for the coating and lollipop sticks to turn your cake bites into fun treats.
Remember, sprinkles elevate the visual appeal of your cake pops. While they are optional, they add a festive touch. The beauty of cake pops lies in their versatility. You can experiment with colours and flavours, making each batch unique.
Preparation/setup
Before diving into making cake pops, preparation is key. The first step is ensuring your workspace is tidy and well-equipped. Gather all the ingredients: a box of cake mix, a cup of frosting, candy melts in various colours, lollipop sticks, and some sprinkles for decoration.
Then, preheat your oven. Follow the package instructions for the cake mix, baking it until it reaches the perfect golden colour. Once baked, allow the cake to cool completely before crumbling it into a large bowl. This step is essential; warm cake won’t mix well with frosting.
Once crumbled, sprinkle some excitement into the joyous mix. Combine the cake crumbs with frosting until you achieve a dough-like consistency. You can use a spatula or your hands—don’t be afraid to get a little messy! After mixing, roll the mixture into small balls. This stage is where the fun begins!
Ingredients
To create cake pops, you’ll need the following ingredients:
- 1 box of cake mix
- 1 cup of frosting
- Candy melts (various colours)
- Lollipop sticks
- Sprinkles (optional)
These straightforward ingredients are easy to find in any grocery store. The cake mix is the foundation of your pops, delivering the cake flavour. The frosting ensures moisture, while the candy melts provide that delectable coating.
The lollipop sticks add fun and function, allowing you to indulge in these sweet bites. Finally, sprinkles can add a burst of colour and texture, making them visually appealing.
Directions
Creating cake pops is like magic. Start by baking the cake according to the package instructions. Allow it to cool completely. Then, crumble the cooled cake into a large mixing bowl.
Next, add frosting to the crumbled cake and mix until combined. Roll the mixture into small balls and place them on a baking sheet. Insert lollipop sticks into each ball. Now, freeze the pops for 30 minutes.
While the mixture chills, melt candy melts as directed on the package. Once melted, dip each cake pop into the candy coating, allowing excess to drip off. Decorate with sprinkles if desired, and allow the pops to set before serving.
Cake Pops: The Art of Creation
Technique
Creating cake pops involves mastering a few simple techniques. The initial baking and cooling stage ensures that your cake has the right texture. A properly cooled cake crumbles beautifully, leading to a perfect blend with the frosting. When rolling the mixture, aim for evenly sized balls. This ensures uniform cooking and dipping later.
Melt the candy melts carefully, as overheating can create a thick, unusable coating. Stir continuously for a smooth consistency, making it easy to dip your cake pops. Dipping the cooled cake pops into the melted candy is where the magic happens.
Submerging the entire cake pop ensures a lovely coating, which adds to the sweetness. Allowing excess candy to drip back into the bowl ensures you get just the right amount on each pop.
Tips/tricks
Perfecting your cake pops can come down to a few handy tips. First, experiment with different flavours of cake mix and frosting combinations. Chocolate cake with vanilla frosting creates a classic, delicious pairing. Meanwhile, a red velvet cake with cream cheese frosting offers a beautiful display.
If you’re struggling to dip the cake pops evenly, consider using a small spoon to help guide the melting candy over the pops. This technique ensures full coverage without too much excess. Be patient as the pops set; this ensures that the coating hardens properly.
If you want to create a layered effect with colours, let the first layer set before dipping into another colour. This not only looks stunning but creates an exciting surprise for those enjoying them!
Cake Pops: Perfecting Your Sweet Treats
Perfecting results
To achieve the best results, focus on the dough consistency after mixing with frosting. It should be moist enough to hold together without being overly sticky. If it feels too wet, add more cake crumbles before rolling into balls.
Chilling the balls in the freezer is essential. This ensures they hold their shape while dipping. If the pops crumble too much during dipping, they may not have had sufficient time to set first.
Experiment with different brands of candy melts to find the one that yields the best results for you. Some may deliver a smoother melt, enhancing the overall presentation and taste.
Troubleshooting/variations
If your cake pops fall off the stick, it often means they are either too cold or the candy coating is too hot when you dip them. Allow your pops to warm slightly before dipping, or ensure the coating isn’t too runny.
Consider trying various cake flavours or adding flavour extracts to the frosting for unique combinations. Adding spices like cinnamon or nutmeg can elevate your cake’s flavour profile.
Explore using different shapes rather than traditional balls. You can press the mixture into silicone moulds or form them into themed shapes for special occasions.
Serving Cake Pops: A Sweet Presentation
Serving/presentation
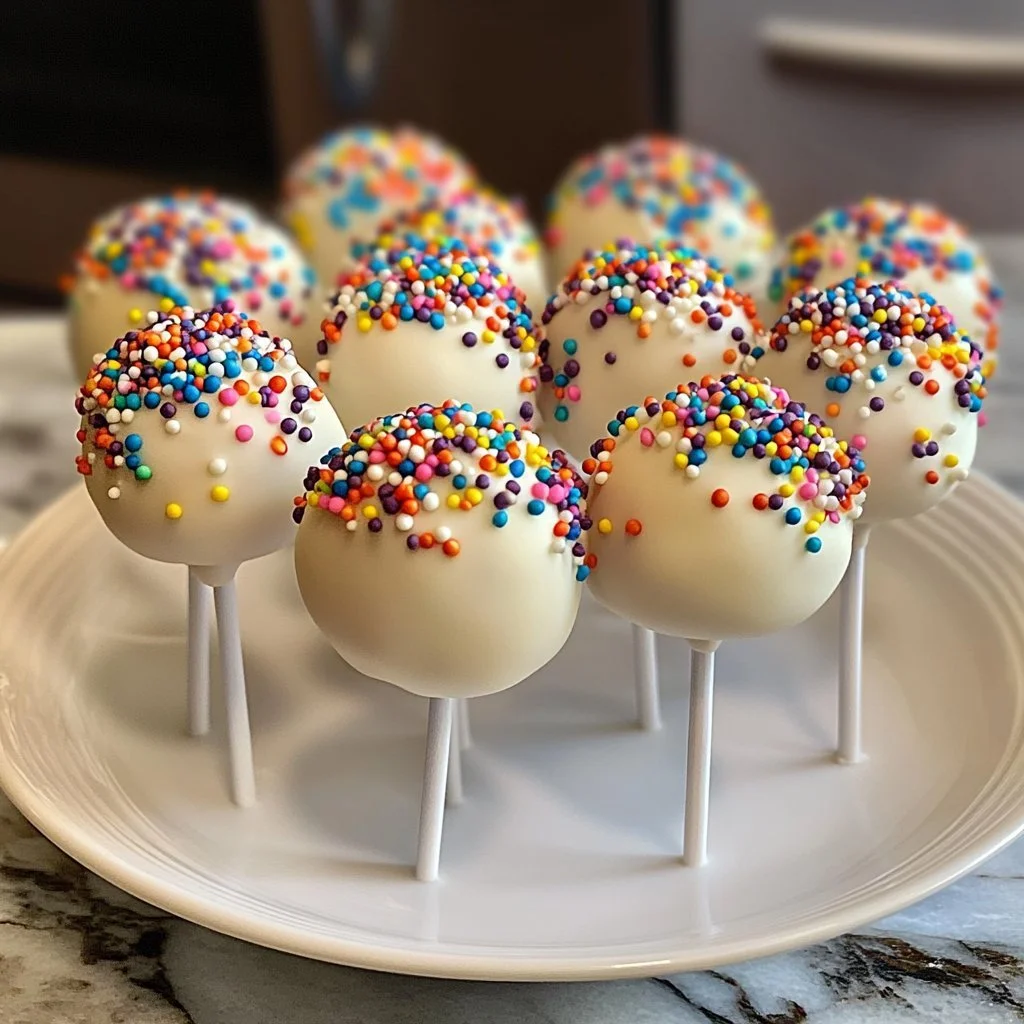
Presentation elevates your cake pops from delightful to extraordinary. Use colourful sticks for a vibrant touch. Place them upright in a styrofoam block or a display stand for an eye-catching presentation.
Consider arranging them in small gift boxes for special occasions. Not only do they taste great, but they also make for lovely party favours. Visual appeal matters, and sprinkles can add that festive touch everyone adores.
These treats lend themselves well to various celebrations, from children’s parties to sophisticated wedding receptions. Their versatility makes them suitable for nearly any event you can imagine.
Pairings/storage
Cake pops pair beautifully with a range of beverages. A warm cup of tea or a glass of milk complements their sweetness. They also make excellent accompaniments to coffee during gatherings.
Store your cake pops in an airtight container, ideally in the fridge, to maintain freshness. If stored correctly, they can last for several days, ensuring your sweet treats remain delectable.
For longer storage, consider freezing them before coating. This helps retain flavour and texture, allowing you to enjoy freshly made pops anytime.
Cake pops are delightful bites of joy that are simple to create. They offer a fantastic opportunity for culinary creativity, making every occasion sweeter. Whether you’re indulging yourself or delighting others, these treats bring smiles all around.
Cake Pops
Ingredients
Method
- Preheat the oven according to the package instructions for the cake mix.
- Bake the cake until it reaches a golden color, then allow to cool completely.
- Crumble the cooled cake into a large mixing bowl.
- Mix in the frosting until you achieve a dough-like consistency.
- Roll the mixture into small balls and place them on a baking sheet.
- Insert lollipop sticks into each ball and freeze for 30 minutes.
- Melt the candy melts as directed on the package.
- Dip each cake pop into the melted candy coating, allowing excess to drip off.
- Decorate with sprinkles if desired and allow the pops to set before serving.