
📑 Table of Contents ▶
Cake Pops
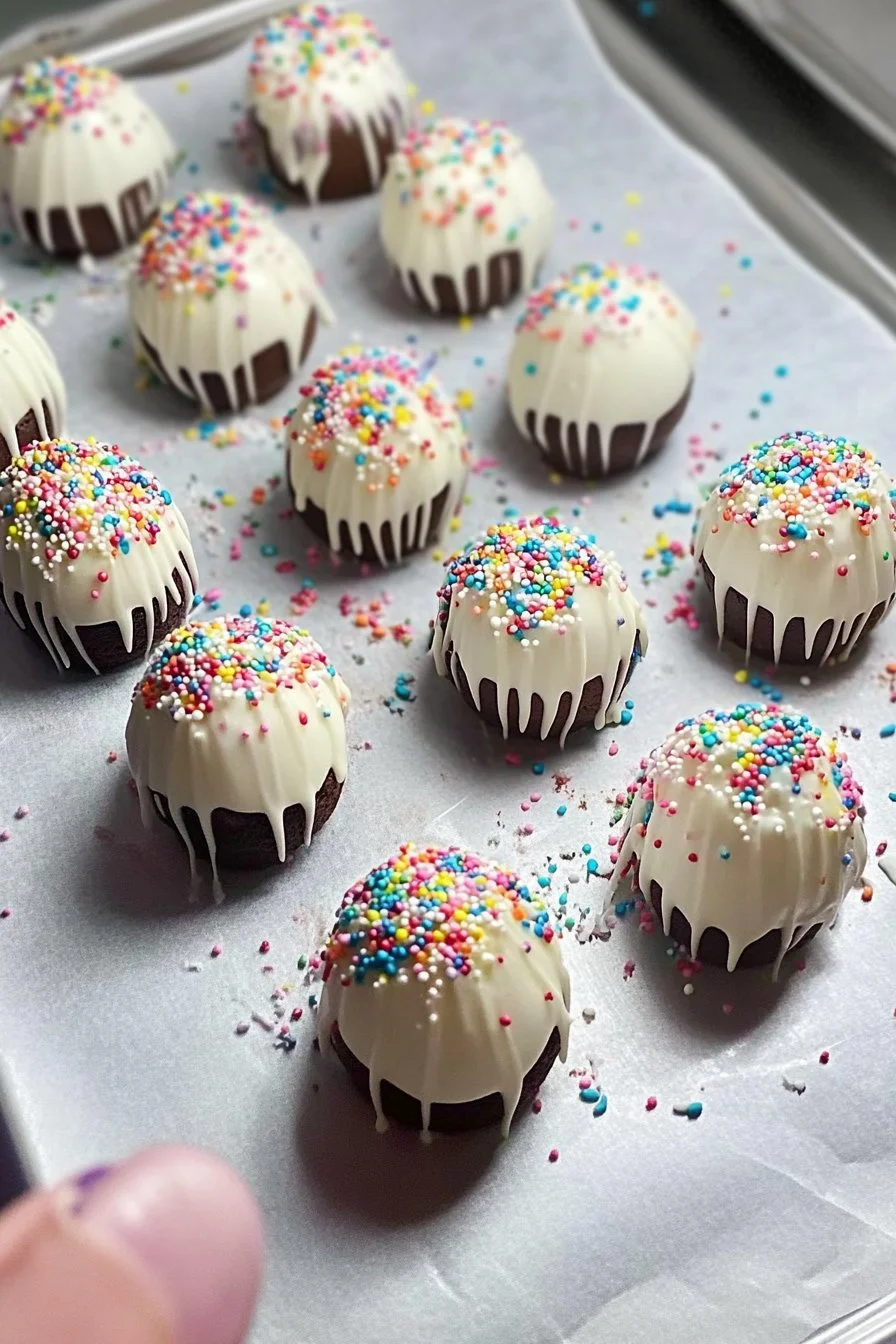
Baking has always felt like a heartwarming ritual. Growing up, my kitchen became a playground filled with laughter and soul-satisfying aromas. My fondest memories revolve around birthdays celebrated with a sweet treat that delighted kids and adults alike – the cake pops. Those little spheres of joy capture the essence of any celebration, offering a delightful bite of cake covered in rich chocolate.
Creating cake pops brings back those joyful moments. Whether it’s a birthday party or a simple weekend treat, these cake delights thrill everyone involved. Each pop bursts with nostalgia and presents an opportunity to unleash your creativity.
The best part? Cake pops cater to all tastes. You can design them to fit any theme or occasion, from vibrant sprinkles to elegant designs. The endless possibilities make these treats a kitchen favourite. If you’ve ever wondered how to make these delightful bites at home, you’re in the right place. Let’s dive into the delightful world of cake pops and discover just how fun and easy they can be.
Cake Pop Creation Basics
Fundamentals
Cake pops merge moist cake and frosting, turning them into irresistible bites. Their foundation lies in a single cake of your choice. Whether you prefer a classic vanilla, indulgent chocolate, or luscious red velvet, each variety holds the same potential to transform into these sweet morsels.
To pair the cake with flavourful frosting, you can use either store-bought options or whip up a batch from scratch. The frosting binds the crumbs together, attaining the ideal moist texture perfect for rolling into balls. Finally, a smooth coating of chocolate enhances the cake pops’ visual appeal while adding an extra dimension of flavour.
Preparation/Setup
Start by preparing your chosen cake according to its instructions. Once baked, allow it to cool completely before beginning the transformation. This cooling phase is crucial as it prevents melting the frosting later on.
Once cooled, crumble the cake into a large bowl, creating a crumbly base for your cake pop creation. Gradually incorporate the frosting into the crumbs. The key lies in finding that perfect balance where the mixture remains damp but not overly sticky. Aim for a consistency that allows you to roll the mixture effortlessly into bite-sized spheres.
Ingredients
To create your perfect cake pops, gather the following ingredients:
- One cake of your choice (vanilla, chocolate, or red velvet)
- ½ cup of frosting (store-bought or homemade)
- Chocolate or candy melts for dipping
- Sprinkles or other decorative toppings
- Lollipop sticks
Having everything ready pulls the process together seamlessly. Gather your equipment too – you’ll need mixing bowls, a baking sheet lined with parchment paper, and a small bowl for melting chocolate.
Directions
- Prepare the cake according to instructions, and allow it to cool completely.
- Crumble the cooled cake into a large bowl.
- Add frosting gradually, mixing until the texture is damp but not sticky.
- Roll small amounts of the mixture into balls about one inch in diameter. Place them on a parchment-lined baking sheet.
- Melt a small amount of chocolate or candy melts, then dip the end of each lollipop stick into the melted chocolate.
- Insert the stick into the cake balls, allowing them to set.
- Refrigerate the cake pops for at least 30 minutes to firm up.
- Dip each pop into the melted chocolate or candy melts, ensuring they are fully coated. Use a spoon or spatula for even coverage.
- Decorate immediately with sprinkles or toppings before the chocolate hardens.
- Allow the pops to sit upright in a stand or foam block until set.
Elevating Your Cake Pops
Technique
Perfecting the art of cake pops requires practice and a sprinkle of creativity. Start with quality ingredients to enhance the final product’s taste. Take your time with the melting stage. Control the temperature when melting chocolate or candy melts to ensure a smooth texture, preventing it from hardening too quickly.
The rolling of the cake balls showcases your skill. Aim for uniformity in size for an inviting appearance. Using a small cookie scoop can help achieve consistently round shapes, creating visually appealing pops.
Tips/Tricks
Experiment with flavours! Add extracts like vanilla or almond to enhance the cake’s taste. You might also explore various frostings, offering a refreshing twist to the overall flavour.
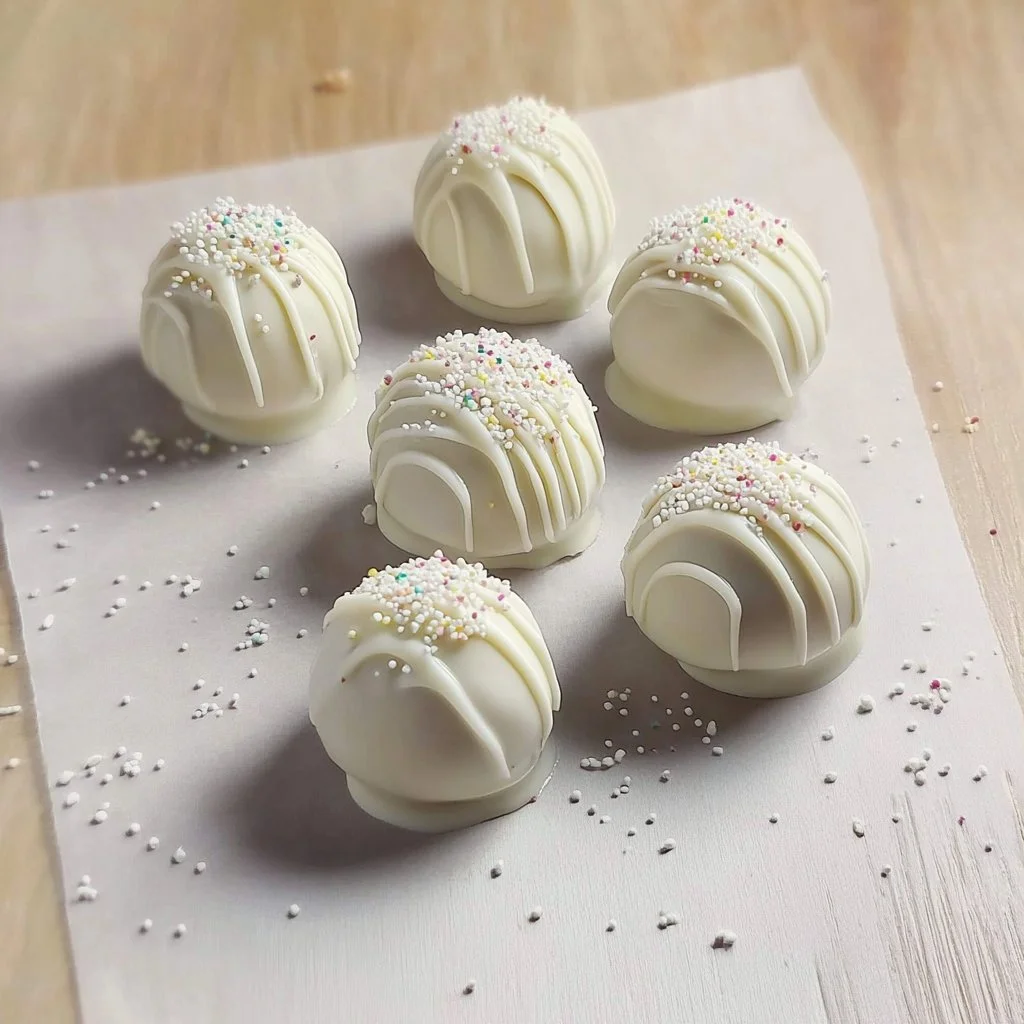
Don’t hesitate to modify the decorations. Depending on the occasion, choose festive sprinkles or a minimalist approach with a simple chocolate dip. Remember to decorate immediately after dipping, ensuring the toppings adhere to the chocolate before it sets. Creating a vibrant colour palette can turn your cake pops into stunning centrepieces for any gathering.
Perfecting Your Cake Pops
Perfecting Results
Achieving flawless cake pops boils down to keen attention and a few guidelines. After dipping in chocolate, let excess drip back into the bowl before positioning the pops upright. This step ensures a smoother finish and avoids clumping at the base.
Cooling your cake pops in the fridge enables the chocolate to set more quickly, ensuring they maintain their shape beautifully. Additionally, consider double-dipping your cake pops for added thickness; simply allow the first coating to harden before dipping again.
Troubleshooting/Variations
Sometimes, imperfections arise in the cake pops’ creation. If the chocolate coating cracks, ensure proper cooling of your pops before dipping. A slightly warmer dip can help smoothen out any rough patches.
If your cake pops are too sticky, incorporate a little more frosting and chill the mixture before rolling. When pressed for time, consider using ready-made cake mixes and frosting to streamline the process while maintaining delicious results.
Serving and Storing Cake Pops
Serving/Presentation
Presenting cake pops turns them into true showstoppers. Use colourful stands or tiered arrangements to keep them upright and display their whimsical nature. Adding tags or little notes can add a personal touch.
Think outside the box with themed decorations for holidays or parties. The versatility of cake pops makes them suitable for any occasion, from vibrant birthday celebrations to elegant dinner parties.
Pairings/Storage
While cake pops shine as individual treats, pair them with various desserts to create a delightful spread. They complement cookie platters beautifully or can be served alongside fresh fruit for a refreshing contrast. Store any leftovers in an airtight container in the fridge to maintain their freshness.
Always make sure to keep out excess moisture to prevent sogginess. If properly stored, cake pops can last for up to a week without losing flavour or texture, bringing joy for days to come.
Celebrating life’s moments becomes even more delightful with cake pops. Whip up this easy treat for family gatherings or special occasions. Your homemade cake pops offer a wonderful way to bond over baking and enjoy delicious bites, reminding us how joy and celebration intertwine through food.
Cake Pops
Ingredients
Method
- Prepare the cake according to instructions, and allow it to cool completely.
- Crumble the cooled cake into a large bowl.
- Add frosting gradually, mixing until the texture is damp but not sticky.
- Roll small amounts of the mixture into balls about one inch in diameter. Place them on a parchment-lined baking sheet.
- Melt a small amount of chocolate or candy melts, then dip the end of each lollipop stick into the melted chocolate.
- Insert the stick into the cake balls, allowing them to set.
- Refrigerate the cake pops for at least 30 minutes to firm up.
- Dip each pop into the melted chocolate or candy melts, ensuring they are fully coated. Use a spoon or spatula for even coverage.
- Decorate immediately with sprinkles or toppings before the chocolate hardens.
- Allow the pops to sit upright in a stand or foam block until set.
- Experiment with flavors! Add extracts like vanilla or almond.
- Choose festive sprinkles or minimal chocolate dip for decoration based on the occasion.
- For a smoother finish, let excess chocolate drip before standing the pops upright.
- Double-dip for added thickness by allowing the first coating to harden before dipping again.