
📑 Table of Contents ▶
Cake Pops
Welcome to Eatimi! I’m Olivia Hart — a home-cook who believes delicious food doesn’t need complicated techniques. Here I share easy everyday recipes, family meals, quick ideas for busy days, and helpful kitchen tips to make cooking simple and fun. My goal is to help you feel confident in the kitchen and enjoy homemade food with joy, comfort, and love. 💛
One of the delightful experiences in my kitchen involves the magic of cake pops. I recall a rainy afternoon when I found myself staring at a leftover dry cake. Instead of letting it go to waste, I transformed it into these playful, bite-sized treats. The idea of cake pops seemed both fun and simple.
Curiosity led me to explore how to make these treats using just a few ingredients: dry cake, icing, candy melts, and sprinkles. Each step added to the excitement, from crumbling the cake to rolling it into balls. Using my creativity, I turned a mundane day into something memorable.
Cake pops serve as the perfect indulgence for a variety of occasions. Whether for a birthday party or just as a delightful snack, they bring smiles. Let’s dive into the world of making cake pops that are bound to impress anyone who tries them.
Part 1 — Cake Pops Essentials
Fundamentals
Understanding the fundamentals of cake pops is exciting. This fun treat stems from cake scraps that usually end up in the bin. Instead, we take these remnants and create something extraordinary. Cake pops originate from the idea of reimagining leftover cake, turning it into an entirely new dessert experience.
The beauty of cake pops is their versatility. Use any leftover cake or a brand-new cake mix as the base. Whether it’s a rich chocolate or a light vanilla, the flavour possibilities expand your creative horizons. A can of icing acts as the adhesive that binds the cake crumbs together, developing a dough-like consistency.
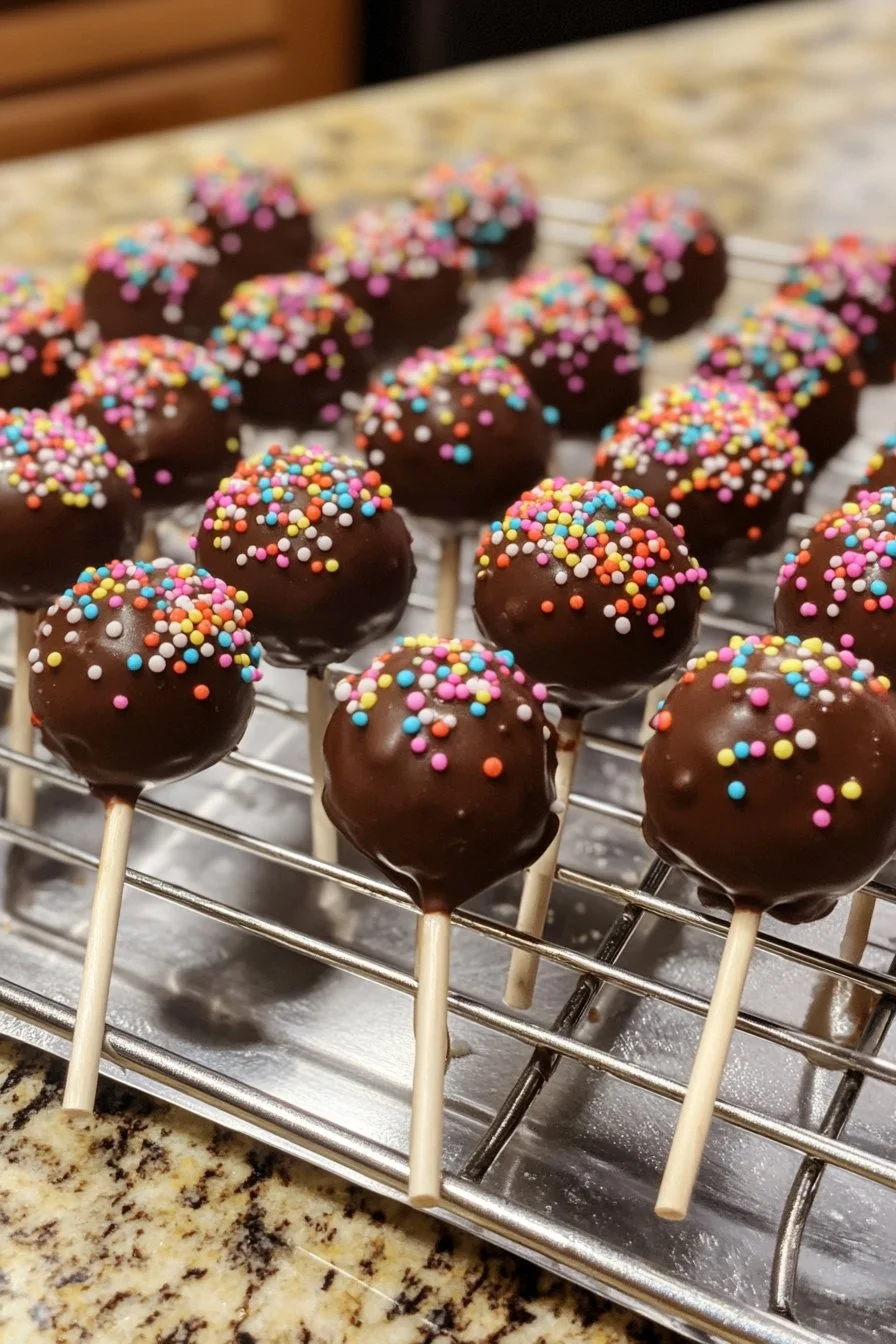
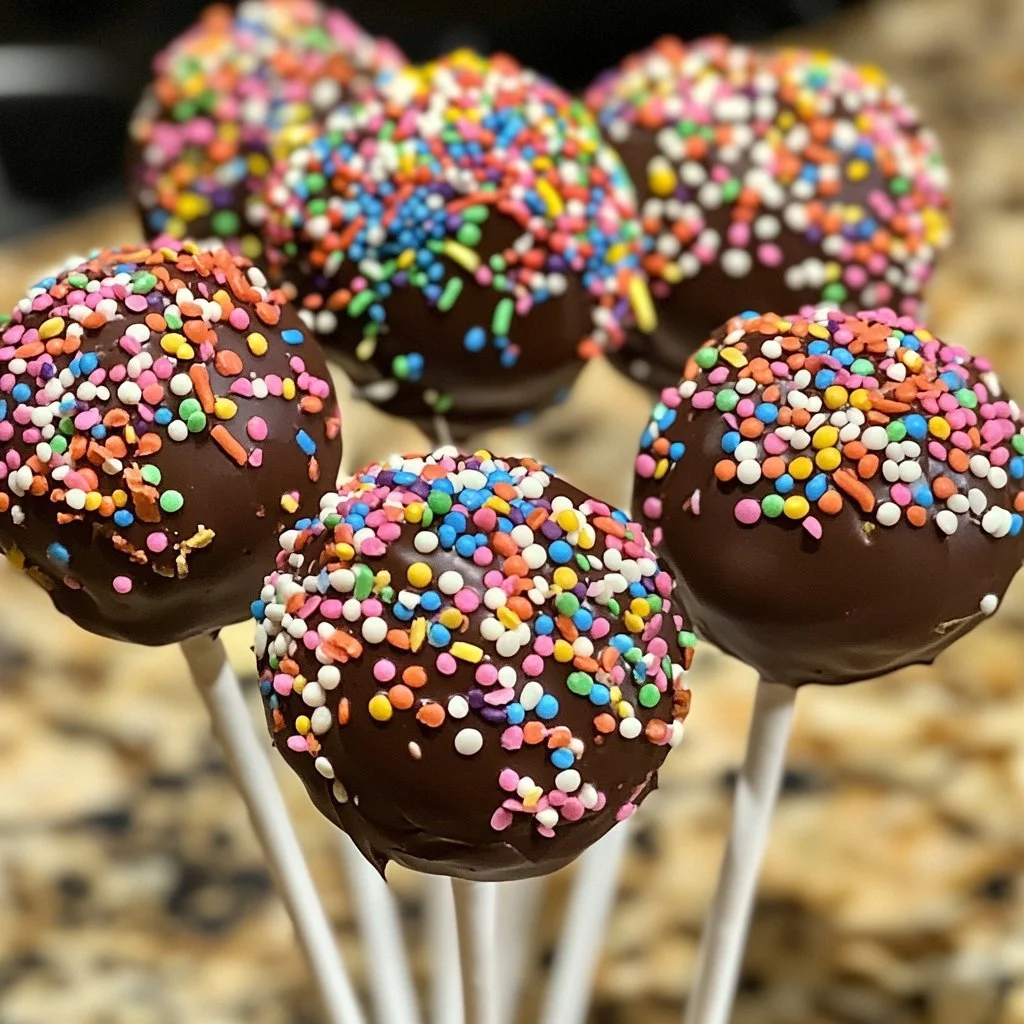
Finally, the candy melts provide a smooth coating that transforms these little balls into polished treats. Sprinkles add flair and charm, making them visually appealing. Cake pops don’t just taste good; they look impressive too!
Preparation/setup
Setting up for making cake pops requires minimal effort. Gather your ingredients: leftover dry cake or a cake mix box, a can of icing, candy melts, candy sticks, and sprinkles. Ensure you have a clean workspace and some wax or parchment paper for easier handling.
Start with your cake. If you’re using a pre-made cake mix, follow the package instructions. After allowing the cake to cool completely, crumble it into fine crumbs in a mixing bowl. This step prepares you for the next essential phase—combining with icing.
Using a mixing bowl, blend the cake crumbs with icing. Start with three-quarters of the icing can, mixing until you hit that ideal dough-like consistency. This mixture should be firm enough to roll but not overly sticky. Adjust accordingly, as this is crucial to achieving the perfect texture for rolling your cake balls.
Ingredients
- 1 leftover dry cake (or 1 cake mix box)
- 1 can of icing
- 1 package of candy melts
- 1 package of candy sticks
- Sprinkles (for decoration)
Directions
- If using a cake mix, bake according to package instructions, then allow it to cool completely. Once cooled, crumble the cake into fine crumbs.
- Combine the cake crumbs with the icing in a mixing bowl. Start with three-quarters of the can, mixing until you achieve a dough-like consistency. Adjust as needed to keep it formable yet not too sticky.
- Roll the mixture into uniform balls and place them on wax or parchment paper.
- Chill the cake balls in the refrigerator for a few hours to achieve a firm texture.
- Melt the candy melts in the microwave according to the package directions, stirring frequently.
- Dip the ends of the candy sticks into the melted candy melts before inserting them into the cake balls.
- Allow the candy coating to harden slightly on the cake balls.
- Dip each cake ball into the melted candy coating, letting excess chocolate drip off.
- If desired, add sprinkles before the coating dries completely, and place them in a cake pop stand to dry.
Part 2 — Perfecting Cake Pops
Technique
The technique in making cake pops is crucial for achieving that professional look. Handling the cake mixture is perhaps the most significant step. When rolling the cake balls, strive for uniformity; this ensures they cook and melt evenly. Smooth, round shapes make for a pleasing appearance and a delightful bite.
Dipping the cake balls into the melted candy melts can feel daunting. However, practice makes perfect! Gently roll the cake ball in the melted coating, allowing excess to drip into the bowl before placing it back on the parchment. This method ensures a neat finish, allowing the candy coating to set beautifully.
Pay attention to the temperature of the candy melts. If they cool down too much, they can become thick and hard to work with. Stir regularly to maintain a smooth consistency, ensuring an even coating.
Tips/tricks
Have fun while making your cake pops! Use colour-coordinated sprinkles tailored to your occasion, making them festive for birthdays or seasonal celebrations. For an extra crunch, experiment by incorporating finely chopped nuts into the cake mixture.
If the dough feels too sticky while rolling, consider chilling it for a while longer. The cold temperature makes handling easier, allowing you to shape the balls without mess. Always keep wax or parchment paper on hand for a fuss-free cleanup.
Using various flavours will keep everyone guessing! Chocolate cake pairs wonderfully with white candy melts, while vanilla works beautifully with colourful melts. The flavour combinations are endless, adding excitement to your baking experience.
Part 3 — Troubleshooting Cake Pops
Perfecting results
Perfecting your cake pops means paying attention to details during the process. If your cake balls fall off the sticks, it can be due to not chilling them long enough. Ensure they set thoroughly in the refrigerator before coating them with melted candy would help.
Alternatively, if the coating appears lumpy or cracked, this often results from dipping too quickly in cooled candy melts. Maintain a smooth heating process, stirring frequently, and only use freshly melted candy for best results.
Make each detail count. Try using a cake pop stand once you’ve coated the pops. This will help maintain the perfect shape while drying and prevent any smudging. Plus, it keeps them upright for serving!
Troubleshooting/variations
Troubleshooting issues that arise can make or break your cake pops. If your candy melts seize up, try adding a small amount of vegetable oil or shortening to restore its consistency. This simple fix can transform a thick mix into a smooth, workable chocolate alternative.
If you want to introduce flavours, feel free to add extracts such as vanilla or almond to your dough mixture. This subtle enhancement can elevate the taste experience, delighting whoever eats them.
Another alternative involves dipping the cake pops in different textures. Try incorporating crushed cookies or coconut flakes after the candy coating. This can elevate them from ordinary to extraordinary, providing a delightful surprise with each bite.
Part 4 — Presenting Cake Pops
Serving/presentation
Presentation plays a crucial role in serving your cake pops. Use a decorative cake pop stand or arrange them in a cute box or basket. Pair visually appealing sprinkles that suit the occasion, reflecting your creativity and thoughtfulness in preparing these delightful treats.
Consider presenting them on a dessert table next to other sweet treats. Their vibrant colours make for an attractive display at any event. A thoughtful arrangement not only pleases the eye but makes your delicious creations even more enticing.
Pairings/storage
A refreshing beverage enhances the enjoyment of cake pops. Serve with milk, fruit juice, or tea for a delightful pairing that balances the sweetness. Cake pops remain delicious for several days when stored correctly.
Keep them in an airtight container at room temperature or in the fridge for an extended treat. They’ll maintain their flavour and texture, ready to be enjoyed later. Avoid exposing them to direct sunlight or other heat sources to prevent melting the coating.
Cake pops provide a perfect sweet bite at any gathering, making them a versatile treat for all occasions. Enjoy your newly created cake pops both immediately and over the next few days!
Cake pops combine creativity, fun, and deliciousness. With these simple steps and careful attention, you’ll master the art of cake pops in no time. Each bite encapsulates joy—one cake ball at a time.
Cake Pops
Ingredients
Method
- If using a cake mix, bake according to package instructions, then allow it to cool completely. Once cooled, crumble the cake into fine crumbs.
- Combine the cake crumbs with the icing in a mixing bowl. Start with three-quarters of the can, mixing until you achieve a dough-like consistency. Adjust as needed.
- Roll the mixture into uniform balls and place them on wax or parchment paper.
- Chill the cake balls in the refrigerator for a few hours to achieve a firm texture.
- Melt the candy melts in the microwave according to the package directions, stirring frequently.
- Dip the ends of the candy sticks into the melted candy melts before inserting them into the cake balls.
- Allow the candy coating to harden slightly on the cake balls.
- Dip each cake ball into the melted candy coating, letting excess chocolate drip off.
- If desired, add sprinkles before the coating dries completely, and place them in a cake pop stand to dry.