
📑 Table of Contents ▶
Creating Delicious Dessert Cups
Welcome to Eatimi! I’m Olivia Hart — a home-cook who believes delicious food doesn’t need complicated techniques. Here I share easy everyday recipes, family meals, quick ideas for busy days and helpful kitchen tips to make cooking simple and fun. My goal is to help you feel confident in the kitchen and enjoy homemade food with joy, comfort, and love. 💛
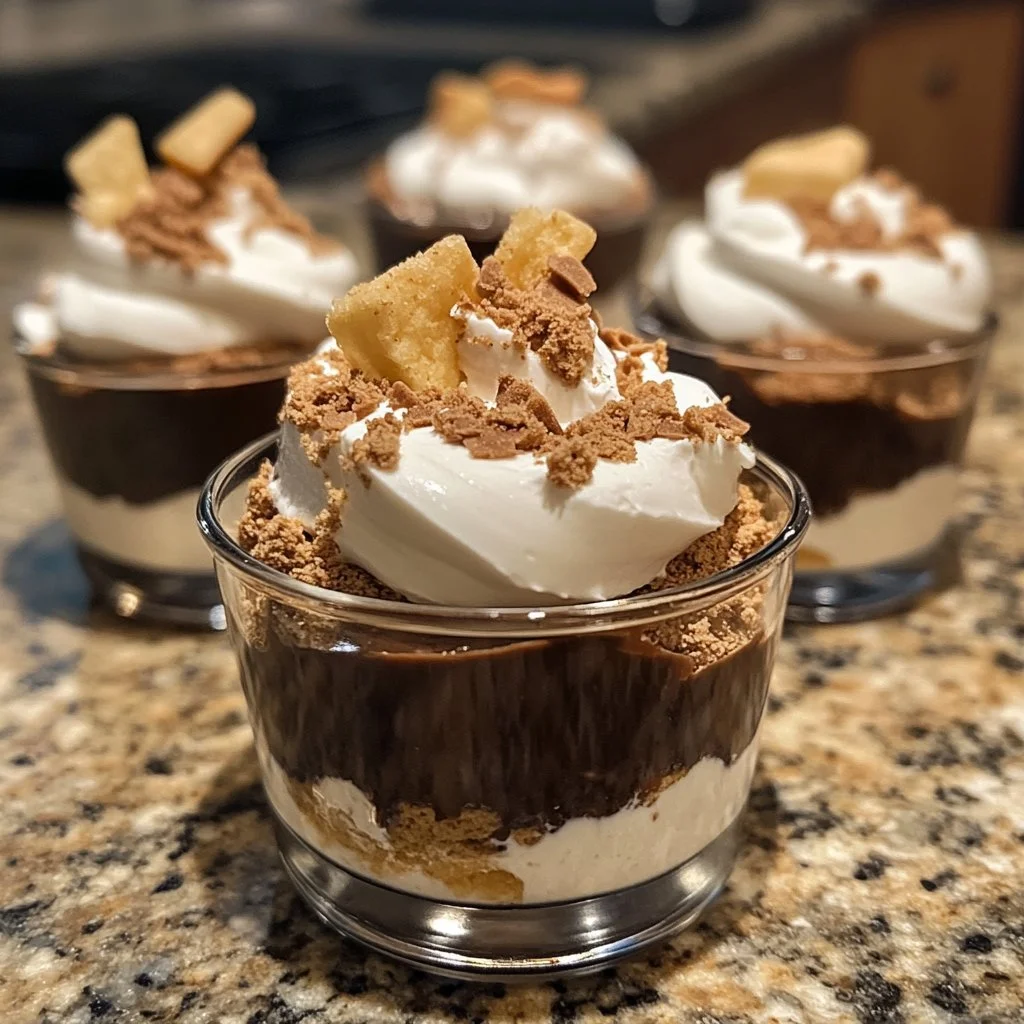
Creating delicious dessert cups offers a perfect way to showcase a variety of sweet treats. I fondly remember the first time I made these delightful cups for a gathering with friends. Each layer seemed to tell a story, mixing textures and flavours while bringing everyone together in a sweet celebration. It felt wonderful to see smiles spread across faces as they indulged in the layered creations.
Dessert cups invite creativity and fun while keeping the process simple. Using ingredients like cream cheese, chocolate pudding, and crushed Oreos makes building these desserts a breeze. You can mix and match flavours or play with toppings to create a personal touch that suits your taste.
These dessert cups provide an opportunity to impress at any occasion. With layers that invite exploration, they captivate both the eye and the palate. So, let’s dive right into the process of creating these delicious dessert cups that are sure to please everyone.
Delicious Dessert Cups: Fundamentals
Creating delicious dessert cups starts with understanding the essential components. Each layer offers unique textures and flavours that blend beautifully. It’s about balancing sweetness, creaminess, and crunch for a delightful treat that everyone will enjoy.
Choosing the right ingredients plays a critical role. Cream cheese will form a smooth and rich base for your cheesecake layer, while chocolate pudding provides a decadent contrast. The crushed Oreos bring a satisfying crunch that elevates the whole dessert experience.
Preparation also matters. Ensure all ingredients are at the right temperature before starting. Softening the cream cheese ensures a smooth blend with the powdered sugar and vanilla. The whipped cream lightens up the mixture, making it airy and delightful.
Preparation/Setup
Start by gathering all your ingredients and tools. Having everything within reach streamlines the process, making it more enjoyable. Use clear cups or glasses for serving to showcase the gorgeous layers.
Set your workspace with a mixing bowl, spatula, and measuring cups ready to go. This setup creates an efficient environment for assembling your delicious dessert cups. Proper organisation helps prevent mishaps and ensures a seamless experience from start to finish.
Measure out 8 oz of softened cream cheese, 1 cup of powdered sugar, and 1 teaspoon of vanilla extract for the cheesecake layer. For the next layers, prepare 2 cups of chocolate pudding, and have 1 cup of crushed Oreo cookies and fresh fruit like strawberries and blueberries ready to incorporate.
Ingredients
To create these delicious dessert cups, you will need the following ingredients:
- 8 oz cream cheese, softened
- 1 cup powdered sugar
- 1 teaspoon vanilla extract
- 1 cup heavy whipping cream
- Fresh fruit (strawberries, blueberries, etc.)
- 1 cup crushed Oreo cookies
- 2 cups chocolate pudding
- Gummy worms (optional)
- Crushed graham crackers or additional crushed cookies for topping
These ingredients are essential for crafting each layer, offering a blend of flavours and textures that will captivate any audience. The combination of cream cheese with whipped cream provides an ultra-creamy cheesecake layer, while the chocolate pudding adds richness that steals the show.
Directions
Start by preparing the no-bake cheesecake layer. In a mixing bowl, beat the softened cream cheese, powdered sugar, and vanilla extract until the mixture becomes smooth and fully blended.
Next, fold in your heavy whipping cream gently. Make sure to combine the whipped cream until the mixture gains a light, fluffy texture. This is crucial for achieving that decadent cheesecake mouthfeel everyone loves.
Begin layering the ingredients in your cups. Start with a layer of the cheesecake mixture, followed by a layer of fresh fruit. This combination offers a refreshing contrast against the rich cheesecake.
Next, create the Oreo mousse layer by mixing the crushed Oreos with more whipped cream. Add this layer to your cups after the fresh fruit, allowing each bite to offer a delightful crunch.
Prepare your dirt pudding by layering the chocolate pudding with crushed cookies and gummy worms if you desire. This playful inclusion adds a whimsical touch to your dessert cups.
Top each cup with an additional dollop of whipped cream along with any toppings you prefer — whether it’s more crushed cookies or sprinkles. Chill the dessert cups for at least an hour before serving to let the flavours meld together beautifully.
Advanced Techniques for Delicious Dessert Cups
Once you master the basics of creating delicious dessert cups, consider expanding your skills and experimenting with different flavours and textures.
Technique
Using different techniques can enhance the appeal of your dessert cups. Try incorporating various fruits, like raspberries or bananas, for added diversity in taste and colour. You may also experiment with flavouring the whipped cream, perhaps adding a sprinkle of cocoa powder or a dash of almond extract for an interesting twist.
Deciding how you layer your ingredients can make a big impact. Use a piping bag for the whipped cream to create elegant swirls atop each cup. This simple technique adds a professional touch to your dessert presentation.
Feel free to mix in additional flavours into your chocolate pudding as well. Stirring in a dollop of peanut butter or caramel can elevate the taste profile and surprise your guests with new dimensions.
Tips/Tricks
To achieve the best results, consider these tips. If you wish for a firmer cheesecake layer, chill it longer before serving. This ensures it holds its shape when layered.
When preparing crushed cookies, consider using a food processor for an even grind. However, if you prefer a chunkier texture, place the cookies in a zip-lock bag and crush them manually with a rolling pin. This method provides a satisfying crunch that enhances each bite.
Mixing and layering your ingredients in clear cups allows everyone to see the beautiful layers. Remember to create equal layers for balance in flavours. It’s also helpful to use a small offset spatula to smooth out the layers for an aesthetically pleasing finish.
Perfecting Results with Your Dessert Cups
Taking the time to refine your technique ensures delicious dessert cups each time you make them. Understand how to troubleshoot common issues and explore variations to keep your creations exciting.
Perfecting Results
For a visually appealing presentation, ensure your layers are distinct. Use a spoon or spatula to gently spread each layer, avoiding mixing them together. Keeping each section carefully separated adds to the overall charm of the dessert.
Consider using mini cups or mason jars for serving. These charming vessels can make for a more rustic presentation while providing a generous portion for each guest.
Taste-testing is vital. As you layer, ensure each component complements the others. If you find the cheesecake too sweet, consider adjusting the powdered sugar. It’s always good to keep tasting until you achieve the perfect balance.
Troubleshooting/Variations
If your layers begin to blend or lose their shape, more chilling can help restore firmness. If you prefer more texture, play around with the ratios, and introduce different elements.
For variations, switch out the cream cheese for mascarpone for a different flavour profile. If Oreos aren’t your preference, any chocolate cookie will work. Lastly, consider adding some mint extract to freshen up the dessert experience.
Presenting Your Delicious Dessert Cups
Presentation makes all the difference in showcasing your hard work. Ensuring an appealing display invites your guests to dig in.
Serving/Presentation
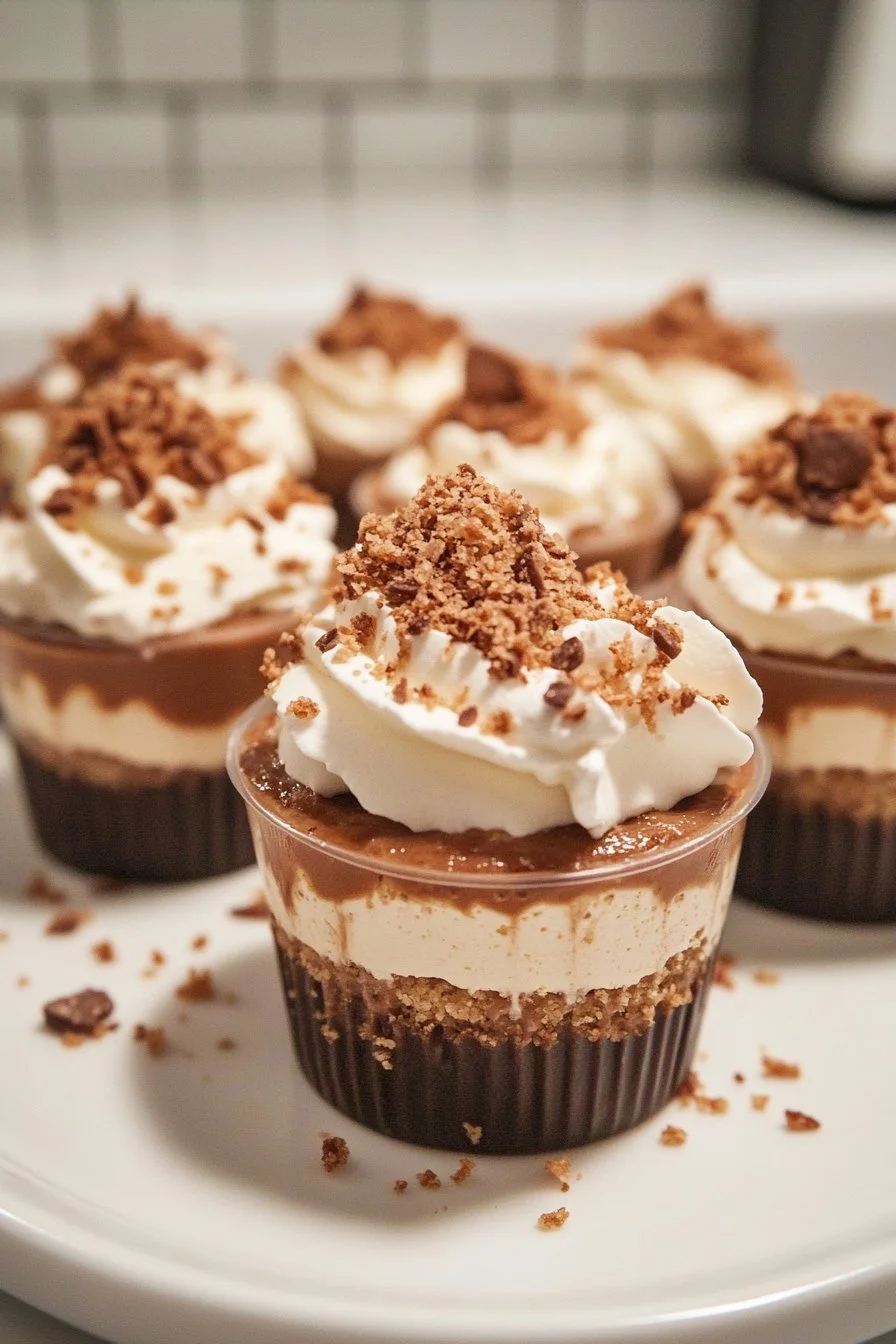
When ready to serve, arrange your dessert cups on a pretty platter for a delightful display. Consider garnishing each cup with fresh fruit, such as a slice of strawberry or a few blueberries for added visual appeal.
Utilise whipped cream strategically to create a beautiful swirl on top and elevate the final presentation. You can also sprinkle some crushed cookies or chocolate shavings on top for an eye-catching finish.
Crafting dessert cups in a variety of cup sizes can cater to different appetites. You could create mini cups for an after-dinner treat or larger portions for a more indulgent dessert experience.
Pairings/Storage
These delicious dessert cups pair well with a variety of toppings and side snacks. Consider serving them with a side of coffee or hot chocolate for a comforting dessert experience.
Store any leftovers in an airtight container in the fridge. The cups will remain fresh for up to three days, allowing you to enjoy your creations over several days.
Experimenting with your dessert cups provides endless possibilities for flavor combinations and presentations, ensuring delicious treats are always on hand for you and your loved ones.
Creating delicious dessert cups is a fun activity that brings people together over delightful layers of rich, sweet goodness. Embrace your inner creativity, and enjoy making and sharing these tasty treats!
Delicious Dessert Cups
Ingredients
Method
- In a mixing bowl, beat the softened cream cheese, powdered sugar, and vanilla extract until smooth.
- Gently fold in the heavy whipping cream until light and fluffy.
- Start with a layer of the cheesecake mixture in clear cups.
- Add a layer of fresh fruit over the cheesecake layer.
- Prepare the Oreo mousse layer by mixing the crushed Oreos with some whipped cream and add this layer on top of the fresh fruit.
- Layer chocolate pudding over the Oreo mousse, and if desired, include gummy worms for fun.
- Top with a dollop of whipped cream and any desired toppings before chilling.
- Chill the dessert cups for at least an hour before serving to let the flavors meld.
- Serve the dessert cups on a pretty platter, garnished with seasonal fruits or sprinkles.