
📑 Table of Contents ▶
Custom Cupcakes
Welcome to Eatimi ! I’m Olivia Hart — a home-cook who believes delicious food doesn’t need complicated techniques. Here I share easy everyday recipes, family meals, quick ideas for busy days and helpful kitchen tips to make cooking simple and fun. My goal is to help you feel confident in the kitchen and enjoy homemade food with joy, comfort and love. 💛
Tantalising aromas from the kitchen often stir up fond memories. Custom cupcakes hold a special place in my heart, conjuring up visions of laughter-filled birthdays and simple get-togethers. Each cupcake tells a story, a sweet moment captured in a fluffy, moist bite. The beauty of cupcake-making lies in its versatility. Using some basic ingredients, you can create a delightful array of flavours and textures to please every palate.
While my family always enjoyed classic vanilla cupcakes, I discovered early on that adding personal touches transforms them into something magical. Think of custom cupcakes as a blank canvas. You can craft your own masterpieces by adding chocolate chips, nuts, or fruity purees. Each creation becomes a unique expression of taste, adding excitement to any occasion.
Baking custom cupcakes may seem daunting, but rest assured, it’s a straightforward task anyone can master. The joy of creating these treats extends beyond simple baking; it’s about sharing love through food. Let’s dive into the delightful world of cupcakes and create something special together.
Custom Cupcakes Fundamentals
Preparation/setup
Getting ready to make custom cupcakes sets the stage for success. Start by gathering your ingredients: 1 ½ cups of all-purpose flour, 1 cup of granulated sugar, ½ cup of softened unsalted butter, 2 large eggs, ½ cup of milk, 1 ½ teaspoons of baking powder, 1 teaspoon of vanilla extract, and a pinch of salt. Optional ingredients like chocolate chips or nuts can elevate the flavour.
Preheat your oven to 350°F (175°C). This crucial step ensures that your cupcakes bake evenly, producing that light texture we all crave. Prepare your cupcake liners in a tray. If you use reusable silicone liners, you can skip this step; just give them a quick rinse before use.
Ingredients
Every cupcake recipe revolves around core ingredients, and custom cupcakes are no different. The beauty lies in the balance; good quality ingredients work wonders. Use all-purpose flour for that perfect rise, while granulated sugar caramelises slightly during baking, giving a delightful sweetness. The unsalted butter, when creamed with sugar, creates a light and creamy base.
Eggs play a crucial role in binding the mixture together and adding moisture. Milk enhances the texture, providing that melt-in-your-mouth softness. Don’t underestimate the power of vanilla extract; it adds depth to the flavour profile. A pinch of salt enhances the sweetness, rounding off the taste wonderfully.
You can also experiment with add-ins. A handful of chocolate chips could transform a classic cupcake into a chocolate lover’s dream. Nuts can add a pleasant crunch, while fruity purees can introduce vibrant colours and flavours. Customisation is truly limitless.
Directions
Creating custom cupcakes unfolds in several simple steps. Begin by creaming the softened butter and granulated sugar together in a mixing bowl. Aim for a light and fluffy consistency—this can take a few minutes. Once you achieve that, add the eggs one at a time. Ensure each one blends thoroughly before adding the next. Stir in your vanilla extract to give it that beautiful aroma.
In a separate bowl, combine the flour, baking powder, and salt. Gradually mix this dry mixture into the creamy butter and sugar blend. Do this in stages, alternating with the milk. Start and end with the flour mixture to maintain a consistent texture. It’s essential not to overmix; mix just until combined. A few lumps are perfectly acceptable.
Now it’s time to fill the cupcake liners! Pour the batter into each liner, filling them about two-thirds full. This space allows the cupcakes to rise beautifully without overflowing. Place the tray in your preheated oven and bake for 18 to 20 minutes. They’re ready when a toothpick inserted into the centre comes out clean.
Once they’re done, allow the cupcakes to cool completely. This step is crucial before you add your favourite frosting or toppings, as it prevents melting. The anticipation of decorating these beautiful cupcakes adds to the overall excitement.
Custom Cupcakes Technique
Tips/tricks
When crafting custom cupcakes, a few techniques can elevate your baking game. Understanding the science behind baking will make you more confident in the kitchen. First, room temperature ingredients mix more smoothly, creating a better texture. Ensure that your butter, eggs, and milk have warmed to room temperature before beginning.
Another key tip is to sift your flour and baking powder. This process aerates the dry ingredients and removes unwanted lumps, contributing to a lighter cupcake. Additionally, consider blending the butter and sugar longer for a fluffier outcome. The more air you incorporate into this mixture, the more volume your cupcakes will achieve.
Finally, don’t shy away from customisation. Explore flavour combos based on ingredients you adore. A hint of almond extract can add a delightful twist, or you might want to infuse the batter with zesty citrus for a refreshing finish.
Customisation Ideas
Custom cupcakes welcome a creative approach, so feel free to experiment. If you have a sweet tooth, try incorporating chocolate chips or chunks of your favourite candy into the batter. A handful of chopped nuts can add texture and balance the sweetness.
Consider using fruit purees for a natural flavour boost. Banana, apple, or even pumpkin puree can work wonders, giving moisture and taste. These variations also allow you to accommodate dietary needs effortlessly, like making gluten-free versions if you use alternative flour.
Don’t forget about the frosting! Experiment with different buttercream flavours or even cream cheese frosting if you want something tangy. Colourful sprinkles or chocolate shavings as toppings can add visual appeal. The possibility for customisation truly makes this recipe a treasure trove of enjoyment.
Custom Cupcakes Perfection
Perfecting results
Achieving perfect custom cupcakes lies within attention to detail. Monitoring your oven temperature ensures even baking. An oven thermometer can be a nice tool, as home ovens can sometimes misinterpret the intended heat.
Timing also plays a crucial role. Start checking the cupcakes towards the end of the baking time with a toothpick or cake tester. If you see a few crumbs sticking to the toothpick, remove them from the oven; they will continue cooking slightly even after being taken out.
Let the cupcakes cool on a rack instead of the tray. This practice prevents soggy bases and allows the air to circulate, enhancing their overall texture. Once cooled, you can frost them.
Troubleshooting/variations
Baking can sometimes have unexpected outcomes. If your cupcakes turn out too dense, it often results from overmixing the batter. Next time, be gentle and mix just until combined. Conversely, if they dome too much or overflow, try reducing the temperature slightly or filling the liners less.
If the flavour feels off, consider revisiting the sugar-to-flour ratio. Custom cupcakes often allow for tweaks, so balance sweetness with the right amount of salt, as it can enhance taste significantly.
By keeping these troubleshooting tips in mind, you can adjust and perfect your recipe to suit your tastes. Experimenting will lead to creating a cupcake that not only looks good but tastes even better.
Custom Cupcakes Serving and Storage
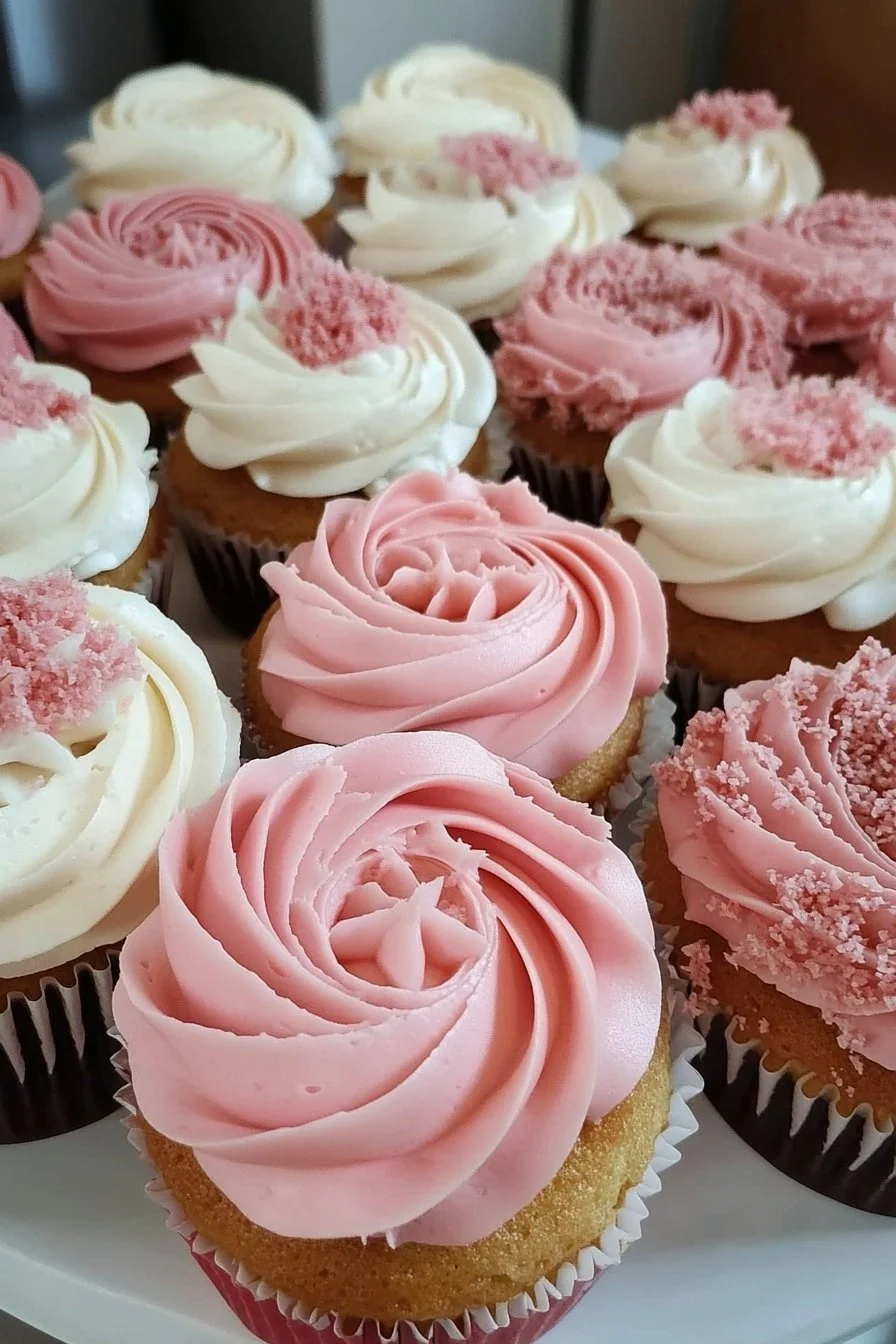
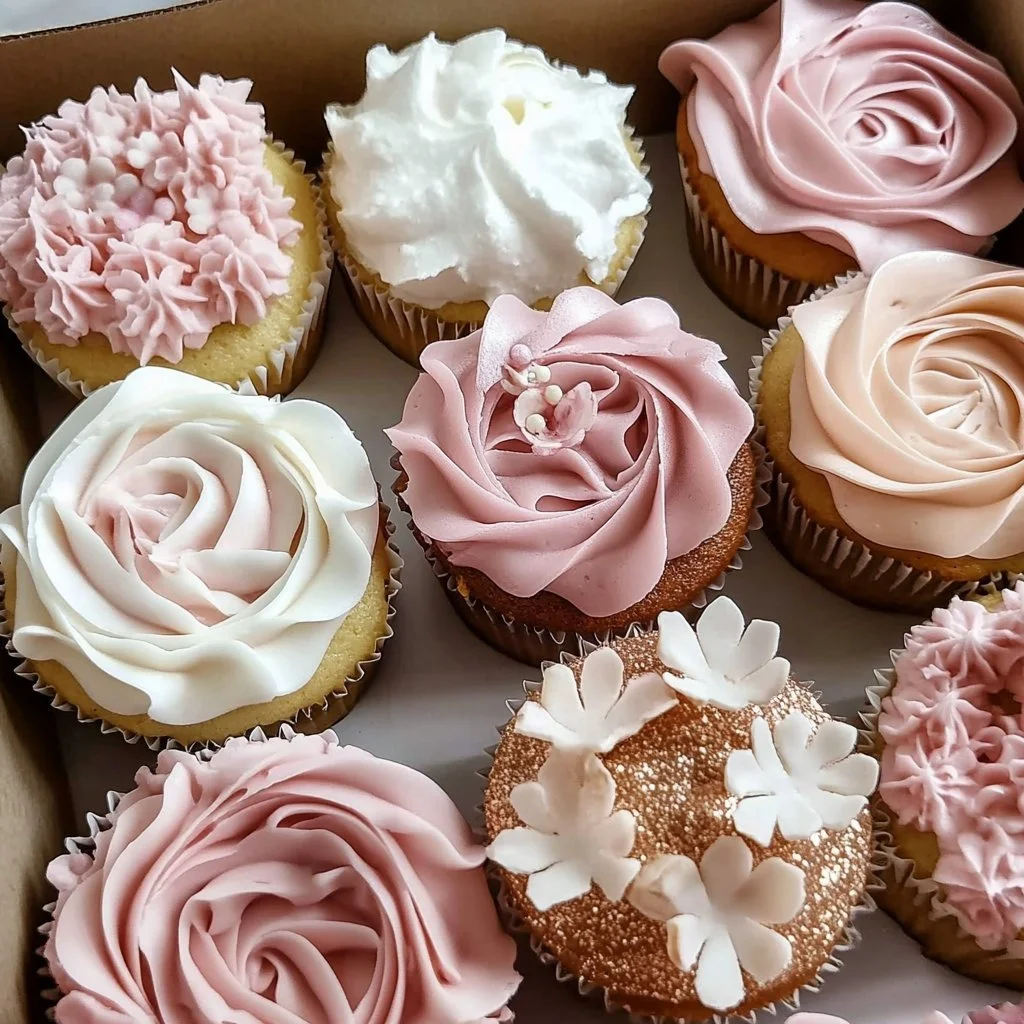
Presentation ideas
When it comes to presenting your custom cupcakes, let creativity guide you. Once frosted, arrange them beautifully on a cake stand for a stunning display. Use colourful cupcake liners or decorative wrappers to add an extra layer of charm.
Adding edible decorations like fruit slices, edible glitter, or themed picks can further enhance their visual appeal. A simple touch of icing dusted with cocoa or coconut can elevate their presentation, making them suitable for special occasions.
Consider diverse flavours for an appealing assortment to impress family and friends. This variety of cupcakes will not only showcase your baking prowess but make the table inviting and delightful.
Storage tips
Keeping your custom cupcakes fresh extends their enjoyment. Store them in an airtight container at room temperature if your kitchen is cool. This storage method generally keeps them fresh for 2 to 3 days without wilting.
If you prefer to go longer between baking and consumption, freezing cupcakes is an option. Allow them to cool completely, then wrap each one in cling film and store them in a freezer bag. They can last up to three months this way. Thaw them overnight in the refrigerator and let them come to room temperature before serving.
Frosting can be stored separately in the fridge and then applied before serving. This way, you enjoy the freshness of your baked goods at any moment.
Custom cupcakes create joy with every bite. They shine as both delicious desserts and blank canvases for creativity in the kitchen. Whether you’re baking for a celebration or simply indulging your sweet tooth, these delightful creations provide comfort and satisfaction. The journey into the world of custom cupcakes promises to be fun, delicious, and utterly rewarding.
Custom Cupcakes
Ingredients
Method
- Preheat your oven to 350°F (175°C) and prepare your cupcake liners.
- Cream together the softened butter and granulated sugar until light and fluffy.
- Add in eggs one at a time, mixing thoroughly after each addition.
- Stir in the vanilla extract.
- In a separate bowl, combine the flour, baking powder, and salt.
- Gradually mix the dry ingredients into the butter and sugar mixture, alternating with the milk.
- Start and end with the flour mixture to maintain a consistent texture. Mix just until combined.
- Fill the cupcake liners two-thirds full with batter.
- Bake in the preheated oven for 18 to 20 minutes or until a toothpick comes out clean.
- Allow cupcakes to cool completely before frosting.