
📑 Table of Contents ▶
- Italian Herbs and Cheese Bread: The Fundamentals
- Understanding the Ingredients
- Preparation and Setup
- Kneading and Rising the Dough
- The Technique of Kneading
- Allowing the Dough to Rise
- Baking and Cooling the Bread
- Preparing to Bake
- The Baking Process
- Perfecting Italian Herbs and Cheese Bread
- Technique and Tips
- Troubleshooting Common Issues
- Serving and Storing Your Bread
- Presentation Ideas
- Pairings and Storage Solutions
- Conclusion
- Ingredients
- Method
Italian Herbs and Cheese Bread
Welcome to Eatimi! I’m Olivia Hart — a home-cook who believes delicious food doesn’t need complicated techniques. Here I share easy everyday recipes, family meals, quick ideas for busy days, and helpful kitchen tips to make cooking simple and fun. My goal is to help you feel confident in the kitchen and enjoy homemade food with joy, comfort, and love. 💛
The aroma of freshly baked Italian herbs and cheese bread fills the kitchen, wrapping you in warmth and comfort. I remember the first time I baked a loaf like this. The house smelled divine, and as it rose in the oven, my excitement grew. Each ingredient played its part, transforming into a delicious masterpiece.
This recipe uses simple ingredients that create an extraordinary taste. The blend of dried Italian herbs and gooey cheese makes every bite a heavenly experience. There’s something truly magical about pulling a loaf from the oven, golden brown and ready to be enjoyed with family and friends.
Making Italian herbs and cheese bread connects us to our roots, celebrating flavours that have stood the test of time. As you dive into this recipe, you’ll realize the joy of baking and sharing wonderful food with those you love.
Italian Herbs and Cheese Bread: The Fundamentals
Understanding the Ingredients
Italian herbs and cheese bread relies on straightforward ingredients that contribute to its flavour and texture. The backbone of this recipe is four cups of all-purpose flour, providing a sturdy base for the loaf. The active dry yeast, a packet of 2¼ teaspoons, is essential for that lovely rise, making the bread light and airy.
Warm water at about 110°F helps activate the yeast, kickstarting fermentation. A tablespoon of salt balances the flavours, while a tablespoon of sugar nourishes the yeast, helping it thrive in this warm environment. The star of this bread is undoubtedly the two tablespoons of dried Italian herbs. These herbs, such as basil, oregano, thyme, and rosemary, introduce aromatic notes that evoke the essence of Italy.
Let’s not forget the cheese! One cup of shredded mozzarella and half a cup of grated Parmesan add richness and a delightful gooeyness to each slice. With these ingredients at hand, you can create a loaf that’s irresistibly cheesy and herbaceous.
Preparation and Setup
Before diving into baking, prepare your workspace. A clean, floured surface will be your home for kneading the dough. Grab a large mixing bowl for the initial combining of ingredients. It’s vital to have everything measured out to ensure a smooth process.
Begin by mixing the warm water, sugar, and yeast in your bowl. This step activates the yeast, setting the foundation for your bread’s rise. Wait for about five minutes until the mixture froths—this indicates the yeast is working its magic.
Once you see those bubbles, add the all-purpose flour, salt, dried Italian herbs, shredded mozzarella, and grated Parmesan. Mix these ingredients until a sticky dough forms. The sticky texture signals a hearty base for the dough, ready for kneading.
Kneading and Rising the Dough
The Technique of Kneading
Transfer the sticky dough onto your floured surface. Knead it for approximately 8-10 minutes, working the dough until it becomes smooth and elastic. Kneading develops gluten, which gives the bread its structure, allowing it to rise beautifully.
As you knead, be sure to incorporate flour as necessary to prevent sticking, but use it sparingly. The goal is a dough that feels slightly tacky but not overly wet. If you find your hands covered in dough, that’s a good sign you’re on the right track!
Allowing the Dough to Rise
Once kneading is complete, place the dough in a greased bowl. Cover it with a clean kitchen towel to retain warmth and moisture. Allow it to rise in a warm place for 1-2 hours or until it doubles in size. This step is crucial; the yeast works hard to create air pockets, making your bread fluffy.
After the dough has risen, gently punch it down to release the trapped air. This technique helps redistribute the yeast, ensuring an even texture throughout the loaf. At this stage, you can shape the dough into a loaf or place it into a greased bread pan, offering versatility in presentation.
Baking and Cooling the Bread
Preparing to Bake
Allow the shaped dough to rise again for another 30 minutes, giving it time to puff up a bit more. Preheat your oven to 450°F (230°C) during this time, ensuring that it is hot enough for a perfect bake.
As the oven heats, you’ll notice the dough expands, revealing its potential. The anticipation builds as you think about that golden crust and cheesy interior.
The Baking Process
Once the oven reaches the desired temperature, gently place your risen dough inside. Bake the bread for 25-30 minutes. As it bakes, the house fills with the irresistible scent of herbs and cheese. Watch as it transforms into a beautifully golden brown loaf, its crust becoming firm and inviting.
When the baking time is up, check the bread by tapping its bottom; if it sounds hollow, it’s done. Allow the bread to cool on a wire rack before slicing. This step helps maintain the structure and prevents it from becoming soggy.
Perfecting Italian Herbs and Cheese Bread
Technique and Tips
Baking bread is equal parts art and science. Pay attention to details, such as water temperature, to ensure the yeast remains active. Too hot, and it might die; too cool, and it will struggle to rise.
Additionally, adapt the recipe to fit your preferences. Consider mixing in different cheeses or herbs based on what you have available. Fresh herbs can also provide a unique twist if you wish. Experimentation allows you to discover new layers of flavour in your bread.
Troubleshooting Common Issues
If your bread doesn’t rise as expected, it might be due to the yeast not activating properly. Ensure the water is at the ideal temperature; a thermometer can help. If the dough feels dense, it might need extra time to rise or could benefit from a bit more kneading.
Should you encounter a crust that’s too hard, try covering the bread with foil halfway through baking. This technique can help achieve that perfect balance—crispy yet soft.
Serving and Storing Your Bread
Presentation Ideas
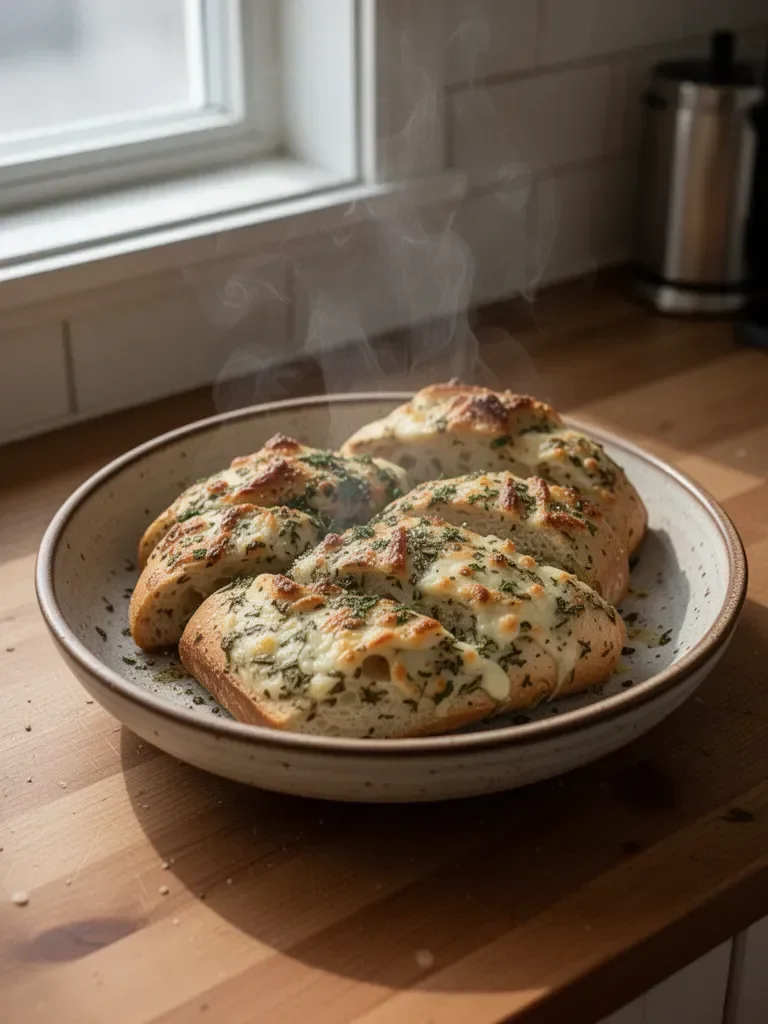
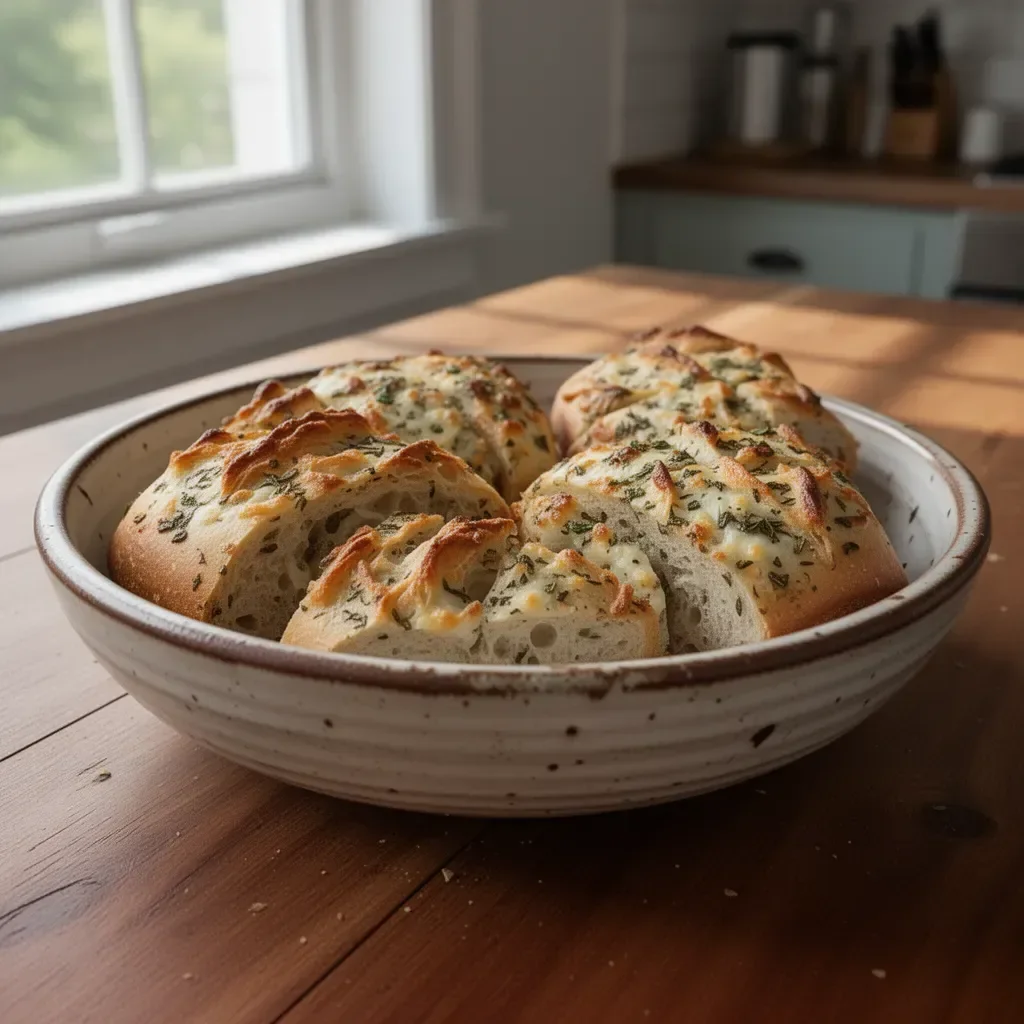
Slice the Italian herbs and cheese bread and serve it warm. Whether it’s enjoyed as a side at dinner, a snack, or used for sandwiches, it shines in various occasions. Presentation can elevate the eating experience. Consider laying slices on a rustic wooden board, perhaps with a drizzle of olive oil or a sprinkle of additional herbs for added flair.
Pairings and Storage Solutions
Pair this bread with hearty soups or stews, enhancing a comforting meal. It works exceptionally well with Italian-inspired dishes or as a base for a bruschetta. For storage, wrap any leftover bread in a cloth or plastic wrap to maintain freshness. You can also freeze it in a sealed bag, allowing you to enjoy homemade bread even on busy days.
Conclusion
The process of baking Italian herbs and cheese bread invites creativity and warmth into any kitchen. From the initial mixing of ingredients to the delightful scent wafting from the oven, each moment holds joy. With this recipe, you’ll create your own masterpiece, combining simple ingredients into something profoundly satisfying.
Embrace the experience of sharing and creating this bread with loved ones, making every occasion feel special. Whether enjoyed fresh from the oven or later as leftovers, this bread brings its charm, flavour, and comfort to every table. Every loaf tells a story, uniting families over shared meals and memories.
Italian Herbs and Cheese Bread
Ingredients
Method
- Prepare a clean, floured surface for kneading the dough.
- In a large mixing bowl, mix warm water, sugar, and yeast. Let it sit for 5 minutes until frothy.
- Add all-purpose flour, salt, dried Italian herbs, shredded mozzarella, and grated Parmesan to the yeast mixture.
- Mix the ingredients until a sticky dough forms.
- Transfer the sticky dough onto the floured surface and knead for approximately 8-10 minutes until smooth and elastic.
- Incorporate flour as necessary to prevent sticking, but avoid over-flouring.
- Place the kneaded dough in a greased bowl and cover with a kitchen towel. Let it rise in a warm place for 1-2 hours or until doubled in size.
- Punch down the dough gently to release trapped air and shape into a loaf or place into a bread pan.
- Let the shaped dough rise again for another 30 minutes.
- Preheat your oven to 450°F (230°C).
- Once preheated, place the risen dough in the oven and bake for 25-30 minutes until golden brown.
- Check if the bread is done by tapping its bottom; it should sound hollow. Cool on a wire rack before slicing.