
📑 Table of Contents ▶
- Fundamentals
- Preparation/setup
- Directions
- Crafting the Perfect No-Bake Cheesecake Bites
- Technique
- Tips/tricks
- Perfecting Your Cheesecake Bites
- Perfecting results
- Troubleshooting/variations
- Serving Ideas and Storage Tips
- Serving/presentation
- Pairings/storage
- Concluding Thoughts on No-Bake Pink Velvet Cheesecake Bites
- Ingredients
- Method
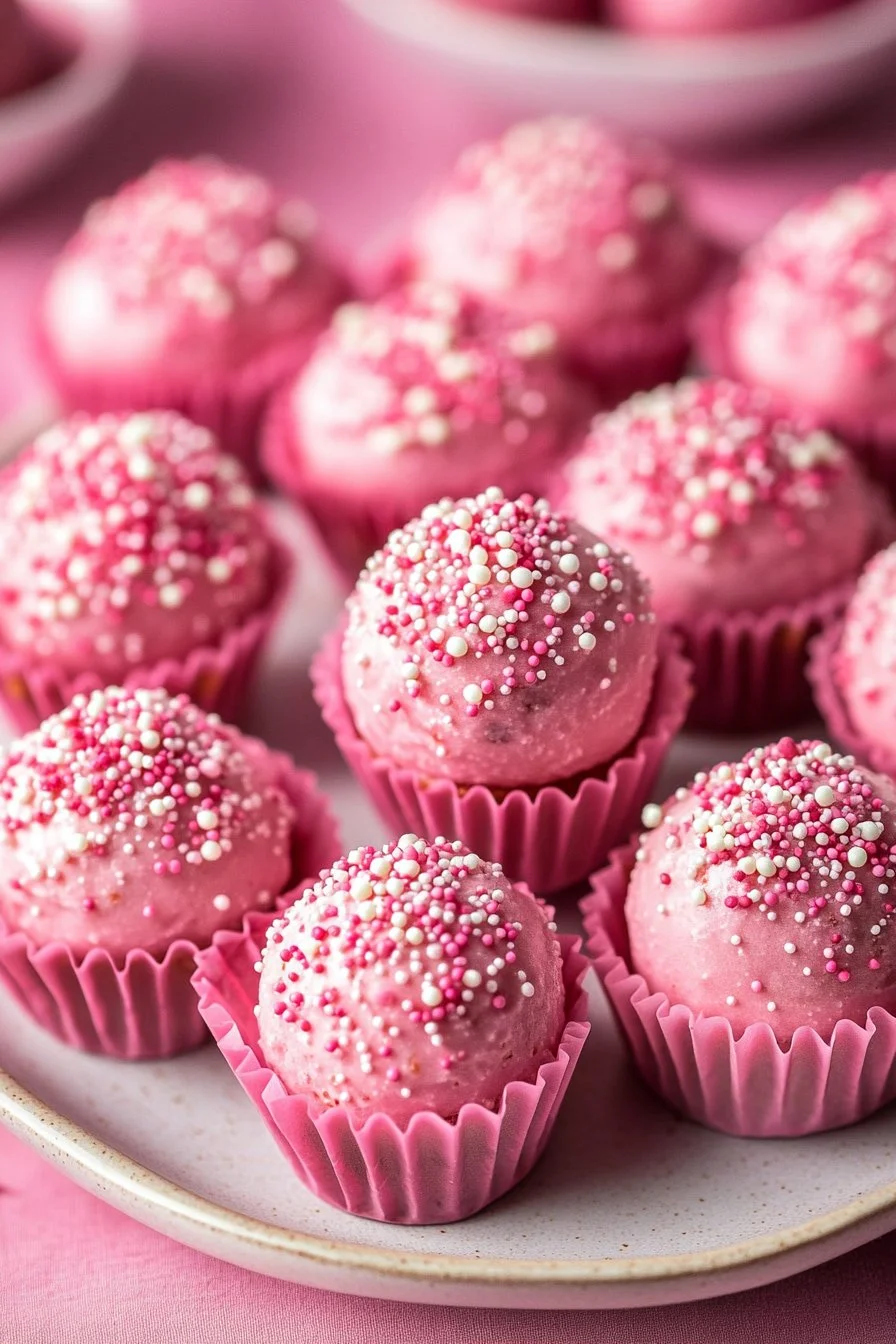
No-Bake Pink Velvet Cheesecake Bites
Welcome to Eatimi! I’m Olivia Hart — a home-cook who believes delicious food doesn’t need complicated techniques. Here I share easy everyday recipes, family meals, quick ideas for busy days and helpful kitchen tips to make cooking simple and fun. My goal is to help you feel confident in the kitchen and enjoy homemade food with joy, comfort and love. 💛
Nothing quite compares to the joy of making a dessert that brings a smile — like No-Bake Pink Velvet Cheesecake Bites. These delightful treats hold a special place in my heart, reminding me of family gatherings filled with laughter and love. The vibrant pink color and creamy texture create an inviting dessert that stands out at any occasion.
I remember one sunny afternoon when my niece and I decided to whip up a batch of these cheesecake bites. It felt like a mini celebration right in our kitchen. We laughed as we poured the pink food coloring into the cheesecake mixture, excited about the transformation. Each bite offered the perfect balance of sweetness and creaminess, instantly transporting us to happier times.
Preparing these cheesecake bites is incredibly easy, making them ideal for busy days or impromptu gatherings. Their no-bake nature allows anyone to enjoy a delicious dessert without the stress of baking. Let’s dive into the recipe for these stunning No-Bake Pink Velvet Cheesecake Bites, sure to impress friends and family alike.
No-Bake Pink Velvet Cheesecake Bites
Fundamentals
When crafting No-Bake Pink Velvet Cheesecake Bites, understanding the basics behind the ingredients enhances your overall experience. This recipe revolves around a few key components. First, the graham cracker crust provides a crunchy base that contrasts beautifully with the creamy filling. Additionally, the use of cream cheese gives these cheesecake bites their rich, velvety texture.
The pink food coloring not only adds a fun splash of colour but also heightens the visual appeal of this dessert. With just a handful of simple ingredients, you can create a lovely treat capable of delighting dessert enthusiasts young and old.
Preparing this no-bake cheesecake requires minimal kitchen tools, making it an accessible option for anyone. Gather a mixing bowl, a baking dish, and a whisk or electric mixer — that’s all you need.
Preparation/setup
To start, gather the ingredients: graham cracker crumbs, granulated sugar, unsalted butter, cream cheese, powdered sugar, heavy cream, vanilla extract, pink food coloring, and whipped cream. Once you have everything on hand, you will feel ready to embark on this sweet adventure.
Begin by making the graham cracker crust. Combine graham cracker crumbs, granulated sugar, and melted butter in a bowl. Mix the ingredients until they form a sandy texture. Then, firmly press the mixture into the bottom of a 9-inch square baking dish. This crust will create the foundation for your cheesecake bites and add a satisfying crunch.
Once the crust is set, you’ll move on to preparing the cheesecake filling. Beat the softened cream cheese in a large mixing bowl until it reaches a smooth and creamy consistency. Add the powdered sugar, heavy cream, vanilla extract, and pink food coloring. Mix everything together until fully combined and fluffy, creating a delightful filling bursting with flavour.
Spread the cheesecake filling evenly over the crust, ensuring every bite will be heavenly. Next, refrigerate the dish for at least four hours, allowing the cheesecake to set properly. The anticipation builds during this time, but the reward will be worth it.
Ingredients
Before diving into the final steps, it’s essential to have all your ingredients ready. Here’s the complete list for these delicious No-Bake Pink Velvet Cheesecake Bites:
- 1 cup graham cracker crumbs
- 1/4 cup granulated sugar
- 1/2 cup unsalted butter, melted
- 16 oz cream cheese, softened
- 1 cup powdered sugar
- 1/2 cup heavy cream
- 1 tsp vanilla extract
- 1 tbsp pink food coloring
- 1/2 cup whipped cream
- Sprinkles (optional)
With these ingredients at your disposal, the process becomes even more exciting. Each component plays a crucial role in delivering the delightful taste you seek. Ready to continue? Let’s move on to the directions to create these irresistible cheesecake bites.
Directions
- In a medium bowl, combine graham cracker crumbs, granulated sugar, and melted butter. Mix until well combined.
- Press the mixture firmly into the bottom of a 9-inch square baking dish to form the crust.
- In a large mixing bowl, beat the softened cream cheese until smooth and creamy.
- Add powdered sugar, heavy cream, vanilla extract, and pink food coloring to the cream cheese. Beat until fully combined and fluffy.
- Spread the cheesecake filling evenly over the crust.
- Refrigerate for at least 4 hours or until set.
- Once set, top with whipped cream and sprinkle with optional sprinkles before cutting into bite-sized squares.
Crafting the Perfect No-Bake Cheesecake Bites
Technique
When creating No-Bake Pink Velvet Cheesecake Bites, mastering your technique optimizes the outcome. Pay close attention to how you mix the ingredients. Begin with the crust, making sure you press the graham cracker mixture evenly into the bottom of the baking dish. This ensures a uniform base that holds together during slicing.
While preparing the filling, beating the cream cheese until smooth is essential. This step prevents lumps that could affect the final texture. When adding the powdered sugar, heavy cream, and other elements, mix at medium speed to achieve the desired fluffiness.
Tips/tricks
A few nifty tricks can further enhance your no-bake cheesecake experience. First, ensure your cream cheese is softened adequately for easy blending. Leave it out for about an hour before mixing, allowing it to reach room temperature.
For added visual appeal, feel free to experiment with sprinkles or other edible decorations when serving your cheesecake bites. This extra touch makes your dessert stand out and invites excitement.
If you find yourself short on time, consider preparing the crust in advance. Refrigerate it until ready for the filling, or even freeze it for longer-lasting storage.
Perfecting Your Cheesecake Bites
Perfecting results
Achieving perfection with No-Bake Pink Velvet Cheesecake Bites comes from patience and proper technique. No matter your experience level in the kitchen, practice will enhance your skills. Allowing the cheesecake to set for at least four hours is crucial. Overnight refrigeration could even improve the texture and flavour.
Ensure the portion size remains consistent, making for even bites. Using a sharp knife rather than a serrated one ensures clean cuts through the chilled dessert.
Troubleshooting/variations
Should you encounter any issues or just want to get creative, consider a few variations and troubleshooting tips. If your filling doesn’t set well, you might need to beat it longer or possibly re-chill for an extended period. Each fridge behaves differently, so don’t hesitate to trust your instincts.
For variations, try adding mini chocolate chips or crushed berries to the cream cheese filling. You can also swap the pink food coloring for a different shade or omit it entirely for a classic white cheesecake.
Serving Ideas and Storage Tips
Serving/presentation
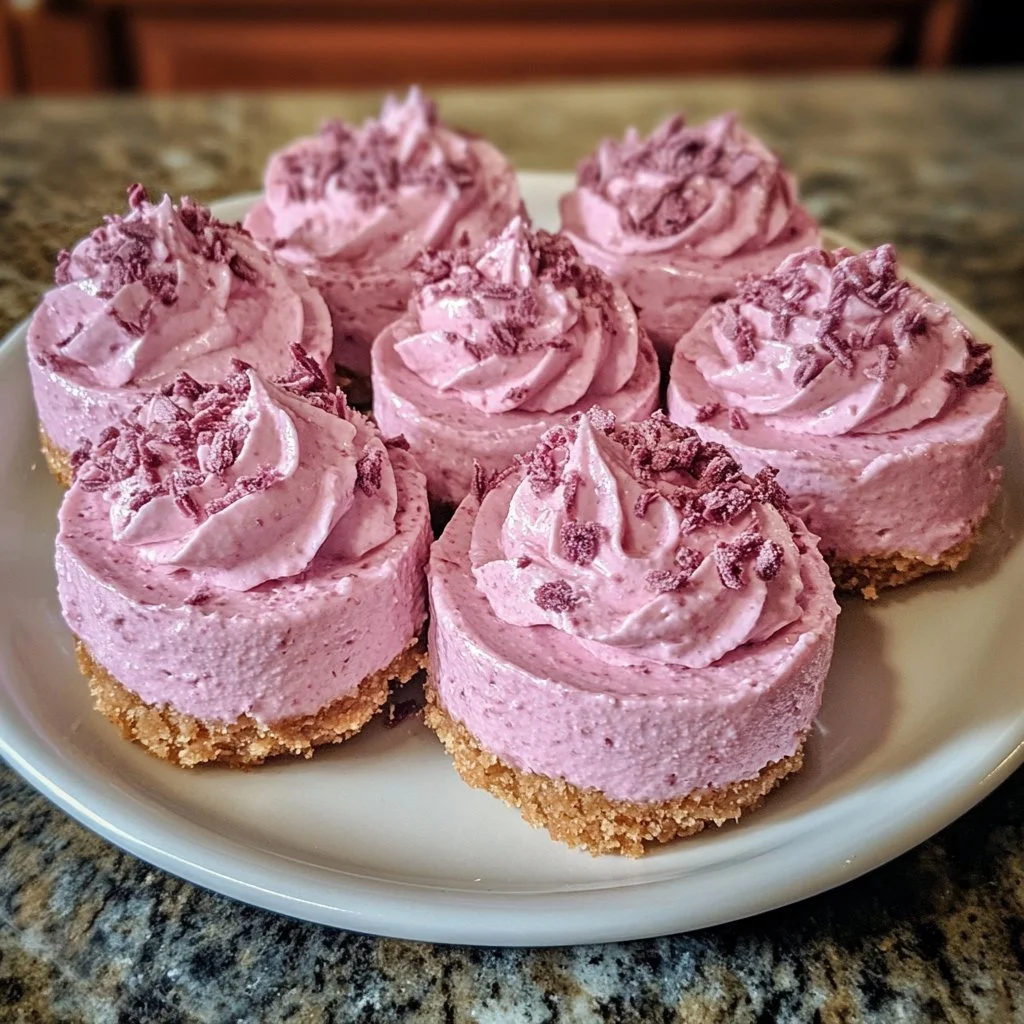
When it’s time to serve your no-bake cheesecake bites, presentation matters as much as flavour. Consider cutting the dessert into small, uniform squares for a polished look. Plating them on a decorative tray or individual dessert cups elevates the overall display.
Add a dollop of whipped cream on top of each square before serving. This finishing touch creates a charming aesthetic while adding extra creaminess.
Pairings/storage
Consider pairing your cheesecake bites with fresh fruit, or perhaps a dollop of fruit compote for a refreshing contrast. A splash of a non-alcoholic beverage like sparkling water or fruit juice complements these bites wonderfully without overshadowing their flavour.
Storing your No-Bake Pink Velvet Cheesecake Bites is straightforward. Keep them in an airtight container in the fridge for up to a week or freeze them for longer preservation. If freezing, separate layers with parchment paper to prevent sticking.
Concluding Thoughts on No-Bake Pink Velvet Cheesecake Bites
Creating No-Bake Pink Velvet Cheesecake Bites showcases how simple ingredients can come together to form something truly delightful. The ease of preparation combined with the stunning results makes this treat perfect for any occasion. Remember, share the joy of these bites with loved ones and revel in the happiness that comes with homemade dessert.
With just a few steps, everyone can master this recipe, bringing a splash of colour and joy to their table. Embrace the process, be creative, and enjoy every creamy, dreamy bite of this delicious dessert as you continue your culinary journey.
No-Bake Pink Velvet Cheesecake Bites
Ingredients
Method
- In a medium bowl, combine graham cracker crumbs, granulated sugar, and melted butter. Mix until well combined.
- Press the mixture firmly into the bottom of a 9-inch square baking dish to form the crust.
- In a large mixing bowl, beat the softened cream cheese until smooth and creamy.
- Add powdered sugar, heavy cream, vanilla extract, and pink food coloring to the cream cheese. Beat until fully combined and fluffy.
- Spread the cheesecake filling evenly over the crust.
- Refrigerate for at least 4 hours or until set.
- Once set, top with whipped cream and sprinkle with optional sprinkles before cutting into bite-sized squares.