
📑 Table of Contents ▶
No-Bake Protein Balls
Welcome to Eatimi! I’m Olivia Hart — a home cook who believes delicious food doesn’t need complicated techniques. Here I share easy everyday recipes, family meals, quick ideas for busy days, and helpful kitchen tips to make cooking simple and fun. My goal is to help you feel confident in the kitchen and enjoy homemade food with joy, comfort, and love. 💛
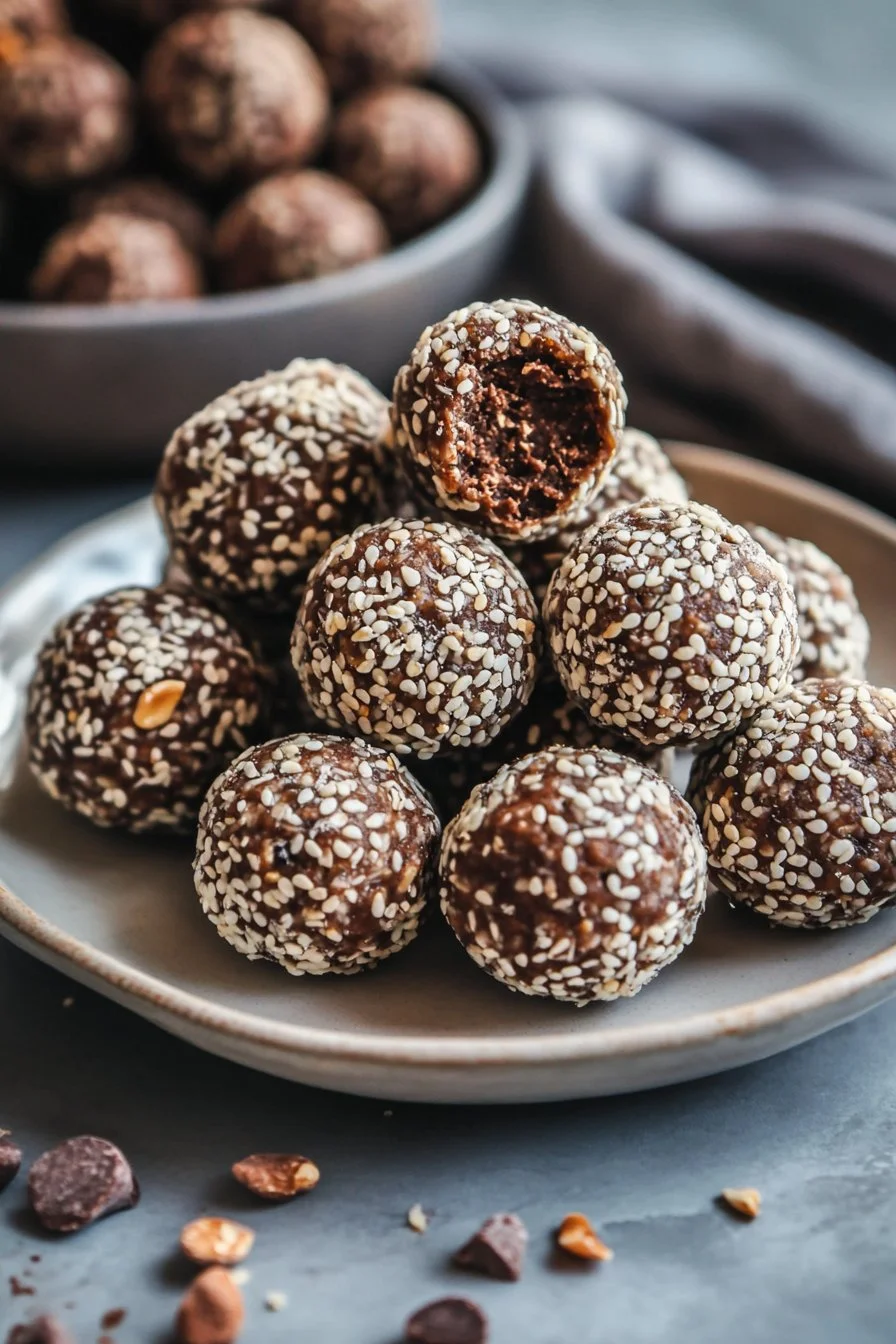
Nothing says wholesome snacking like no-bake protein balls. Each bite offers a delightful mixture of flavors and textures that satisfies both hunger and cravings. When I first made these protein balls, I was amazed at how simple yet delicious they turned out. My kids devoured them within minutes!
These snacks come together quickly and require no baking, making them a perfect choice for busy families. Packed with protein and healthy fats, they provide lasting energy, making them a great fuel option before or after workouts. Plus, with the versatility of ingredients like oats and nut butters, you can easily adjust the recipe to fit your tastes.
Let’s dive into how to make your very own no-bake protein balls!
No-Bake Protein Balls
Fundamentals
No-bake protein balls are not just an easy snack; they are an incredibly versatile one too. You will love how simple it is to customize them according to your preferences or dietary needs. Each ingredient contributes to a nutritious value that energizes you throughout the day.
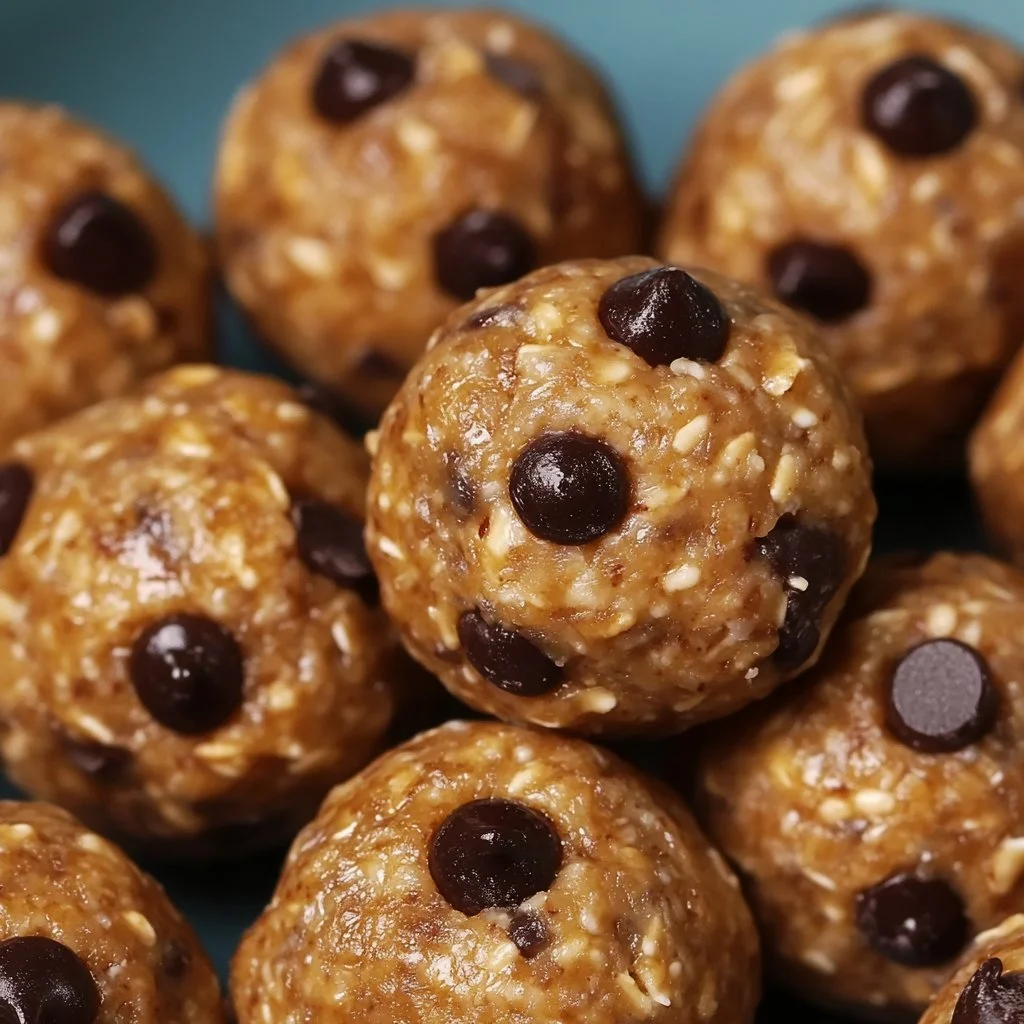
The key ingredient blend makes for a delightful balance of taste and sustenance. The oats offer a sturdy base, while nut butter adds richness and protein. Using either peanut butter or almond butter gives you the freedom to choose your favorite flavor. You’ll find that these protein balls become a go-to snack for your family.
Preparation/setup
Start by gathering all your ingredients before you begin. This ensures a smoother process and makes your time in the kitchen more enjoyable. Place your ingredients in a spacious bowl, allowing enough room to mix effectively.
The equipment you need is minimal: a large bowl, a spatula or spoon for mixing, and a baking sheet lined with parchment paper for cooling. With just a few items, you can create a nutritious and delicious snack that everyone will love.
Ingredients
For this easy no-bake protein balls recipe, you will need the following:
- 1 cup oats
- 1/2 cup peanut butter or almond butter
- 1/3 cup honey or maple syrup
- 1/2 cup protein powder
- 1/4 cup chocolate chips (optional)
- 1/4 cup ground flaxseed (optional)
- 1 teaspoon vanilla extract
Each ingredient serves a unique purpose in the final product, combining to create the perfect protein-packed treat. Feel free to look out for high-quality nut butters and natural sweeteners to enhance the flavor.
Directions
- In a large bowl, mix together the oats, peanut butter, honey, protein powder, and vanilla extract.
- If using, add in the chocolate chips and ground flaxseed.
- Stir until all ingredients are well combined.
- Scoop out tablespoon-sized portions of the mixture and roll into balls.
- Place the protein balls on a baking sheet lined with parchment paper.
- Refrigerate for about 30 minutes to firm up.
- Store in an airtight container in the refrigerator for up to a week.
Enjoy your healthy snack!
Benefits of No-Bake Protein Balls
Technique
Mastering the technique of mixing these ingredients is the cornerstone of creating the perfect no-bake protein balls. Start by ensuring that your nut butter is smooth and creamy. This consistency helps the mixture bind together effectively.
When you incorporate the protein powder, stir it well to avoid clumps. The use of vanilla extract brings a lovely aroma and additional flavor to your protein balls. Each step of the process helps build a nutritious and satisfying snack that you can feel good about enjoying.
Tips/tricks
Creating scrumptious no-bake protein balls can be quite straightforward, but a few tips can take your snack game to another level.
First, feel free to experiment with different protein powders. Whether it’s whey, casein, or plant-based, each brings its texture and taste profile. If you are a fan of seeds, you can easily swap or supplement ground flaxseed with chia seeds, making the snack even more nutritious.
Store-bought nut butters can vary in taste; look for brands that offer unsweetened options for a healthier choice.
Customizing No-Bake Protein Balls
Perfecting results
Perfecting your no-bake protein balls involves tweaking the quantities of certain ingredients to accommodate your taste preference. If you find the mixture too dry, a touch more nut butter or honey can solve the issue. Conversely, if the mix feels too sticky, adding a bit more oats or protein powder can help achieve the desired consistency.
Don’t hesitate to add additional ingredients like shredded coconut, dried fruits, or nuts to create a unique flavor. Each addition brings its texture and taste, enhancing the overall experience.
Troubleshooting/variations
You might encounter occasional issues when making these snacks. If your protein balls don’t hold their shape, they may need more binding ingredients. A little extra peanut butter or a spoonful more of honey can work wonders in achieving that perfect ball shape.
If you prefer a more decadent version, incorporating chocolate chips is a delightful option. You can also try using different sweeteners based on your preference. Honey, maple syrup, or agave syrup will all contribute to a delicious sweet flavor while keeping your snack clean.
Serving Suggestions
Serving/presentation
Serving your no-bake protein balls can be as simple or elaborate as you wish. Arrange them on a decorative plate or in a fun jar, making for an appealing presentation. You can serve these with fresh fruit to elevate the nutritional value further.
These protein balls can function as a perfect mid-afternoon snack or even a sweet treat before bedtime. Their bite-sized nature makes them a joy to eat anywhere, whether at home or on the go.
Pairings/storage
No-bake protein balls pair well with fresh fruit, yogurt, or even a dollop of nut butter for an extra punch of flavor. They also make excellent post-workout snacks, providing the fuel needed to recover.
Store the protein balls in an airtight container in your refrigerator. Properly stored, they can last up to a week, making them a convenient option for healthy snacking throughout the week.
Conclusion
Creating delicious no-bake protein balls opens the door to numerous snack options. Each ingredient plays a vital role in building flavor and nutrition, making these treats a perfect fit for your busy lifestyle. With a few straightforward steps, you can whip up a batch that your entire family will enjoy. From workouts to busy days, these snacks are designed to keep you energized and satisfied. The best part? No baking required! Enjoy the ease and versatility of these protein-packed delights.
No-Bake Protein Balls
Ingredients
Method
- In a large bowl, mix together the oats, peanut butter, honey, protein powder, and vanilla extract.
- If using, add in the chocolate chips and ground flaxseed.
- Stir until all ingredients are well combined.
- Scoop out tablespoon-sized portions of the mixture and roll into balls.
- Place the protein balls on a baking sheet lined with parchment paper.
- Refrigerate for about 30 minutes to firm up.
- Store in an airtight container in the refrigerator for up to a week.