
📑 Table of Contents ▶
- Mastering the No-Oven Turkish Flatbread
- Fundamentals
- Preparation/setup
- Directions
- Exploring Technique in No-Oven Flatbread
- Technique
- Tips/tricks
- Perfecting No-Oven Turkish Flatbread Results
- Perfecting results
- Troubleshooting/variations
- Serving and Storing No-Oven Turkish Flatbread
- Serving/presentation
- Pairings/storage
- Conclusion
- Bazlama
- Ingredients
- Method
No-Oven Turkish Flatbread With Only 3 Ingredients (Bazlama)
Welcome to Eatimi! I’m Olivia Hart — a home-cook who believes delicious food doesn’t need complicated techniques. Here I share easy everyday recipes, family meals, quick ideas for busy days, and helpful kitchen tips to make cooking simple and fun. My goal is to help you feel confident in the kitchen and enjoy homemade food with joy, comfort and love. 💛
Exploring different cultures through food has always been a passion of mine. While delving into Turkish cuisine, I stumbled upon the delightful bazlama. This no-oven Turkish flatbread combines simple ingredients to create something truly special. I remember the first time I made bazlama in my kitchen. The aroma filled my home, drawing everyone in, and our laughter echoed as we shared our warm, pillowy flatbreads. Each bite brought a smile, and the joy of cooking together created lasting memories.
Bazlama is versatile and perfect for any occasion. Whether you’re sharing it with friends or enjoying it on a quiet evening, it brings comfort to every meal. You can whip up this flatbread in no time, all while enjoying the process. With only three key ingredients and a few simple steps, you too can recreate this delightful flatbread. Embrace the warmth of home-cooked goodness with this easy recipe that keeps your family coming back for seconds!
Mastering the No-Oven Turkish Flatbread
Fundamentals
To make your own no-oven Turkish flatbread, also known as bazlama, you’ll need just a few basic ingredients. The essence lies in the combination of flour, yeast, and water, all coming together to create a dough that transforms beautifully when cooked. Understanding the fundamentals of this cooking method will help you appreciate the simplicity and flavor.
The flatbread’s unique texture comes from the interaction between yeast and flour. Yeast allows the dough to rise, producing a fluffy and airy bread. The warm milk and water nourish the yeast, encouraging it to bubble up and create those perfect pockets of air. Using high-quality flour, either bread flour or all-purpose flour, is essential for achieving the best results.
Preparation/setup
Before diving into the actual bread-making process, gather all your ingredients and tools. You’ll need a mixing bowl, a clean kitchen surface for kneading, plastic wrap or a cloth for covering the dough, a rolling pin, and a thick pan for frying. Set aside about an hour for the dough to rise and a quick 10-15 minutes for cooking the flatbreads.
Begin by mixing the warm milk, water, sugar, and instant dry yeast in a bowl. It’s vital to ensure that the liquids are warm but not hot, as excessive heat can kill the yeast. After letting the mixture sit for about 5-10 minutes, you’ll notice bubbles forming on the surface. This bubbling indicates that the yeast is active and ready to work its magic.
Ingredients
For creating no-oven Turkish flatbread, gather the following:
- 500 g bread flour or all-purpose flour (approximately 4 cups)
- 160 ml warm milk (around 2/3 cup)
- 160 ml warm water (approximately 2/3 cup)
- 10 g instant dry yeast (about 1.5 tablespoons)
- 10 g sugar (approximately 1 tablespoon)
- 8 g salt (about 0.8 tablespoons)
- 20 g melted unsalted butter or olive oil
- Chopped parsley (optional for a fresh touch)
Directions
-
Combine Ingredients: In a container, pour the warm milk, warm water, sugar, and yeast. Mix well and let sit until bubbles form, around 5-10 minutes.
-
Add Flour and Salt: Gradually introduce the flour and salt into the yeast mixture, mixing thoroughly until combined.
-
Knead the Dough: Knead the dough by hand until it loses its stickiness and develops a smooth surface. This step is crucial for achieving the right texture.
-
Let it Proof: Cover the dough with a cloth and let it proof for about 1 hour, or until it has doubled in size.
-
Divide the Dough: After proofing, divide the dough into six equal pieces. Shape each piece into a round ball, covering them with a plastic bag.
-
Roll Out the Rounds: Using a rolling pin, flatten each piece until it is about 18 cm in diameter and 5 mm thick.
-
Heat the Pan: Place a thick pan over medium heat and let it warm up adequately.
-
Bake: Once the pan is hot, carefully place the rounds in the pan. Cook on both sides until bubbles start forming, flipping as necessary.
-
Puff Up: When the bread rises up, reduce the heat to low. Cover the pan with a cloth to help the inside cook through.
-
Finishing Touch: Just before serving, brush the flatbreads with melted butter or olive oil for added flavor.
Exploring Technique in No-Oven Flatbread
Technique
The technique for cooking bazlama without an oven relies heavily on proper heat management. The thick pan plays an essential role in evenly distributing heat. When cooking these flatbreads, you may need to adjust the temperature. Starting with medium heat allows for a quick rise, while lowering it later ensures thorough cooking without burning.
Another aspect of technique involves the kneading process. Kneading the dough effectively builds gluten, which lends structure to the flatbread. Avoid over-kneading, as it can lead to a tougher texture rather than the desired lightness. Just enough kneading will give you a silky and elastic dough.
Tips/tricks
A few simple tricks can elevate your bazlama experience. Firstly, monitor the cooking time closely; cooking too long can lead to dry flatbreads. Aim for a balance of cooking time so the bread remains soft yet cooked through.
Experiment with adding herbs or spices to your dough for extra flavor. Chopped parsley or even a sprinkle of thyme can infuse a lovely aroma and delight your taste buds.
If you find the dough too sticky, add a bit more flour during your kneading. Conversely, if it feels too dry, a splash of warm water can help bring it back to the right consistency.
Perfecting No-Oven Turkish Flatbread Results
Perfecting results
Perfecting your bazlama involves a bit of practice, but the rewards are entirely worth it. Look out for signs of done-ness; when your flatbreads puff up nicely, that’s your cue to cover them and let them finish cooking.
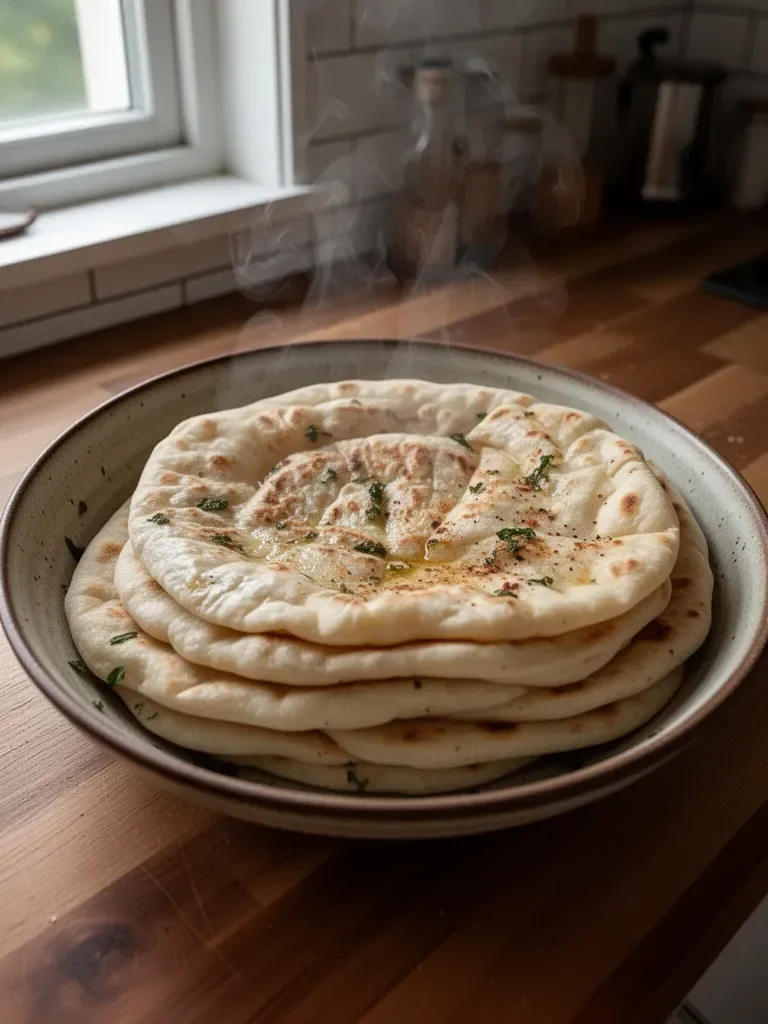
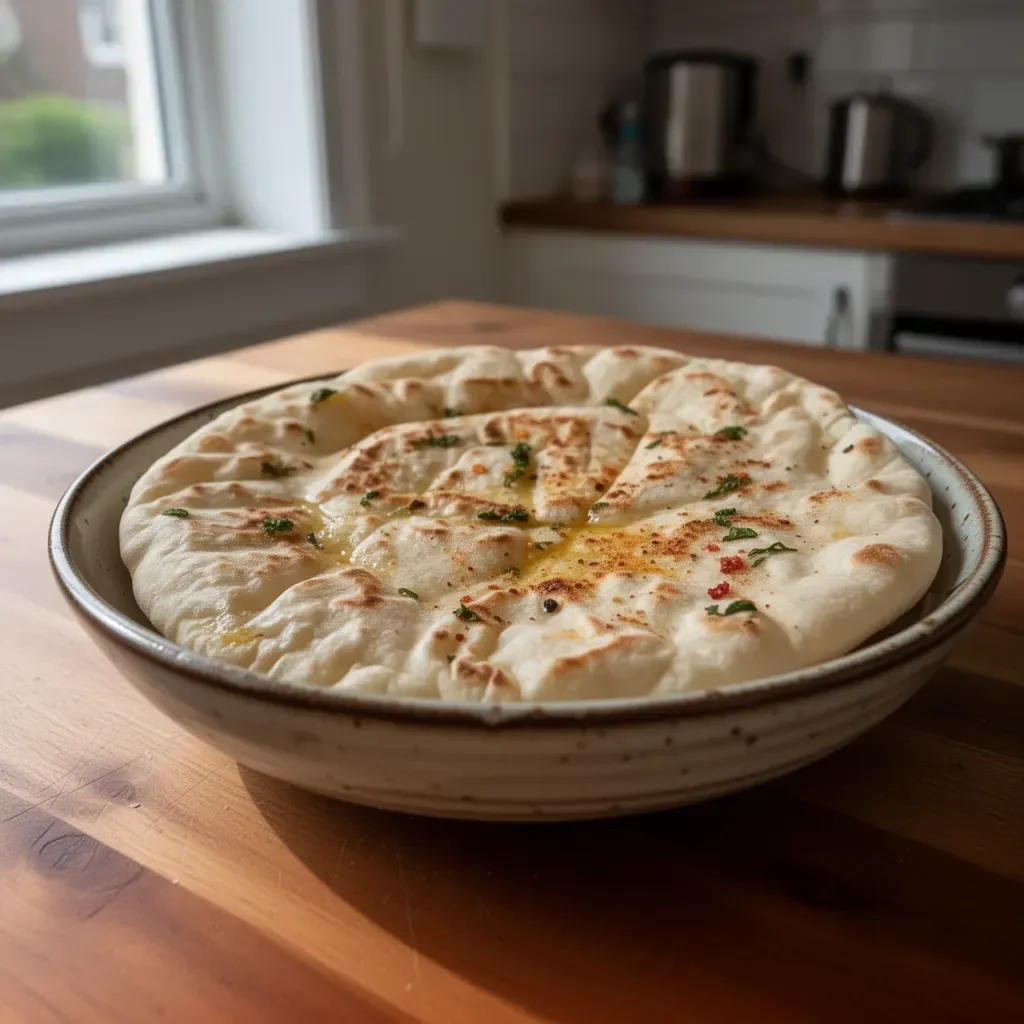
Texture is key. Aim for a soft and fluffy interior surrounded by a lightly charred exterior. When slicing or tearing the flatbread, it should pull apart effortlessly, revealing its cloud-like interior.
Troubleshooting/variations
Sometimes, things don’t go as planned. If your flatbreads aren’t rising, double-check that your yeast is fresh and that the water and milk weren’t too hot. Alternatively, an overly sticky dough might require more flour.
For variations, consider trying different toppings or fillings. Besides enjoying them plain, you can add fillings like cheese or fresh vegetables after cooking. These additions can provide a delightful twist to the traditional bazlama.
Serving and Storing No-Oven Turkish Flatbread
Serving/presentation
Presenting your no-oven bazlama can be as simple as stacking the flatbreads on a decorative plate. However, garnishing the flatbreads with a sprinkle of fresh parsley or sesame seeds adds a pop of colour.
Serve with dips like hummus or tzatziki to create a charming spread. These flatbreads pair beautifully with various dishes, from grilled meats to fresh salads.
Pairings/storage
While bazlama is perfect on its own or with dips, consider serving it along with your favourite main dishes. Think of hearty soups or stews that can soak up the delicious flavours.
To store leftovers, wrap the cooled flatbreads in a clean kitchen towel and place them in a sealed bag. This helps retain their softness. If you need to reheat them, a gentle warm-up in a pan will restore their delightful texture without drying them out.
Conclusion
Exploring the world of no-oven Turkish flatbread opens doors to culinary creativity and warmth in the kitchen. Remember the beauty of this recipe lies in its simplicity. With only a handful of ingredients and step-by-step guidance, you can create delicious bazlama that brings joy to your meals. Perfect for sharing, it transforms any gathering into a moment of connection and delight. Let the aroma waft through your home as you enjoy warm, homemade flatbreads that carry the essence of comfort food. Each bite reflects the joy of cooking, reminding us that the best meals can come from the simplest beginnings.
Bazlama
Ingredients
Method
- In a container, pour the warm milk, warm water, sugar, and yeast. Mix well and let sit until bubbles form, around 5-10 minutes.
- Gradually introduce the flour and salt into the yeast mixture, mixing thoroughly until combined.
- Knead the dough by hand until it loses its stickiness and develops a smooth surface.
- Cover the dough with a cloth and let it proof for about 1 hour, or until it has doubled in size.
- After proofing, divide the dough into six equal pieces. Shape each piece into a round ball, covering them with a plastic bag.
- Using a rolling pin, flatten each piece until it is about 18 cm in diameter and 5 mm thick.
- Place a thick pan over medium heat and let it warm up adequately.
- Once the pan is hot, carefully place the rounds in the pan. Cook on both sides until bubbles start forming, flipping as necessary.
- When the bread rises up, reduce the heat to low. Cover the pan with a cloth to help the inside cook through.
- Just before serving, brush the flatbreads with melted butter or olive oil for added flavor.