
📑 Table of Contents ▶
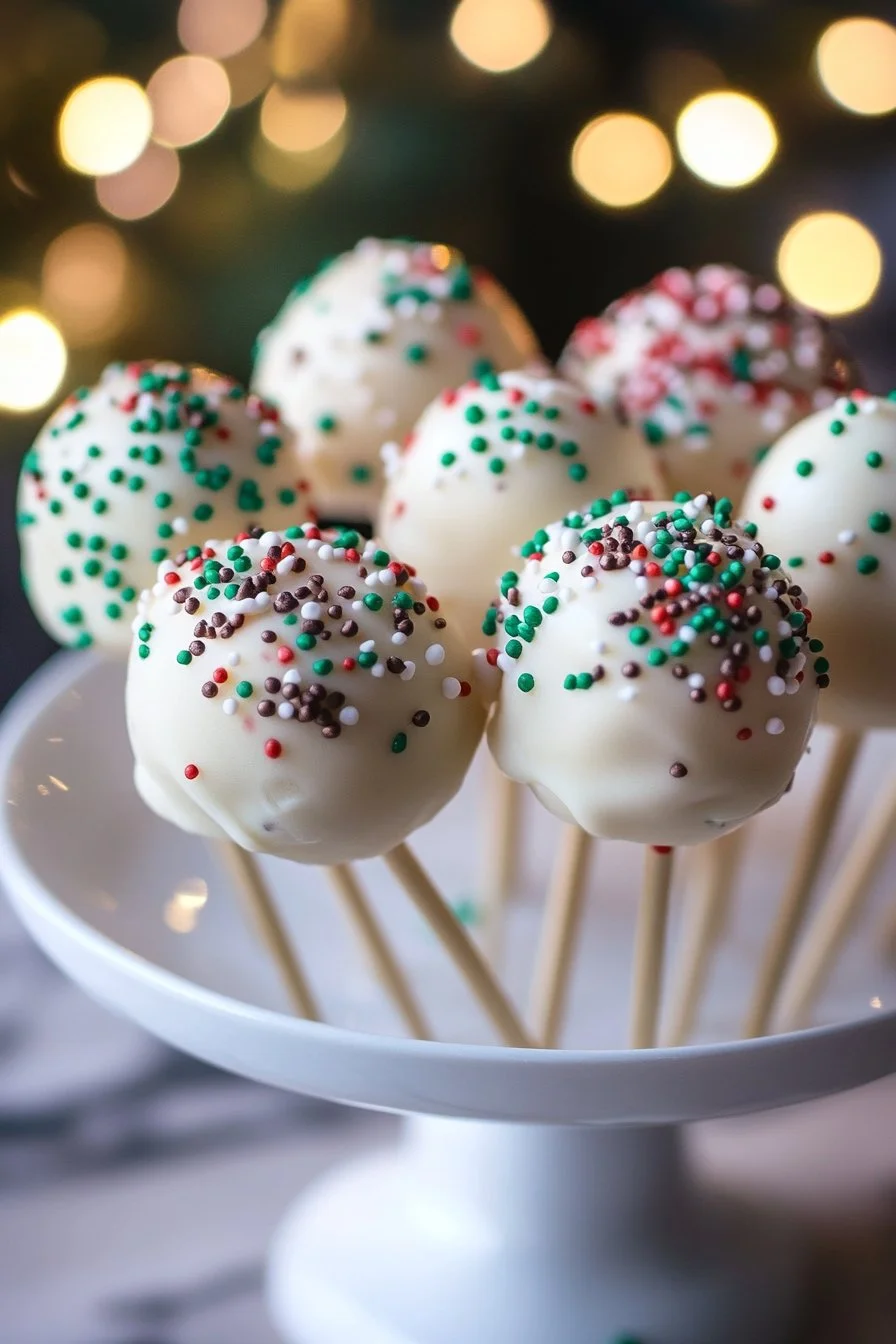
Starbucks Cake Pops
Welcome to Eatimi! I’m Olivia Hart — a home-cook who believes delicious food doesn’t need complicated techniques. Here I share easy everyday recipes, family meals, quick ideas for busy days, and helpful kitchen tips to make cooking simple and fun. My goal is to help you feel confident in the kitchen and enjoy homemade food with joy, comfort, and love. 💛
Baking is not just about the final product; it’s about the joy of creating something special. Starbucks cake pops are those delightful treats that bring a smile to your face with every bite. The moment I tried them at my local café, I knew I had to recreate them at home. The soft cake combined with rich frosting, all coated in chocolate and topped with sprinkles, creates a perfect balance of flavor and texture.
Creating your own version of these beloved cake pops is surprisingly simple. With just a few basic ingredients, you can whip up these tasty treats in no time. The beauty of making homemade Starbucks cake pops lies in the customization — choose your favorite cake mix and frosting flavors to create a unique dessert that suits your taste.
Let’s dive into the fun world of cake pop making. You’ll find yourself enjoying the process of baking, crumbling, rolling, and decorating. By the end of this adventure, you’ll understand why these cake pops are a beloved treat. Prepare to impress your family and friends with these delightful homemade Starbucks cake pops!
Starbucks Cake Pops
Fundamentals
Making Starbucks cake pops is all about mastering simple techniques and enjoying the creative process. The essential components include a package of cake mix, frosting, melting chocolate, lollipop sticks, and your chosen decorative elements. You can use any flavor of cake mix you like, and pairing it with a complementary frosting adds to the fun of creating these pops.
Start with a basic understanding of the ingredients you’ll need. You want a package of cake mix that speaks to your taste buds. Chocolate, vanilla, red velvet, or even something more adventurous can set the tone. The frosting should complement the cake flavor; for instance, try chocolate frosting with chocolate cake or cream cheese frosting with red velvet.
Don’t forget sprinkles or candies! These little add-ons will elevate your cake pops into eye-catching treats that are perfect for any occasion. It’s all about making your cake pops visually appealing and delicious. Grab your parchment paper, and let’s get started!
Preparation/setup
Preparation is a crucial part of the cake pop-making process. Begin by baking your cake according to the package instructions. As you wait for the cake to cool, think about how exciting it will be to transform this simple dessert into a fun-and-festive cake pop. Allowing the cake to cool completely is essential; otherwise, you may end up with a gooey mess.
Once cooled, crumble the cake into fine pieces. This step is where the fun begins! Mix those cake crumbs with your chosen frosting until you achieve a dough-like consistency. Play with the texture to find what feels right. You want the mixture to be malleable enough to hold together when rolled into balls.
Next, form small balls from the dough and place them neatly on a parchment-lined baking sheet. This preparation allows them to chill and firm up before coating with melted chocolate. After shaping, pop them into the refrigerator for about 30 minutes. This step ensures that each cake pop stays intact when you dip it in chocolate.
Ingredients
To make delicious Starbucks cake pops, gather the following ingredients:
- 1 package of cake mix (any flavor)
- 1 jar of frosting (complementary flavor)
- Melting chocolate or candy melts (variety of colors)
- Lollipop sticks or sturdy straws
- Sprinkles or candies for decoration
- Parchment paper
These ingredients are foundational for creating cake pops that not only look good but taste amazing too. You can source these items from any well-stocked supermarket, making it easy to embark on this delightful baking journey.
Directions
- Bake the cake according to package instructions.
- Allow the cake to cool completely before crumbling it into fine pieces.
- Mix the cake crumbs with frosting until you achieve a dough-like consistency.
- Form small balls and place them on a parchment-lined baking sheet.
- Chill the balls in the refrigerator for about 30 minutes.
- Melt the candy melts in a microwave-safe bowl, following package instructions.
- Dip the end of each lollipop stick into the melted chocolate before inserting it into a cake ball.
- Dip each cake ball into the melted chocolate, ensuring even coverage. Tap gently to remove excess.
- Decorate with sprinkles or candies while the coating is still wet.
- Allow the cake pops to set on parchment paper.
Creating the Perfect Cake Pop
Technique
Achieving the perfect cake pop comes down to technique. Start with your cake mix, ensuring you follow the baking instructions correctly. Underbaking or overbaking can affect the texture of the cake and, ultimately, the end product. Timing and temperature play an important role; using an oven thermometer can help you get it just right.
Crumble the cake finely. Larger chunks may not adhere well to the frosting, leading to uneven texture in your final product. When mixing cake crumbs and frosting, experiment with quantities to find a balance that suits you.
Tempering the chocolate before dipping can also enhance your results. This step ensures a thicker and more visually appealing coating. Follow the melted chocolate package instructions carefully, and don’t rush — take your time to get it right!
Tips/tricks
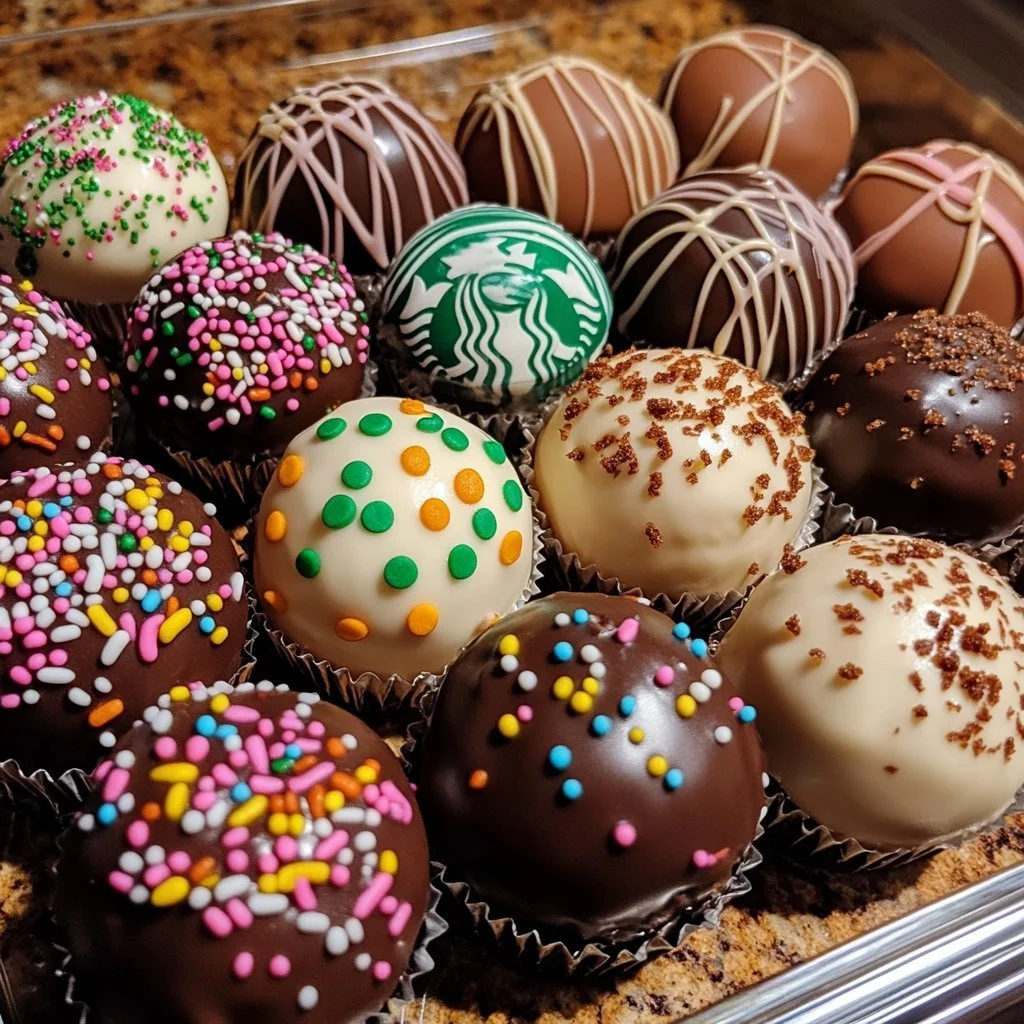
To elevate your cake pop game, consider these tips and tricks. Use various colors of melting chocolate for a fun and vibrant presentation. You can dip the cake balls in one color and drizzle another color over the top for a festive touch.
Before decorating, tap the excess chocolate gently. This technique promotes an even coating and prevents chocolate from pooling at the base. Work quickly when adding decorations as the chocolate sets fast.
Experiment with different cake and frosting combinations. Lemon cake with raspberry frosting or funfetti cake with vanilla frosting can surprise and delight those who taste them. The possibilities are endless, so don’t hesitate to be creative!
Perfecting Your Cake Pops
Perfecting results
Perfecting your cake pop-making skills comes with practice. The more you make them, the better you’ll get at rolling, coating, and decorating. Don’t be discouraged by little mishaps; they can often lead to new ideas and flavors.
Consider temperature regulation. If your kitchen is warm, try to keep your cake balls in the fridge longer before dipping them in chocolate. A cooler pop helps maintain its shape during the coating process.
It’s also essential to allow the candy coating to set correctly. If they appear too shiny, they may still be warm. Give them ample time on parchment paper to reach room temperature and solidify appropriately.
Troubleshooting/variations
Occasionally, you may encounter some hiccups on your cake pop journey. If your cake balls won’t hold their shape, try adding a bit more frosting to thicken the consistency. Alternatively, a little more chilling time may help.
For uneven chocolate coating, ensure your melted chocolate is at the appropriate consistency for dipping. Too thick, and it won’t coat well; too thin, and it won’t hold. Also, remember that practice makes perfect — each attempt can refine your technique.
Explore variations for different occasions. If you’re making cake pops for a celebration, try thematic decorations like edible glitter, or specific color schemes. Flourishing your creativity is half the fun!
Serving Starbucks Cake Pops
Serving/presentation
Presentation matters when it comes to serving Starbucks cake pops. Arrange them on a cake stand or in a decorative box for an inviting display. Using lollipop stands or even a simple piece of Styrofoam can help elevate the pops while adding an eye-catching element to your table.
When preparing for a gathering, consider offering a variety pack. Different flavors and colors create a vibrant spread that caters to various tastes. Incorporate fun labels or tags for each flavor if you’re feeling crafty!
Always let your cake pops set completely before transport, ensuring they look their best upon arrival. A well-presented treat is more appetizing and enhances the overall experience for everyone involved.
Pairings/storage
After creating your cake pops, consider how to store them. Keep your cake pops in an airtight container at room temperature for up to a week. If you plan to hold them for longer, refrigerate them to maintain freshness.
While cake pops are delightful on their own, they pair well with milk, tea, or even coffee. Offering a beverage alongside your cake pops can elevate the experience and allow for delightful flavor pairings.
Rainbow-coloured cake pops can become a fun centerpiece for children’s parties. These treats appeal to both kids and adults, making them a versatile choice for gatherings or celebrations.
Creating homemade Starbucks cake pops can be a wonderful experience filled with joy and creativity. Each step allows personal expression through flavor and decoration. Enjoy crafting every bite-sized treat and celebrating delicious results with family and friends.
Starbucks Cake Pops
Ingredients
Method
- Bake the cake according to the package instructions.
- Allow the cake to cool completely before crumbling it into fine pieces.
- Mix the cake crumbs with frosting until you achieve a dough-like consistency.
- Form small balls and place them on a parchment-lined baking sheet.
- Chill the balls in the refrigerator for about 30 minutes.
- Melt the candy melts in a microwave-safe bowl, following package instructions.
- Dip the end of each lollipop stick into the melted chocolate before inserting it into a cake ball.
- Dip each cake ball into the melted chocolate, ensuring even coverage, and tap gently to remove excess.
- Decorate with sprinkles or candies while the coating is still wet.
- Allow the cake pops to set on parchment paper.