
📑 Table of Contents ▶
- Strawberry Cake Filling: The Fundamentals
- H3: Fundamentals
- H3: Preparation/Setup
- H3: Ingredients
- H3: Directions
- Advanced Strawberry Cake Filling Techniques
- H3: Technique
- H3: Tips/Tricks
- Perfecting Your Strawberry Cake Filling Experience
- H3: Perfecting Results
- H3: Troubleshooting/Variations
- Serving Your Strawberry Cake Filling
- H3: Serving/Presentation
- H3: Pairings/Storage
- Conclusion
- Ingredients
- Method
Strawberry Cake Filling
Welcome to Eatimi! I’m Olivia Hart — a home-cook who believes delicious food doesn’t need complicated techniques. Here I share easy everyday recipes, family meals, quick ideas for busy days and helpful kitchen tips to make cooking simple and fun. My goal is to help you feel confident in the kitchen and enjoy homemade food with joy, comfort and love. 💛
There’s something truly magical about ripe strawberries. I still remember the delightful summer afternoons spent in my grandmother’s garden, surrounded by rows of plump, juicy strawberries. We would pluck them fresh from the vines, filling our baskets with nature’s candy. Those sweet berries inspired my love for baking, especially when it comes to making the perfect strawberry cake filling.
This strawberry cake filling combines nostalgia with simplicity. Over the years, I have crafted a recipe that captures that fresh garden flavour, allowing you to create delectable desserts for any occasion. This vibrant filling enhances your cakes, making them not just tasty but also visually appealing.
The key to a fabulous strawberry cake filling lies in understanding its fundamentals, preparation, and ingredients. Let’s dive into the rich, fruity world of strawberries and create a filling that will impress family and friends alike.
Strawberry Cake Filling: The Fundamentals
H3: Fundamentals
Creating a mouthwatering strawberry cake filling starts with understanding its basic components. You’ll use fresh or frozen strawberries, which provide that luscious fruit flavour we all adore. The cornstarch acts as a thickening agent, giving your filling an enticing luscious texture. The sugar balances the natural tartness of the strawberries, ensuring every bite bursts with sweetness.
Introduce citric notes with lemon juice if you wish, adding brightness to the overall flavour profile. Vanilla enhances the berry notes beautifully, adding warmth to the filling. A pinch of salt can elevate the overall flavour by balancing the sweetness.
H3: Preparation/Setup
Prepare your kitchen by gathering all the necessary tools and ingredients. You’ll need a medium saucepan for cooking the filling and a whisk for mixing. Whenever I make this filling, I find that slicing the strawberries in advance makes the process seamless.
Make sure to have your ingredients measured out before starting. This ensures you won’t have to scramble through the pantry mid-recipe. Organising everything contributes to a straightforward and enjoyable cooking experience, letting the delicious aromas of strawberry filling fill your kitchen.
H3: Ingredients
Here’s what you’ll need for the strawberry cake filling:
- 16 oz (2 ½ to 3 cups) fresh or frozen strawberries, sliced
- ¾ cup water
- 3 tablespoons cornstarch
- ⅔ cup sugar (adjust to taste)
- 2 tablespoons lemon juice (optional)
- 1 teaspoon vanilla (optional)
- Pinch salt (optional)
These simple ingredients come together to create a wonderfully thick and fruity filling, bringing life to your cakes and pastries.
H3: Directions
- In a medium saucepan, whisk together the water and cornstarch until fully blended and free from lumps.
- Add in the sliced strawberries, sugar, and any optional ingredients like lemon juice, vanilla, or salt.
- Place the saucepan over medium to medium-high heat and bring the mixture to a boil.
- Allow it to boil for 30-60 seconds, but no longer than one minute to prevent losing its thickening ability.
- Once the mixture turns from an opaque milky pink to a deeper red, reduce the heat to medium-low and simmer for 8-10 minutes.
- The filling should be thick enough to coat a spatula without dripping off; it will thicken further as it cools.
- Remove from heat and let cool completely before using in your favourite dessert.
Advanced Strawberry Cake Filling Techniques
H3: Technique
Mastering your strawberry cake filling requires specific techniques to ensure the perfect results every time. Cooking the filling over medium heat ensures gentle bubbling, which prevents scorching. Stirring constantly while it simmers allows the flavours to meld perfectly while avoiding any lumps.
When preparing the filling, make sure to keep an eye on the consistency. After simmering, it must be thick enough to hold its shape when spread, making it an ideal filling for cakes.
H3: Tips/Tricks
A couple of handy tips can make your life easier when preparing this filling. First, if using frozen strawberries, thaw them beforehand to achieve a smoother consistency. Frozen fruit tends to release more liquid, so you might need to adjust the amount of cornstarch accordingly.
Freezing the filling can extend its life, allowing you to enjoy this delightful treat at your convenience. Just ensure it cools completely before transferring it to an airtight container, as this helps preserve its flavour.
Perfecting Your Strawberry Cake Filling Experience
H3: Perfecting Results
To perfect your strawberry cake filling, pay attention to how sweet or tart you want it to be. Experiment with the amount of sugar and lemon juice, tailoring the filling to your personal taste.
Additionally, if you prefer a smoother texture, blending the filling after cooling can create a silky consistency. This technique works beautifully in layered cakes where a smooth filling is preferred.
H3: Troubleshooting/Variations
Sometimes, challenges might arise during your strawberry filling preparation. If it turns out too runny, don’t worry! You can thicken it even further by returning it to the heat with a touch more cornstarch mixed with water.
Alternatively, consider trying different fruits to create unique variations of this filling. Raspberries or blueberries can be delightful substitutes, giving you a range of flavours inspired by strawberry cake filling.
Serving Your Strawberry Cake Filling
H3: Serving/Presentation
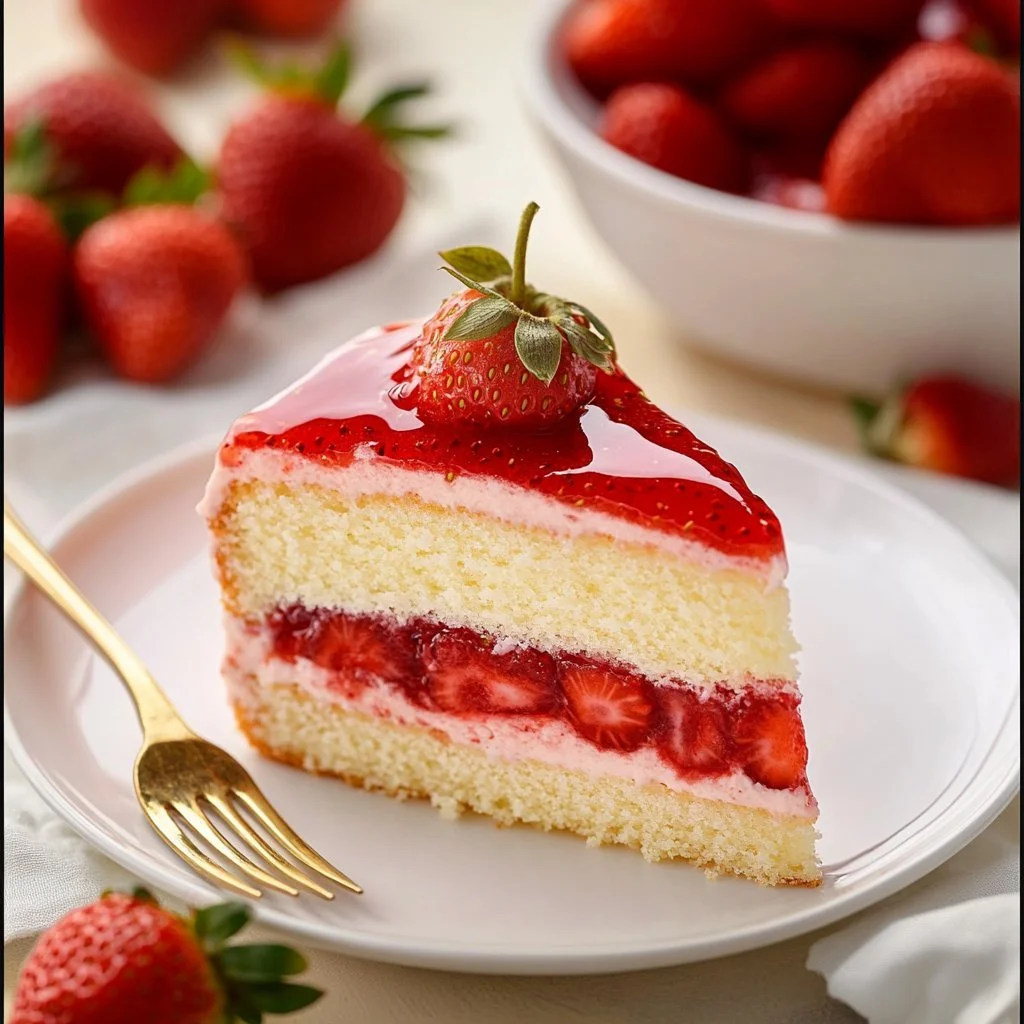
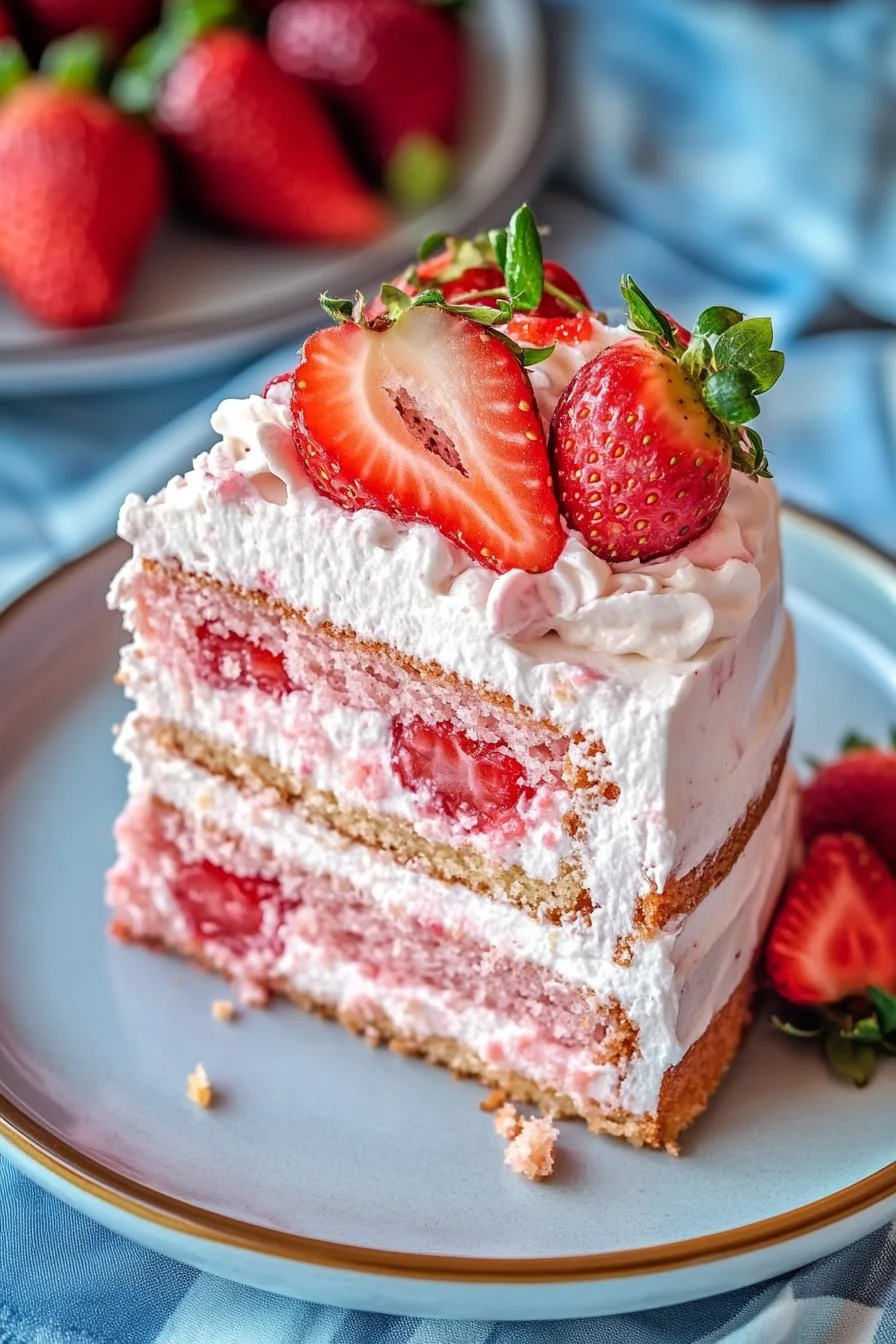
Serving a strawberry cake filled with this vibrant creation makes for an impressive presentation. Use a spatula to spread the filling evenly between layers of your favourite cake, allowing the bright red hue to peek through.
Top it off with whipped cream or more strawberries for an alluring dessert that becomes a showstopper at any gathering. Remember, presentation attracts the eye, so don’t hesitate to be creative with your layers!
H3: Pairings/Storage
This strawberry cake filling combines well with a variety of cakes, from vanilla to sponge, complementing their flavours beautifully. It also pairs nicely with cream cheese frosting or a light whipped cream topping, making for delightful dessert combinations.
Store any leftovers in the refrigerator in an airtight container, where it can last up to a week. It also freezes well, so consider making extra to enjoy later.
Conclusion
Crafting the ideal strawberry cake filling showcases the beauty of simple ingredients transforming into something extraordinary. With a few techniques and the right components, you can recreate the taste of those sun-kissed strawberries of your childhood days and infuse warmth into your desserts, celebrating flavour and memory alike. Enjoy this versatile filling as the cherry on top of your cake creations, impressing everyone at the table with your baking prowess.

Strawberry Cake Filling
Ingredients
Method
- In a medium saucepan, whisk together the water and cornstarch until fully blended and free from lumps.
- Add in the sliced strawberries, sugar, and any optional ingredients like lemon juice, vanilla, or salt.
- Place the saucepan over medium to medium-high heat and bring the mixture to a boil.
- Allow it to boil for 30-60 seconds, but no longer than one minute to prevent losing its thickening ability.
- Once the mixture turns from an opaque milky pink to a deeper red, reduce the heat to medium-low and simmer for 8-10 minutes.
- The filling should be thick enough to coat a spatula without dripping off; it will thicken further as it cools.
- Remove from heat and let cool completely before using in your favourite dessert.