
📑 Table of Contents ▶
Cake Pops
Welcome to Eatimi! I’m Olivia Hart — a home cook who believes delicious food doesn’t need complicated techniques. Here I share easy everyday recipes, family meals, quick ideas for busy days and helpful kitchen tips to make cooking simple and fun. My goal is to help you feel confident in the kitchen and enjoy homemade food with joy, comfort and love. 💛
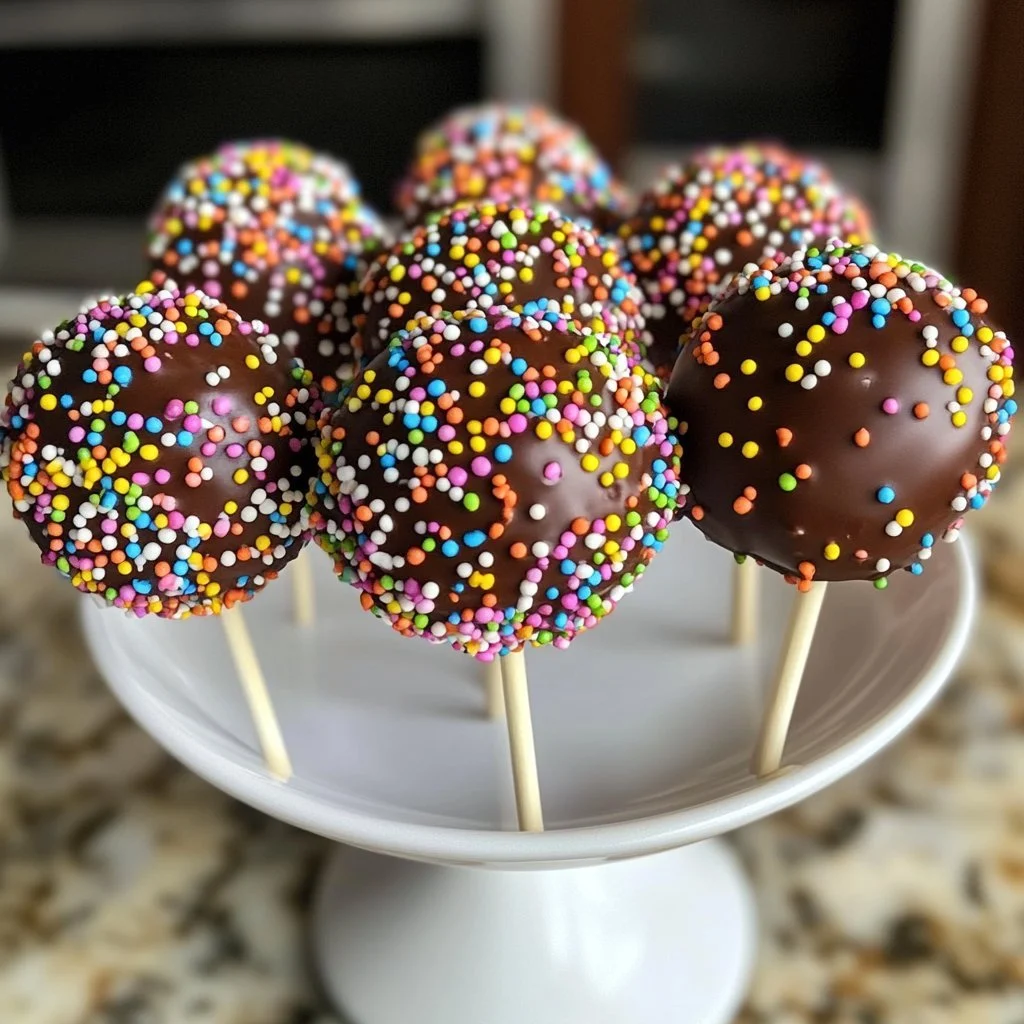
There’s something undeniably delightful about cake pops. They’re the sweet treat that brings the joy of cake in a fun, portable form. Remember that birthday party where the kids went wild over the vibrant colours and fun shapes? Cake pops were the star, and everyone wanted to grab one. Their charm lies not just in their taste but also in their playful appearance.
Cake pops make any occasion special. Whether it’s a birthday, a holiday, or just a regular day that needs brightening up, cake pops fit perfectly. They give an air of festivity while remaining simple enough for any home cook to make. Plus, the chance to decorate and customise them means each pop can be a unique creation.
Making cake pops empowers even the busiest of cooks to whip up something fun and delicious without breaking the bank or spending hours in the kitchen. With minimal ingredients, including just a box of cake mix, these delightful treats are within anyone’s reach. Let’s dive into the essential elements that make these cake pops a hit!
Ingredients
Making cake pops requires only a few ingredients, making the process simple and accessible. You’ll need:
- 1 box cake mix
- 1 cup frosting
- Candy melts
- Lollipop sticks
- Sprinkles (optional)
These ingredients come together to create the most delicious and charming cake pops that anyone can enjoy. The cake mix provides the base flavour, while the frosting adds sweetness and moisture to keep the pops together. Using candy melts for coating ensures that your cake pops shine and hold their shape nicely.
Make sure to gather all your ingredients beforehand. This preparation step keeps your kitchen organised and helps everything flow smoothly during the exciting cake pop-making process.
Fundamentals
Understanding the fundamentals of cake pops will transform your baking experience. The process starts with baking the cake as indicated on the box. Once baked, allow it to cool completely. Cooling is essential because it prevents the cake from crumbling too much and helps maintain its integrity when combining with frosting.
The crumbling stage is key. After cooling, crumbling the cake into small pieces gives you a uniform texture. This textures allows the cake to bind with the frosting effectively. It may feel playful to get your hands dirty, but mixing the two together is where the magic happens.
Preparation/setup
Preparing for your cake pop adventure involves gathering your tools as well. Have a large bowl ready for the crumbled cake and frosting mixture. You’ll also need a baking sheet lined with parchment paper for drying the finished cake pops. Setting up your workspace like this simplifies the preparation and cleaning process.
Keep your melting equipment on standby. Melt the candy melts using a microwave or double boiler. This step usually requires a bit of patience but is vital for achieving that smooth, dreamy coating.
Make sure to have your lollipop sticks laid out and ready to go, and keep your sprinkles nearby if you like to add a little extra flair. The preparation phase builds anticipation for the deliciousness to come!
Directions
The directions for making cake pops are straightforward and easy to follow:
- Bake the cake as per box instructions and let it cool.
- Crumble the cake into a large bowl.
- Add the frosting and mix until combined.
- Roll the mixture into small balls and place them on a baking sheet.
- Insert lollipop sticks into each ball.
- Melt the candy melts in a microwave or double boiler.
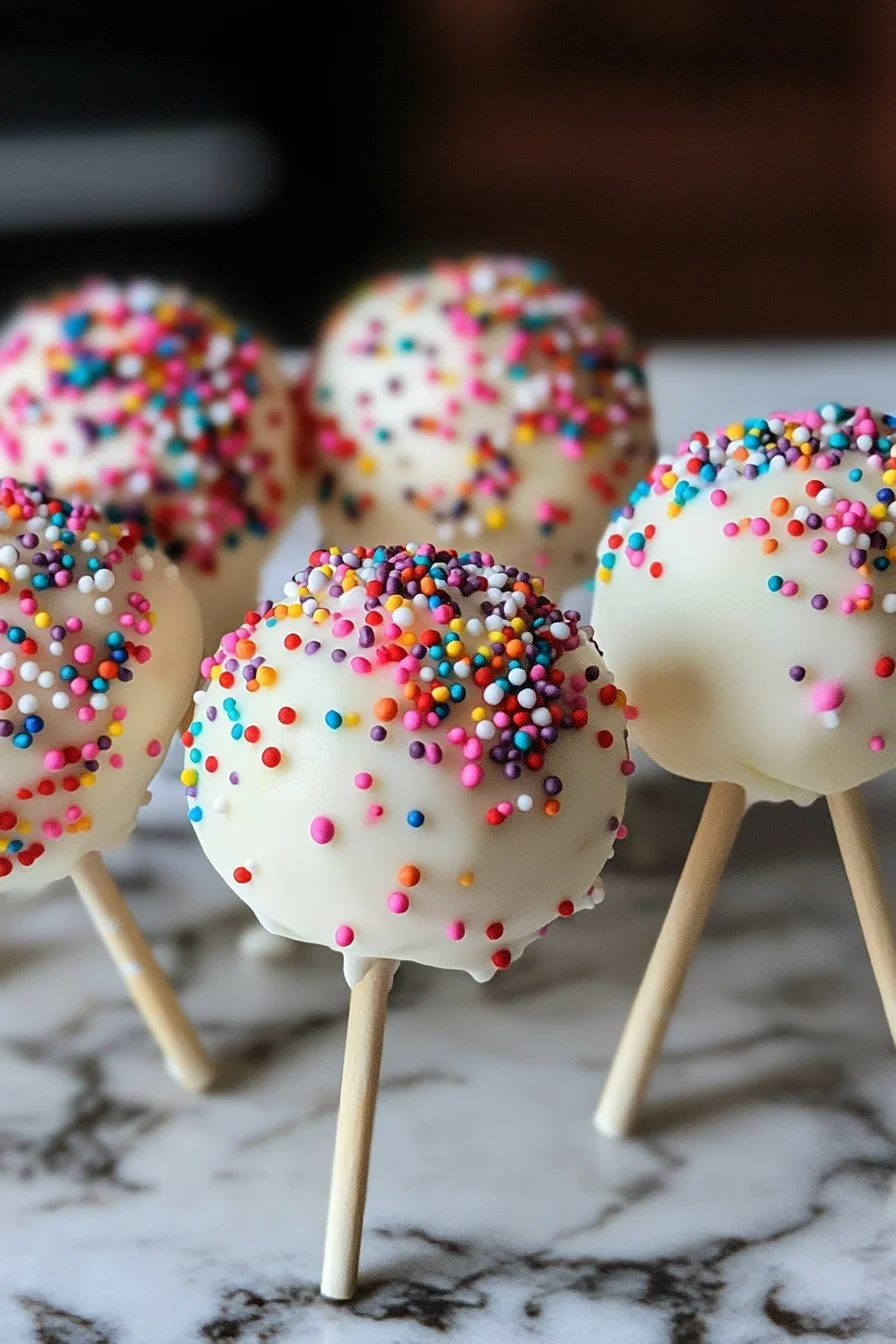
- Dip each cake pop into the melted candy and let the excess drip off.
- Decorate with sprinkles if desired.
- Allow the pops to set before serving.
Following these directions will lead you to cake pop success. Get ready for new flavours and designs that everyone will admire.
Technique
Crafting cake pops is all about technique. When mixing the cake and frosting, aim for the right consistency. The goal is to have a dough-like mixture that holds together when rolled into balls. If the mixture feels too dry, add a tiny bit more frosting. Conversely, if it’s too wet and sticky, add crumbled cake.
When rolling the balls, make sure they’re even in size for a consistent look. Using a cookie scoop can help achieve this. Once you insert the lollipop sticks, tap the baking sheet lightly to ensure they stay upright.
Besides visual appeal, ice the cake pops on a styrofoam block or a prepared stand to prevent smudges or movement. This technique allows each pop to set evenly and beautifully.
Tips/tricks
A few tips can enhance your cake pop-making experience. First, chill the rolled cake balls in the fridge for about 30 minutes before dipping them in candy melts. This process firms them up and prevents them from falling apart in the melted coating.
For an attractive finish, ensure your candy melts are thoroughly melted and smooth, using a little vegetable oil or shortening to thin them if necessary. This helps achieve that flawless coating that makes cake pops so indulgent.
Experimenting with different kinds of sprinkles can change the look and feel of your cake pops. The sprinkles can add brightness and fun textures, making each pop feel like its own special treat.
Perfecting results
Perfecting your cake pop skills comes with practice and a bit of trial and error. To avoid the dreaded "cake pop disaster," ensure that your cake is completely cooled. Warm cake can cause the coating to slide off unexpectedly.
When dipping cake pops in candy melts, dip them straight into the melted candies rather than drizzling. This technique usually results in a cleaner coat. After dipping, gently shake each pop to allow excess candy to drip off before setting on your drying rack or styrofoam block.
Troubleshooting/variations
Occasionally, you may encounter a few hiccups along the way. If your cake pops are too crumbly, the mixture may need more frosting, while a mixture that’s too wet can be chilled to firm it up.
Feel free to experiment with flavour variations by incorporating extracts or using different cake mixes. Chocolate cake with vanilla frosting offers a classic combo, while lemon cake with cream cheese frosting creates a refreshing twist. Variety keeps things exciting for every occasion.
Serving/presentation
Once your cake pops have set and cooled completely, they are ready to serve. Presenting these delightful treats in an eye-catching way adds to their appeal. Arrange them in a decorative holder, on a tray, or in simple cups for a fun display!
These cake pops are perfect for parties, gatherings, or even a fun family dessert night. Viewers will appreciate your creativity and would love the delicious bites.
Pairings/storage
Cake pops pair beautifully with all kinds of treats. Serve them alongside cupcakes, cookies, or even a scoop of ice cream for added fun. Their small size makes them the perfect snack, complementing any dessert spread.
For storage, keep the pops in an airtight container at room temperature. This keeps them fresh for several days so that you can enjoy them long after making them!
Conclusion
Cake pops truly shine with their versatility and charm. Each one can become a personalised creation, making them perfect for gatherings or a fun treat at home.
The simplicity of preparation encourages experimentation, allowing anyone to add their own flair to this delightful dessert. Becoming a cake pop expert brings joy, celebration, and deliciousness to every occasion.