
📑 Table of Contents ▶
- Perfect Pink and Gold Cake Pops
- Fundamentals
- Preparation/Setup
- Directions
- Additional Techniques for an Impressive Finish
- Technique
- Tips/Tricks
- Perfecting Results for a Flavorful Touch
- Perfecting Results
- Troubleshooting/Variations
- Serving and Storage of Your Cake Pops
- Serving/Presentation
- Pairings/Storage
- Perfect Pink and Gold Cake Pops
- Ingredients
- Method
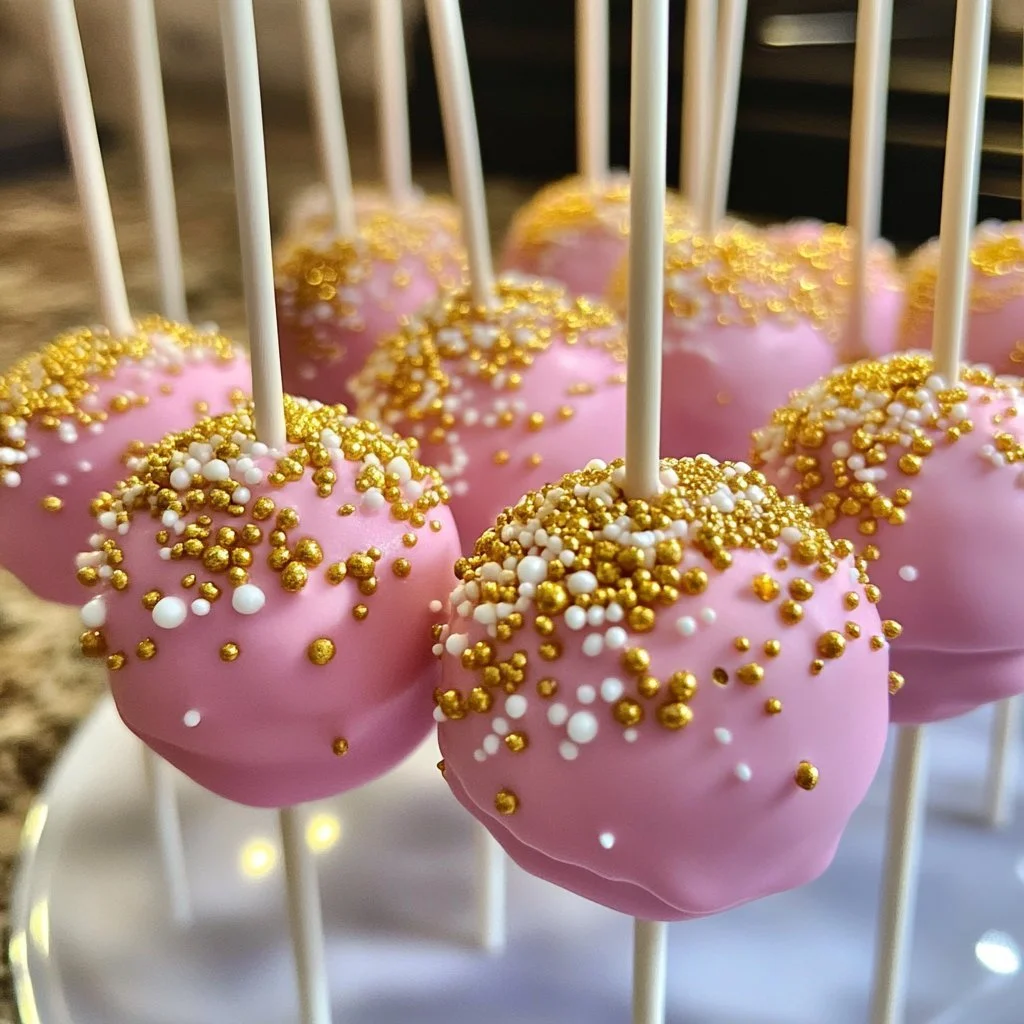
Pink and Gold Cake Pops
Baking brings back fond memories of childhood celebrations. I remember the joy on my friends’ faces when they saw those delightful pops of colour on the dessert table. Pink and gold cake pops took centre stage at those gatherings, transforming even the most mundane parties into a festive occasion. They looked magnificent and had that irresistible appeal that made everyone want to indulge.
Creating these cake pops is not just about taste; it’s an experience, a way to show affection through food. Each cake pop holds a small part of happiness and celebration. You can personalise them for any occasion—be it a birthday party or a casual gathering. The vibrant pink and gold colours add a touch of glamour, ensuring they are the highlight of your dessert spread.
Making cake pops combines simple ingredients with a fun process. With just a cake mix, frosting, candy melts, and a few tools, you turn a basic cake into a joyful treat. These cake pops embody creativity and love. Join me as we dive into this delightful recipe, ensuring your kitchen turns into a hub of joyful baking and sweet memories.
Perfect Pink and Gold Cake Pops
Fundamentals
Cake pops represent the perfect blend of creativity and flavour, making dessert a fun experience for both kids and adults. The concept is simple: you take a baked cake, crumble it down, mix it with frosting, and then shape it into small balls that you can enjoy on a stick.
The real magic comes with the coating. Using vibrant candy melts, you can create an eye-catching treat. With just a few tools and ingredients, this dessert becomes a show-stopper for any occasion. Your imagination can lead you to unique designs, making each pop look as exquisite as a piece of art.
Before diving into the baking process, having a clear understanding of the tools you need and the steps involved streamlines the entire experience. Let’s explore the preparation and setup so you can successfully create your own batch of delightful cake pops.
Preparation/Setup
Start by gathering all your ingredients and tools. You’ll need a box of cake mix, eggs, oil, and water—these are the foundation of your cake. Choose a flavour that excites you; vanilla, chocolate, or even lemon can work wonders! Next, ensure you have your favourite frosting ready, whether store-bought or homemade.
Consider the candy melts—picking pink and gold will enhance the visual appeal. You’ll also require lollipop sticks, which will act as the base for your cake pops, and perhaps some sprinkles for those wanting an extra bit of decoration.
Prepare your workspace by laying down parchment paper to set your finished cake pops. This small step prevents any mess and keeps everything organised for a smooth baking experience. Let’s bring everything together with these delicious cake pops.
Ingredients
- 1 box cake mix (any flavour)
- Ingredients required for cake mix (eggs, oil, water)
- 1 cup frosting (store-bought or homemade)
- Candy melts (pink and gold)
- Lollipop sticks
- Sprinkles (optional)
Directions
- Bake the cake according to the package instructions. Allow to cool.
- Crumble the cooled cake into a large bowl. Add frosting and mix until well combined.
- Scoop out mixture and roll into small balls. Insert lollipop sticks into each ball.
- Refrigerate for at least 30 minutes to set.
- Melt the pink and gold candy melts according to package instructions.
- Dip each cake pop into the melted candy, allowing excess to drip off.
- Decorate with sprinkles if desired.
- Let the pops set on a piece of parchment paper.

Additional Techniques for an Impressive Finish
Technique
Achieving perfectly smooth cake pops can take a bit of practice, but it is entirely manageable. Ensure the cake is thoroughly cooled before crumbling it. A well-cooled cake helps blend better with the frosting and holds together nicely when shaping it into balls.
Keep the size of the balls uniform for an appealing look and even presentation. Use a small scoop to ensure each pop is of a similar size. This attention to detail enhances the overall appearance of your cake pops.
Tips/Tricks
A few tricks can make the process even easier. When melting candy melts, use a microwave in short bursts to avoid overheating. Stirring in between helps achieve a smooth melting consistency.
If you’re having difficulty getting the coating to stick, you can dip the tips of the sticks into the melted candy before inserting them into the cake balls. This helps anchor them and prevents any falls during the dipping process.
Using chilled cake pops reduces the chance of them falling off the stick while dipping, so don’t skip that refrigeration step. The results will be worth the wait!
Perfecting Results for a Flavorful Touch
Perfecting Results
To achieve the best flavour and texture, experiment with different cake mixes and frostings. Try adding a touch of flavouring to complement the cake, like vanilla or almond extracts. The subtle flavour enhancement can surprise your guests and elevate your cake pops to the next level.
Pay attention to the proportions when mixing cake and frosting. A moist but not overly wet mixture ensures your cake balls hold their shape. Aim for a consistency that allows them to hold together when rolled.
Troubleshooting/Variations
If your cake pops are crumbling, the mixture may be too dry. Simply add more frosting to ensure that everything binds together perfectly. If the coating cracks, you may have overheated the candy melts. A smoother consistency comes from careful melting and stirring.
You can also easily create unique variations of these cake pops. Consider adding different flavour extracts, or even mini chocolate chips for extra texture. The world of cake pops is vast, and experimenting can uncover some delicious new combinations!
Serving and Storage of Your Cake Pops
Serving/Presentation
Presentation plays a crucial role in making your cake pops look irresistible. Arrange them on a decorative platter for an eye-catching display. You can even place them in a stylish vase or a block of foam to keep them upright and showcase their beauty.
Adding additional decorations such as edible glitter or themed sprinkles can also enhance their appeal. The pink and gold theme is perfect for baby showers, birthdays, or even elegant dinner parties.
Pairings/Storage
While these cake pops shine as standalone treats, consider pairing them with an assortment of desserts for a delightful spread. Serve them alongside cookies, brownies, or fruit for a varied dessert table.
When it comes to storage, keep your cake pops in an airtight container at room temperature for up to a week. If you need to store them longer, consider freezing them. Just ensure they are wrapped properly to maintain freshness.
With these tips in mind, you can enjoy your pink and gold cake pops, bringing joy and flavour to your next celebration!
Perfect Pink and Gold Cake Pops
Ingredients
Method
- Bake the cake according to the package instructions. Allow to cool.
- Crumble the cooled cake into a large bowl. Add frosting and mix until well combined.
- Scoop out mixture and roll into small balls. Insert lollipop sticks into each ball.
- Refrigerate for at least 30 minutes to set.
- Melt the pink and gold candy melts according to package instructions.
- Dip each cake pop into the melted candy, allowing excess to drip off.
- Decorate with sprinkles if desired.
- Let the pops set on a piece of parchment paper.