
📑 Table of Contents ▶
- Creating the Chocolate Peanut Butter Cake Pops
- Fundamentals
- Preparation/setup
- Directions
- Crafting Perfect Chocolate Peanut Butter Cake Pops
- Technique
- Tips/tricks
- Elevating Your Chocolate Peanut Butter Cake Pops
- Perfecting results
- Troubleshooting/variations
- Presenting Your Chocolate Peanut Butter Cake Pops
- Serving/presentation
- Pairings/storage
- Conclusion
- Ingredients
- Method
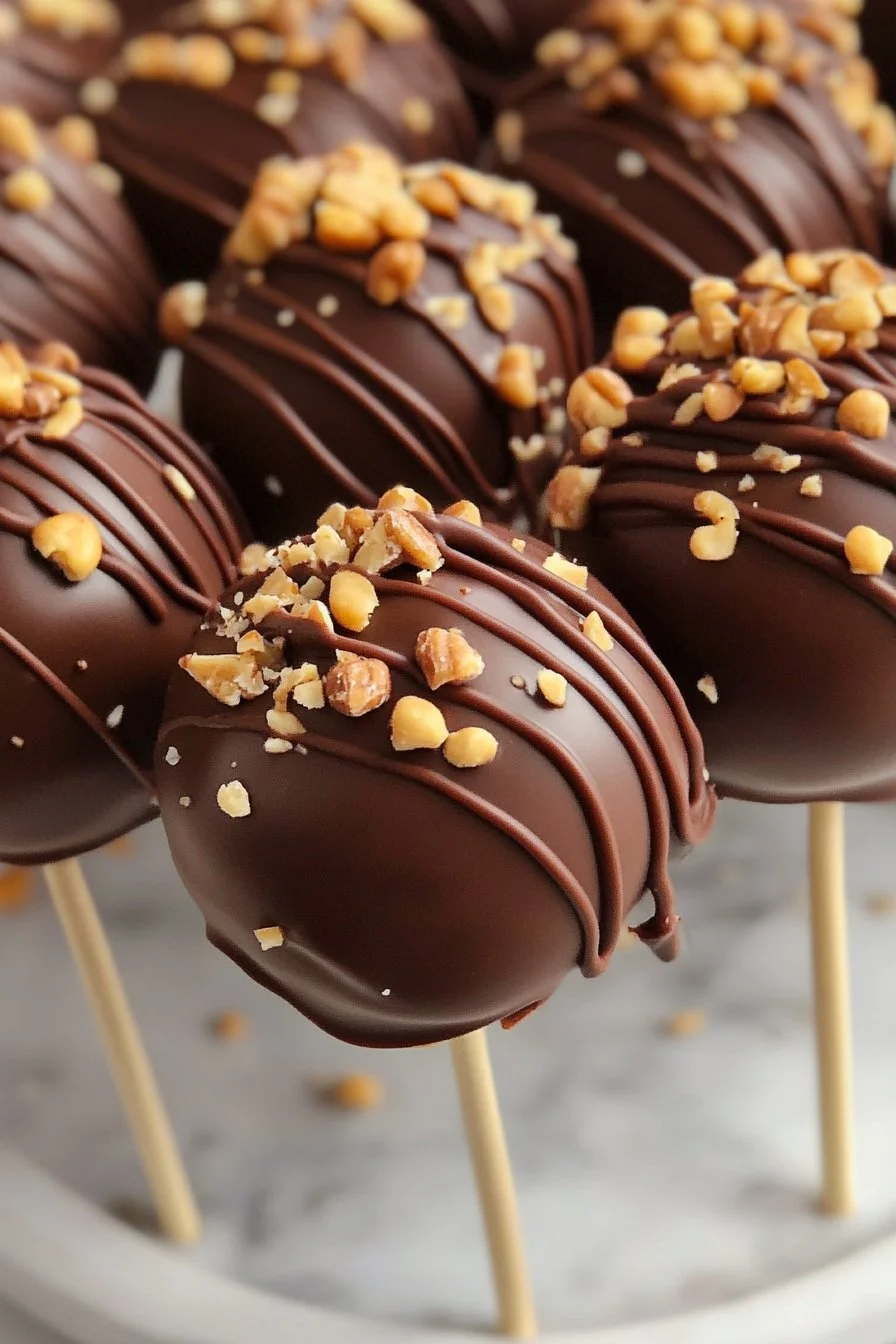
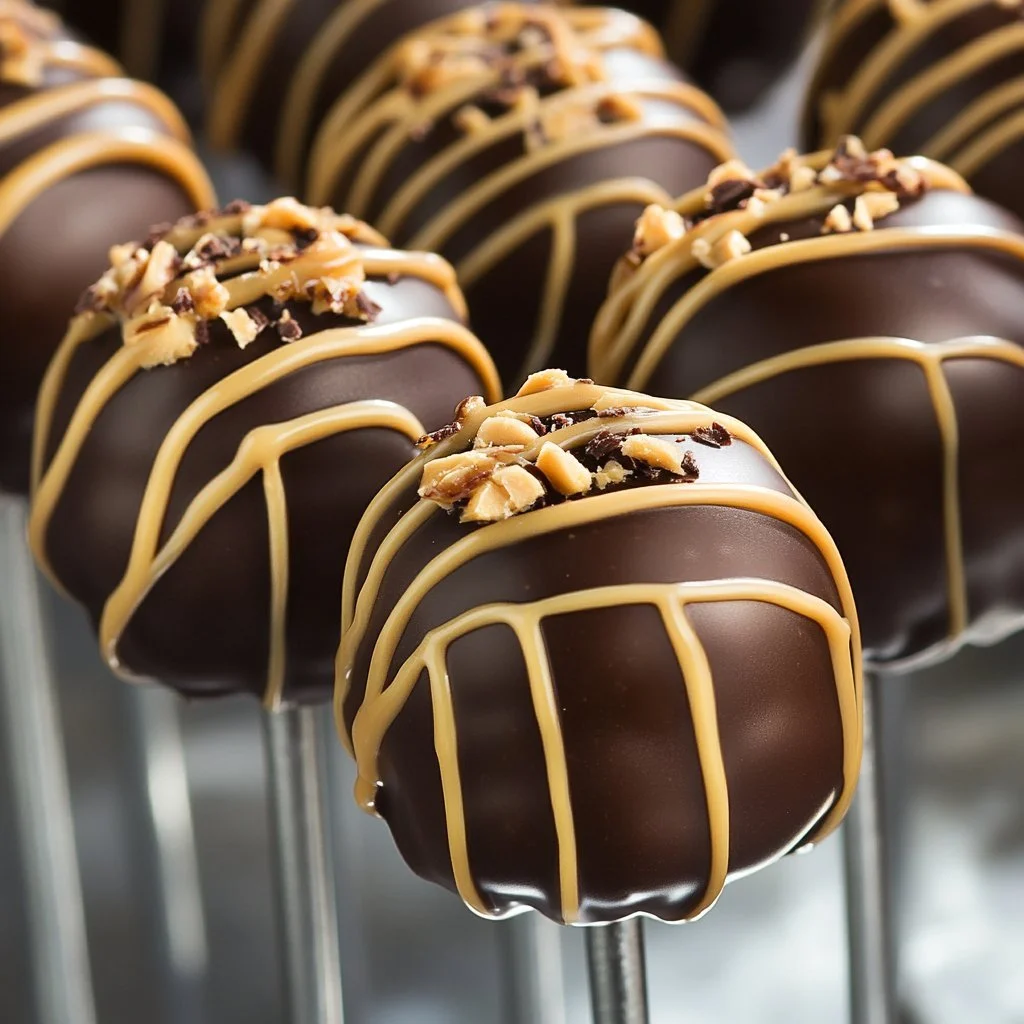
Chocolate Peanut Butter Cake Pops
Welcome to Eatimi! I’m Olivia Hart — a home-cook who believes delicious food doesn’t need complicated techniques. Here I share easy everyday recipes, family meals, quick ideas for busy days and helpful kitchen tips to make cooking simple and fun. My goal is to help you feel confident in the kitchen and enjoy homemade food with joy, comfort, and love. 💛
Delicious memories usually come wrapped in layers of chocolate and peanut butter. Growing up, I remember making cake pops with my mum during rainy afternoons. We’d whip up a rich chocolate cake, and by the end of the day, we had these irresistible treats that transformed our kitchen into a sweet haven. These Chocolate Peanut Butter Cake Pops became a family favourite, perfect for celebrations or just a special treat after school.
Using simple ingredients like sugar, cocoa powder, and, of course, peanut butter, these cake pops are remarkably easy to make. The combination of rich chocolate cake crumbled into a smooth mixture with nutty peanut butter creates the ultimate indulgence. With every bite, the delightful flavour harmony keeps everyone coming back for more, proving that delicious creations can spark joyful moments.
Let’s delve into the art of making these divine Chocolate Peanut Butter Cake Pops, creating memories just like we did on those rainy afternoons.
Creating the Chocolate Peanut Butter Cake Pops
Fundamentals
To start making these delightful treats, you need a good understanding of the basic components. Chocolate Peanut Butter Cake Pops consist of a moist chocolate cake blended with creamy peanut butter, making them irresistibly tasty. The real magic happens when you coat these treats in dark melting chocolate to give them a lovely finish.
Choosing the right ingredients is essential. For the cake, use high-quality cocoa powder and fresh eggs, as they impact both texture and flavor. The combination of sugar, baking soda, and baking powder gives the cake a perfect rise, while the buttermilk contributes to its moistness. Understanding these fundamentals will elevate your cake pops.
Preparation/setup
Preparation sets the tone for your baking experience. Preheat your oven to 350°F (175°C) before getting started. Greasing your baking pan ensures that your cake doesn’t stick, allowing for easy removal after baking.
In one mixing bowl, combine dry ingredients like sugar, all-purpose flour, cocoa powder, baking soda, baking powder, and salt. Simultaneously, whisk together the wet ingredients—eggs, buttermilk, strong black coffee, vegetable oil, and vanilla extract—in another bowl. This step is crucial as it defines the cake’s final texture, so make sure everything blends well before merging the wet and dry mixtures.
Ingredients
Here’s a list of ingredients needed to create these Chocolate Peanut Butter Cake Pops:
- 2 cups sugar
- 1 3/4 cups all-purpose flour
- 3/4 cup unsweetened cocoa powder
- 2 teaspoons baking soda
- 1 teaspoon baking powder
- 1 teaspoon salt
- 2 eggs
- 1 cup buttermilk
- 1 cup strong black coffee
- 1/2 cup vegetable oil
- 2 teaspoons vanilla extract
- 1 lb. dark melting chocolate
- 1 1/4 cups peanut butter
- 1/4 cup mini chocolate chips
Having these ingredients ready and on hand makes the baking process smoother and more enjoyable. You’ll want everything at room temperature for optimal mixing.
Directions
-
Preheat your oven to 350°F (175°C) and grease your baking pan.
-
In a large mixing bowl, combine the sugar, flour, cocoa powder, baking soda, baking powder, and salt.
-
In another bowl, whisk together the eggs, buttermilk, strong black coffee, vegetable oil, and vanilla extract.
-
Gradually add the wet ingredients to the dry ingredients, mixing until well combined.
-
Pour the batter into the prepared baking pan and bake for 30-35 minutes, or until a toothpick inserted in the centre comes out clean.
-
While the cake cools, melt the dark chocolate in a microwave or double boiler.
-
Once the cake has cooled, crumble it into fine pieces in a large bowl.
-
Add the peanut butter and mini chocolate chips into the crumbled cake, mixing until fully incorporated.
-
Form small balls of the cake mixture and insert lollipop sticks into each.
-
Dip each cake pop into the melted chocolate, ensuring complete coverage and letting any excess drip off.
-
Place the finished cake pops upright in the Styrofoam block to set until the chocolate hardens.
Crafting Perfect Chocolate Peanut Butter Cake Pops
Technique
Techniques play a crucial role in perfecting your cake pops. The way you crumble the cooled cake directly impacts the texture of your final product. Ensure the cake is completely cooled before crumbling; this prevents the mixture from becoming soggy when combined with peanut butter. Aim for a fine crumble to achieve a smooth consistency.
When mixing in the peanut butter, use your hands for better incorporation. It may seem messy, but this method helps the peanut butter bind seamlessly with the cake. The warmth from your hands also creates a slightly softer mixture, making forming balls easier.
Tips/tricks
There are several tips and tricks to enhance your cake pop-making experience. One valuable tip is to chill the cake pops in the fridge before dipping them in melted chocolate. This ensures they hold their shape and prevent them from falling off the sticks during the coating process.
If you find that your chocolate is too thick for dipping, add a small amount of vegetable oil or shortening to the chocolate. This adjustment will create a smoother texture, allowing for easier coating.
Experimenting with different decorations is another fun aspect of cake pop creation. Besides mini chocolate chips, consider using sprinkles, crushed nuts, or even drizzling additional melted chocolate for an artistic touch.
Elevating Your Chocolate Peanut Butter Cake Pops
Perfecting results
To perfect your chocolate peanut butter cake pops, focus on baking time and temperature. Avoid overbaking the cake to maintain its moisture. Keep a close eye on your cake and perform the toothpick test. Once it comes out clean, remove the cake right away to prevent drying out.
Once coated, allow the cake pops to set in a cool, dry place until the chocolate hardens. Store them in an airtight container until you serve them. This preservation approach keeps them fresh and delicious.
Troubleshooting/variations
Baking is often a journey filled with learning experiences. If your cake pops become too crumbly, consider adding more peanut butter to the mixture. Alternatively, if they feel overly sticky, chilling them in the refrigerator can provide more stability.
For variations, switch up the flavour by using different nuts or even blending milk chocolate with dark chocolate. You can also explore flavouring the cake batter with peppermint extract or orange zest for an exciting twist.
Presenting Your Chocolate Peanut Butter Cake Pops
Serving/presentation
When it comes to presentation, fun and creativity take the stage. Stick your cake pops into a block of foam to create an appealing display. This method keeps them upright, showcasing their delightful chocolate coating. You can decorate the foam or surrounding area with colourful paper or confetti for a festive look.
Consider pairing these treats with a cup of hot cocoa or a refreshing glass of milk. Both options complement the rich chocolate and creamy peanut butter and create a delightful balance of flavours.
Pairings/storage
Storing these cake pops effectively ensures they taste great even days later. Place them in an airtight container at room temperature for short-term storage. For longer-lasting options, consider freezing them. Wrap each cake pop individually with plastic wrap and store them in a freezer-safe container. This prevents freezer burn and maintains their flavour.
Avoid pairing with any beverages that might distract from the deliciousness of the cake pops, keeping the focus on these rich treats during gatherings or events.
Conclusion
Chocolate peanut butter cake pops evoke nostalgic memories while satisfying sweet cravings effortlessly. They provide comfort and joy in every bite, whether for a family gathering or a simple treat inspired by childhood. Following the structured process ensures your cake pops come out perfectly every time. Focus on the balance of chocolate and peanut butter, creative presentations, and thoughtful storage, and you will impress everyone with these delightful treats. Enjoy the joy of baking and indulge in the delightful sweetness of your creations!
Chocolate Peanut Butter Cake Pops
Ingredients
Method
- Preheat your oven to 350°F (175°C) and grease your baking pan.
- In a large mixing bowl, combine the sugar, flour, cocoa powder, baking soda, baking powder, and salt.
- In another bowl, whisk together the eggs, buttermilk, strong black coffee, vegetable oil, and vanilla extract.
- Gradually add the wet ingredients to the dry ingredients, mixing until well combined.
- Pour the batter into the prepared baking pan and bake for 30-35 minutes, or until a toothpick inserted in the center comes out clean.
- While the cake cools, melt the dark chocolate in a microwave or double boiler.
- Once the cake has cooled, crumble it into fine pieces in a large bowl.
- Add the peanut butter and mini chocolate chips into the crumbled cake, mixing until fully incorporated.
- Form small balls of the cake mixture and insert lollipop sticks into each.
- Dip each cake pop into the melted chocolate, ensuring complete coverage and letting any excess drip off.
- Place the finished cake pops upright in a Styrofoam block to set until the chocolate hardens.