
📑 Table of Contents ▶
- Part 1 — Making Oreo Cake Pops
- Fundamentals
- Preparation/Setup
- Directions
- Part 2 — Techniques for Oreo Cake Pops
- Technique
- Tips/Tricks
- Part 3 — Perfecting Oreo Cake Pop Results
- Perfecting Results
- Troubleshooting/Variations
- Part 4 — Serving and Storing Oreo Cake Pops
- Serving/Presentation
- Pairings/Storage
- Conclusion
- Oreo Cake Pops
- Ingredients
- Method
How to Make Oreo Cake Pops
Welcome to Eatimi! I’m Olivia Hart — a home-cook who believes delicious food doesn’t need complicated techniques. Here I share easy everyday recipes, family meals, quick ideas for busy days, and helpful kitchen tips to make cooking simple and fun. My goal is to help you feel confident in the kitchen and enjoy homemade food with joy, comfort, and love. 💛
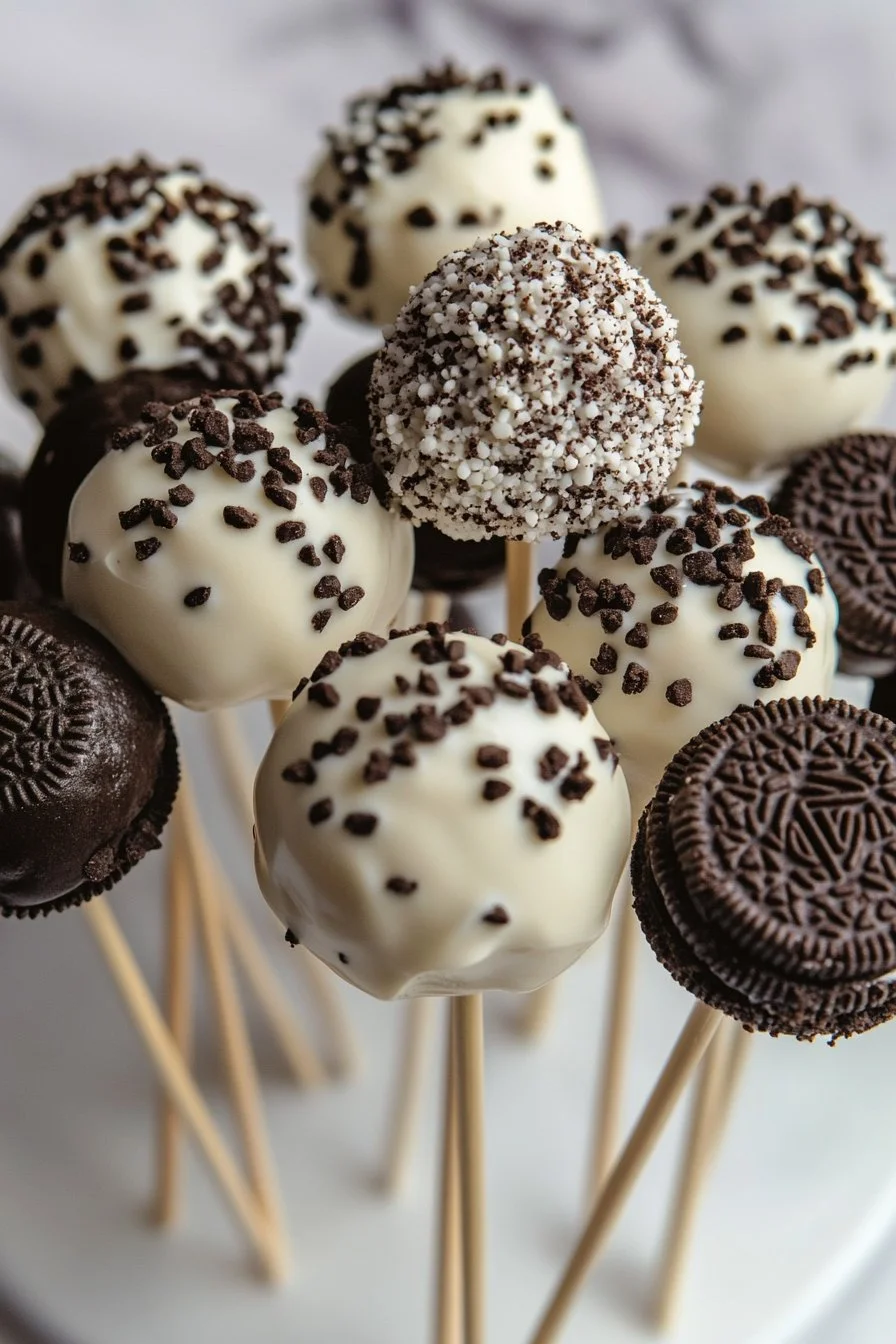
Growing up, Oreo cookies always held a special place in my heart. My childhood memories are filled with the delicious crunch of those chocolatey treats, often dunked in milk. As I became more involved in baking, I decided to turn that nostalgia into something even more delightful—Oreo cake pops. These little bites of joy are perfect for any occasion, from birthday parties to casual get-togethers.
The beauty of Oreo cake pops lies in their simplicity. You only need a few ingredients, and the process is fun and engaging. The satisfaction of coating these little rounds in chocolate adds a layer of indulgence that makes them irresistible. And who can say no to the perfect sweet bite? Let’s dive into how to make Oreo cake pops that will wow your friends and family while embracing those cherished memories of enjoying Oreos together.
Part 1 — Making Oreo Cake Pops
Fundamentals
Creating Oreo cake pops should be a fun adventure. Start by crushing a package of Oreo cookies into fine crumbs. You can use a food processor for that perfect fine texture. If you’re feeling retro, smashing them up in a zip-lock bag using a rolling pin brings a bit of nostalgia. The finer the crumbs, the better they bind with the cream cheese, leading to a moist and delicious blend.
Next, combine the crushed Oreos with cream cheese until they form a smooth mixture. The softened cream cheese works as a magical glue that keeps the cake pops moist and gives them a lovely richness. Roll this mixture into uniform balls and place them on a parchment-lined baking sheet.
Preparation/Setup
Before starting this delicious process, make sure you have everything ready. You’ll need cake pop sticks or lollipop sticks for a sturdy hold. It’s also a good idea to set up a workstation near your microwave for melting the chocolate. Gather your sprinkles or other decorations if you want to get creative with presentation!
After rolling the Oreo mixture into petite balls, chill them in the fridge for about 30 minutes. Chilling helps the cake pops firm up, making it easier to dip them into melted chocolate later. While the cake balls chill, prepare your coating by melting the chocolate carefully.
Ingredients
To create the most delicious Oreo cake pops, you need the following ingredients:
- 1 package of Oreo cookies (standard or double-stuffed)
- 4 ounces of cream cheese, softened
- 8 ounces of semi-sweet or white chocolate for coating
- Cake pop sticks or lollipop sticks
- Sprinkles or other decorations (optional)
Directions
- Start by crushing the Oreo cookies into fine crumbs.
- In a mixing bowl, combine the crushed cookies with softened cream cheese until well blended.
- Roll the mixture into petite, uniform balls, placing them on a parchment-lined baking sheet.
- Chill the balls in the fridge for 30 minutes until firm.
- Melt the chocolate in a microwave-safe bowl in 30-second increments, stirring until smooth.
- Dip the end of each cake pop stick into the melted chocolate, then insert it into the cookie ball.
- Dip the cake pops into the melted chocolate, ensuring an even coating.
- Allow excess chocolate to drip off and decorate with sprinkles or toppings as desired.
- Place the finished cake pops upright in a foam block or stand until set.
Part 2 — Techniques for Oreo Cake Pops
Technique
Perfecting the technique of creating Oreo cake pops is essential for a great outcome. While dipping the cake pops into chocolate, ensure you rotate them slightly. This rotation helps achieve a uniform coating and avoids chocolate pooling at the bottom. Also, work quickly when dipping, as the chocolate may start to set if left for too long.
If you’re looking for a bit of texture, you can opt for crushed Oreos or nuts as a topping instead of sprinkles. This gives you a creative avenue while adding an extra crunch to your cake pops.
Tips/Tricks
When forming the Oreo balls, keep a consistent size to ensure even cooking and chilling. If you notice your cake pops cracking, it could be a sign that the chocolate is too hot. Make sure it cools slightly before dipping!
To provide an appealing finish, consider using coloured chocolate melts for coating. White chocolate can be easily dyed with gel food colour for a festive touch. This practice also allows you to theme your cake pops for any holiday or occasion!
Part 3 — Perfecting Oreo Cake Pop Results
Perfecting Results
The journey to perfecting Oreo cake pops involves paying attention to the details. Always ensure that the chocolate coating is at the right consistency. It should be smooth and slightly warm but not too hot to avoid melting the cake ball. For a perfect finish, let them cool upright to maintain their shape.
If you want to enhance the flavour further, try adding a pinch of salt to the chocolate. This addition brings out the sweetness and elevates the overall taste.
Troubleshooting/Variations
Sometimes, you may encounter setbacks in the process. If your mixture seems too sticky, adding extra crushed Oreos can help! It’s essential to keep a close eye on the chocolate melting process; overcooking can lead to a grainy texture.
For those looking for a twist, consider introducing flavours like peppermint or almond extract to the cream cheese mix. This change adds a lovely complexity and can elevate your Oreo cake pops to the next level.
Part 4 — Serving and Storing Oreo Cake Pops
Serving/Presentation
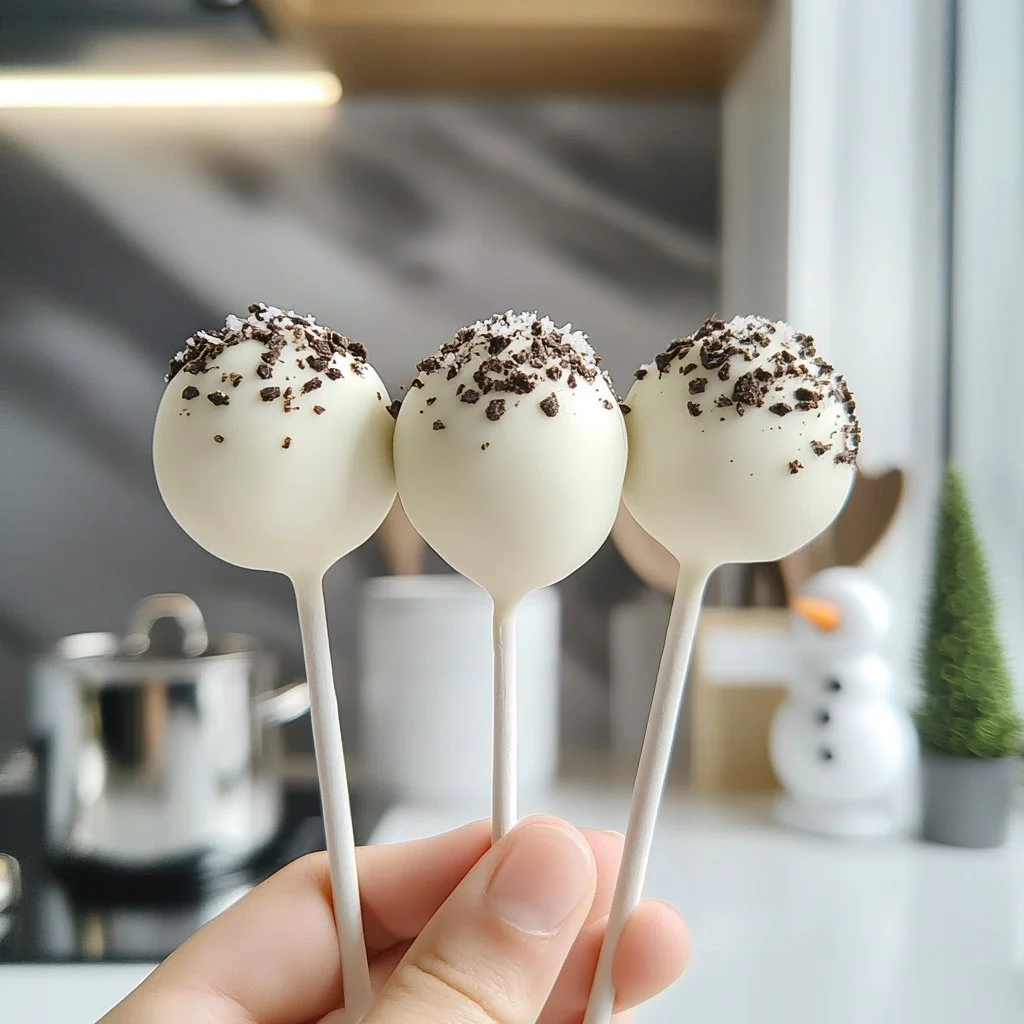
Presenting your Oreo cake pops beautifully can turn them into the star of any gathering. Use a decorative foam block to display them or place them in a jar filled with candies for a pop of colour. Tying a ribbon around the sticks adds a lovely touch, making them great for gifting and celebrations.
When serving, keep in mind that these cake pops are best enjoyed fresh. However, they can make a delightful addition to dessert platters.
Pairings/Storage
To ensure longevity, store your Oreo cake pops in an airtight container in the fridge. They can last for up to a week. When ready to indulge, simply take them out and let them come to room temperature for a perfect bite.
While these treats don’t require pairing with any particular food, serving them alongside fresh fruit can create a beautiful balance of flavours. Enjoy experimenting and finding what works best for your taste!
Conclusion
The journey of making Oreo cake pops is not just about creating an indulgent treat; it’s about experiencing the joy of baking and sharing delightful moments with loved ones. With these simple ingredients and steps, anyone can master this sweet dessert. Whether you stick to the classic chocolate coating or get creative with colours and flavours, you’ll find these cake pops are a hit at any gathering. Embrace your creativity and enjoy every bite!
Oreo Cake Pops
Ingredients
Method
- Crush the Oreo cookies into fine crumbs, either using a food processor or a zip-lock bag with a rolling pin.
- In a mixing bowl, combine the crushed cookies with softened cream cheese until well blended.
- Roll the mixture into petite, uniform balls, placing them on a parchment-lined baking sheet.
- Chill the balls in the fridge for 30 minutes until firm.
- Melt the chocolate in a microwave-safe bowl in 30-second increments, stirring until smooth.
- Dip the end of each cake pop stick into the melted chocolate, then insert it into the cookie ball.
- Dip the cake pops into the melted chocolate to ensure an even coating.
- Allow excess chocolate to drip off and decorate with sprinkles or toppings as desired.
- Place the finished cake pops upright in a foam block or stand until set.