
📑 Table of Contents ▶
Thin Wilton Candy Melts for Perfect Cake Pops
Welcome to Eatimi! I’m Olivia Hart — a home-cook who believes delicious food doesn’t need complicated techniques. Here I share easy everyday recipes, family meals, quick ideas for busy days and helpful kitchen tips to make cooking simple and fun. My goal is to help you feel confident in the kitchen and enjoy homemade food with joy, comfort and love. 💛
Creating cake pops can be a delightful experience. The vibrant colours of the Wilton Candy Melts always catch my eye while shopping. These melts transform simple cake into a visually appealing treat that both kids and adults adore. I remember the first time I made cake pops for a birthday party. The joy on my friends’ faces, as they enjoyed each bite, inspired me to perfect my technique with Wilton Candy Melts.
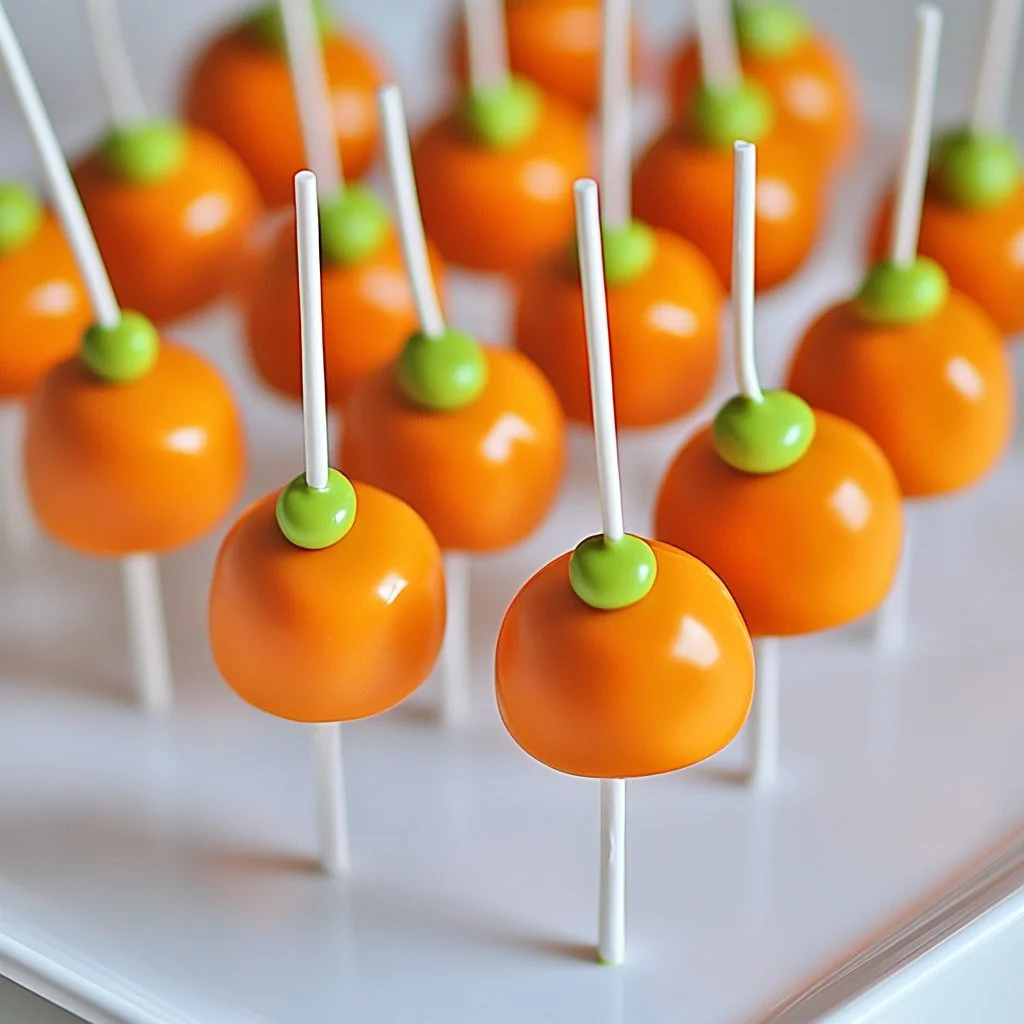
Wilton Candy Melts offer an easy way to coat cake pops, giving them a shiny finish that’s almost too pretty to eat. The melt’s smoothness goes hand-in-hand with the perfect consistency, making them a go-to for any home baker. Embracing these melts turns cake pops into a canvas for creativity. They allow you to experiment by adding colours or flavours, further elevating those little treats.
Thinning Wilton Candy Melts can be the secret to achieving that ideal coating thickness. It creates a beautifully smooth finish, ensuring each cake pop looks professionally made. With a few simple steps, you can achieve cake pops that look stunning and taste great. Let’s dive into how to create thin Wilton Candy Melts for perfect cake pops.
Thin Wilton Candy Melts Explained
Fundamentals
Getting familiar with the insights of melting Wilton Candy Melts enhances the whole cake pop experience. The core of this process involves carefully melting these candy melts to achieve a consistent texture. It’s essential to understand that improper melting can lead to clumping, impacting the final look and taste.
Thin Wilton Candy Melts create a coating that not only looks divine but also offers a delightful snap. When candies are thinned properly, cake pops achieve that glossy, professional finish, making them mouth-watering.
Preparation/setup
Before diving into the melting process, gather your materials and set up your workspace. You’ll need a microwave-safe bowl, Wilton Candy Melts, and some optional vegetable oil or paramount crystals. These optional ingredients play a vital role in achieving the desired consistency. If you desire a thicker or smoother finish, having these ready makes the process seamless.
Microwave ovens vary, so knowing your appliance will aid in perfecting the melting technique. Heat settings can differ, leading to varied results. Having a reliable thermometer ensures consistent results, especially if you intend to make cake pops for a crowd.
Ingredients
For creating thin Wilton Candy Melts, the ingredients are straightforward:
- Wilton Candy Melts
- Vegetable oil (optional)
- Paramount crystals (optional)
No additional flavourings or coatings are necessary, but you might want to keep some sprinkles or edible decorations handy for finishing touches.
Directions
- Place the Wilton Candy Melts in a microwave-safe bowl.
- Heat in the microwave in 30-second intervals, stirring after each interval until melted and smooth.
- If the mixture is too thick, add a small amount of vegetable oil or paramount crystals and stir until fully incorporated.
- Continue to heat in intervals until reaching the desired consistency for cake pops.

Mastering the Technique
Technique
Mastering the technique for melting Wilton Candy Melts can make a significant difference in your outcome. Start with small amounts of candy melts, as they melt down significantly. Ensure you stir thoroughly after each interval to promote even melting and to prevent any scorching at the bottom.
It’s important not to rush the process. Allowing the melts to slowly transform into a silky mixture will yield the best results. Layering warmth and patience leads to that perfect sheen one desires for cake pops.
Tips/Tricks
A few simple tips can take your melting game to the next level. Firstly, consider using a double boiler method for melting if you prefer precision. This method offers gentle heat that allows for more control and reduces the risk of burning the chocolate.
If you find your melted candy losing its sheen or becoming too thick, a tiny dash of vegetable oil usually does the trick. Paramount crystals can also help maintain that perfect smoothness without altering the taste. Both options allow for slight tweaks to ensure ideal coating consistency.
Perfecting Results
Perfecting results
Creating thin Wilton Candy Melts isn’t just about melting; it’s about achieving perfection in each dip. The goal is to have a glossy layer that clings beautifully to your cake pops. Don’t hesitate to experiment with timings and thicknesses until you find what reflects your style.
Monitoring the consistency is crucial. If you notice the melts hardening too quickly or becoming too thick, gently reheat in short intervals, stirring frequently. This flexibility ensures you can adjust even after melting the melts, giving you creative freedom in designs.
Troubleshooting/variations
Sometimes, melting chocolate can lead to unforeseen issues. If your melts become grainy, it’s often due to overheating. In such cases, adding a touch of vegetable oil can salvage the situation. Just be cautious not to add too much, as this can alter the consistency.
If you desire variations in colour or flavour, explore the options available in the Wilton Candy Melts range. By mixing colours, you not only enhance aesthetics but can create layered designs or swirls for added flair in presentation.
Serving and Presentation
Serving/presentation
Presentation plays a vital role in making cake pops irresistible. Once your cake pops are coated with thin Wilton Candy Melts and fully set, it’s time to showcase your creations. A decorative stand often elevates simple cake pops into stunning centrepieces for gatherings.
Consider packaging them individually in clear bags tied with ribbons for gifting. The careful presentation not only highlights the effort you’ve put into creating them but also guarantees a delightful surprise for recipients.
Pairings/storage
Cake pops pair well with various treats, such as cookies or a simple dessert platter. For an impressive display, arrange them alongside cupcakes or brownies. As for storing cake pops, placing them in an airtight container keeps them fresh for longer.
When storing, ensure they cool completely before stacking or packing to avoid smudging. Proper storage extends their shelf life while maintaining their delightful finish.
Creating thin Wilton Candy Melts transforms your cake pop-making journey into a delightful adventure filled with creativity and taste. With the right techniques and tips at your disposal, you’re now equipped to craft cake pops that impress friends and family alike.
Thin Wilton Candy Melts
Ingredients
Method
- Place the Wilton Candy Melts in a microwave-safe bowl.
- Heat in the microwave in 30-second intervals, stirring after each interval until melted and smooth.
- If the mixture is too thick, add a small amount of vegetable oil or paramount crystals and stir until fully incorporated.
- Continue to heat in intervals until reaching the desired consistency for cake pops.
- Dip your cake pops into the melted Wilton Candy Melts, ensuring an even coating.
- Allow excess coating to drip off before placing them to set.