
📑 Table of Contents ▶
Oreo Cake Pops
Welcome to Eatimi! I’m Olivia Hart — a home-cook who believes delicious food doesn’t need complicated techniques. Here I share easy everyday recipes, family meals, quick ideas for busy days and helpful kitchen tips to make cooking simple and fun. My goal is to help you feel confident in the kitchen and enjoy homemade food with joy, comfort and love. 💛
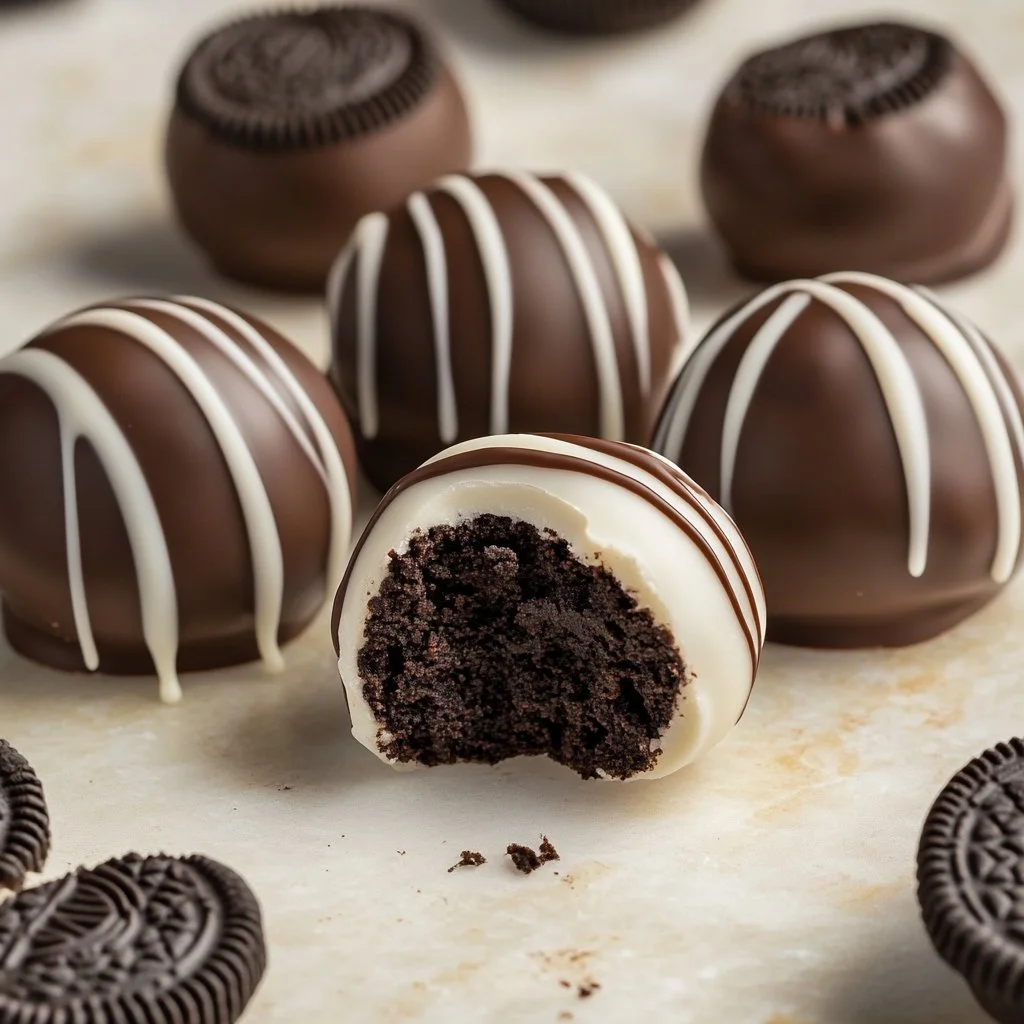
Oreo cake pops create the perfect blend of nostalgia and indulgence. I remember the first time I made them for my family. With just a package of Oreo cookies and some cream cheese, I quickly transformed simple ingredients into delightful treats. Each bite delivers that nostalgic crunch of Oreo paired with delicious creaminess, making them an instant hit with both kids and adults.
The process is just as fun as the result. Rolling those cake balls feels like a fun little project, and watching everyone grab them off the sticks is always a treat. There’s something joyous about making snacks that everyone loves. It’s a great way to gather friends and family around a sweet creation that is as enjoyable to make as it is to eat.
They become the star of any party, bringing smiles and excitement. Let’s dive into how to make these delicious Oreo cake pops and create your sweet memories.
Oreo Cake Pops: Decoding the Essentials
Fundamentals
Making Oreo cake pops revolves around a few core components: crushed Oreos, cream cheese, and chocolate. The beauty of this recipe lies in its simplicity. You don’t need fancy equipment or intricate methods, just a positive attitude and willingness to enjoy the process.
Oreo cookies serve as the base for this delightful treat. Their recognizable flavour elevates the cake pops from ordinary snacks to something truly special. The addition of cream cheese binds the crushed cookies, creating a rich and creamy texture that’s oh-so-satisfying. Then, the real fun begins — dipping the balls in melted chocolate to give them that irresistible glossy finish.
Preparation/setup
Preparation essentially divides into two parts: making the cake pops and setting them up for decoration. First, gather your ingredients and tools. You’ll need a zip-top bag, a rolling pin (or food processor), a mixing bowl, a baking sheet lined with parchment paper, and sticks for the cake pops.
Once you have all your supplies, it’s time to crush the Oreo cookies. You can use a food processor for this task or place the cookies in a zip-top bag and crush them using a rolling pin. Either method delivers beautifully fine crumbs, perfect for absorbing the cream cheese.
The next step involves mixing the crushed Oreos with cream cheese in a bowl until you achieve a moldable texture. This is when you can unleash your creativity — the fun of forming the balls comes next! Scoop out tablespoon-sized portions of the mixture, roll them into balls, and place them on the lined baking sheet. Chill them to firm up before the chocolate coat.
Ingredients
For these Oreo cake pops, you will need:
- 1 package of Oreo cookies
- 8 oz cream cheese, softened
- 12 oz chocolate chips (milk or dark)
- Optional: sprinkles, crushed Oreos, or other toppings for decoration.
These ingredients combine to create a deliciously sweet treat that delights everyone’s taste buds. The choice of chocolate, either milk or dark, allows you to customize the flavour profile to match your preference. Don’t forget the optional toppings; they can take your cake pops to the next level with added colour and texture.
Directions
- Start by crushing the Oreo cookies into fine crumbs using a food processor or rolling pin and zip-top bag.
- In a mixing bowl, combine the crushed Oreos with softened cream cheese until fully incorporated, and the texture is moldable.
- Scoop out tablespoon-sized portions of the mixture and roll them into balls. Place each ball on a parchment-lined baking sheet.
- Refrigerate the cake pops for about 30 minutes to firm them up.
- Melt the chocolate chips in a microwave or double boiler until smooth.
- Remove the chilled cake balls from the fridge. Dip the end of a stick in melted chocolate, then insert it into each ball.
- Dip each cake pop into the melted chocolate until fully coated, allowing the excess chocolate to drip off.
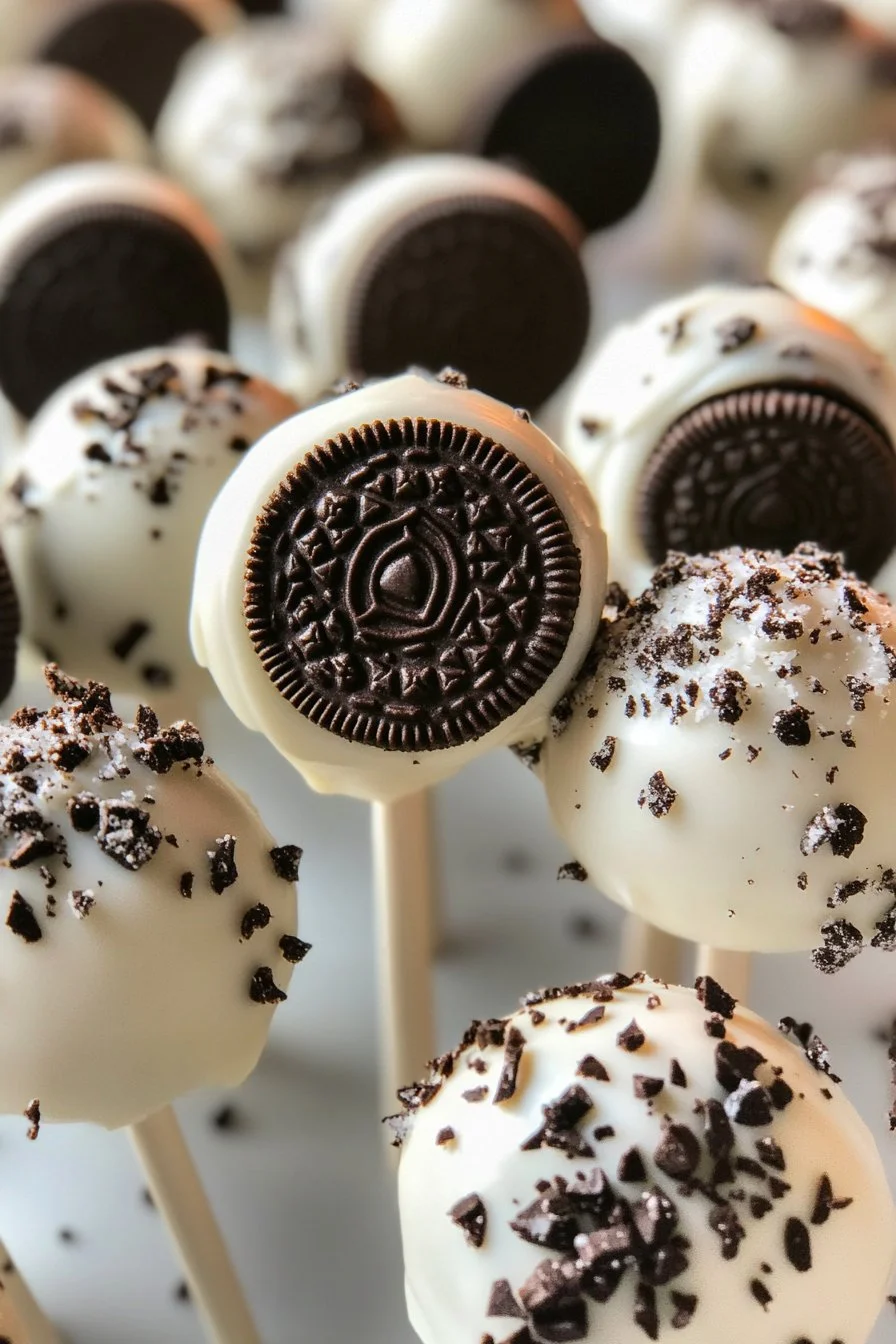
- Decorate with optional toppings before the chocolate sets, and place them in a styrofoam block or a cup to stand upright.
- Refrigerate again for about 15-20 minutes until the chocolate is completely set.
Mastering the Art of Cake Pops
Technique
To create flawless Oreo cake pops, it’s essential to focus on technique. Dipping each cake ball in melted chocolate is the crucial step that gives your pops their signature look. Achieving the perfect chocolate coating is all about patience and ensuring the chocolate is runny enough to smoothly glide over the cake pops without leaving clumps.
If you notice that the coating isn’t smooth, consider re-melting the chocolate. Ensure that your dipping stick is coated in chocolate before inserting it into the cake pop. This step helps the stick stay firmly in place, preventing any mishaps during the dipping process.
Tips/tricks
To make the process even easier, here are some handy tips:
- Ensure your cream cheese is at room temperature; this prevents lumps and allows for easy mixing.
- After rolling the cake balls, refrigerate them long enough to firm up. This helps them maintain their shape during the dipping.
- Add a teaspoon of vegetable oil or shortening to the melted chocolate to achieve a thinner consistency, making the coating easier and smoother.
Experiment with various toppings to suit the occasion. Crushed Oreos sprinkled on top add a delightful crunch and enhance the flavor. Alternatively, colourful sprinkles can bring a fun touch to your cake pops.
Perfecting Your Oreo Cake Pops
Perfecting results
The final look and taste of your cake pops depend on attention to detail. Monitor the temperature of your chocolate closely; overheated chocolate can seize and ruin the smooth finish you aim for. Also, be careful with decorations. Adding too many toppings can overwhelm the chocolate’s taste.
After letting your pops chill post-dipping, the chocolate should be completely set and glossy. This not only looks appealing but ensures they are ready for gripping and consuming without making a mess!
Troubleshooting/variations
If you find that your cake pops fall apart while dipping, it may signal that they aren’t cold enough. Ensure you stick them in the fridge for adequate firming time. If the chocolate coating isn’t sticking, your cake ball’s surface might be too soft. A quick chill will fix that.
Consider variations to cater to different tastes. Swap out regular Oreos for mint-flavored or peanut butter Oreos for a unique twist. Each variation will lend a different character to the flavor profile, keeping your cake pops fresh and interesting.
The Charm of Serving Oreo Cake Pops
Serving/presentation
Presentation enhances the experience of enjoying Oreo cake pops. Cleanly dipped and decorated pops appear more enticing on a platter. Arrange them upright in a colourful cup or a decorated styrofoam block. This display makes them look irresistible and easy to grab.
Use themed decorations if you’re serving them at a party. Seasonal sprinkles can add festive flair, making them perfect for birthdays, holidays, or just because. Pair the colour of your chocolate with the colour scheme of your event for a cohesive look.
Pairings/storage
Oreo cake pops can shine as a standalone treat, but they also complement many sweet and festive occasions. Pair these cake pops with fresh fruit like strawberries or slices of apple for a contrast to their rich sweetness.
When it comes to storage, keep your cake pops in an airtight container, preferably in the fridge. They’ll stay fresh for about a week, but they rarely last that long! You can freeze uncoated cake balls for future use, making this recipe perfect for planning ahead.
Creating my Oreo cake pops brought joy and tasty satisfaction, and I hope your experience is just as delightful. This treat blends nostalgia, creativity, and deliciousness in every bite, ensuring it becomes a beloved recipe in your kitchen.