
📑 Table of Contents ▶
- Crafting Irresistible Chocolate Cake Pops
- Fundamentals
- Preparation/setup
- Directions
- Elevating Your Chocolate Cake Pop Experience
- Technique
- Tips/tricks
- Perfecting Chocolate Cake Pops
- Perfecting results
- Troubleshooting/variations
- Presenting Your Chocolate Cake Pops
- Serving/presentation
- Pairings/storage
- Chocolate Cake Pops
- Ingredients
- Method
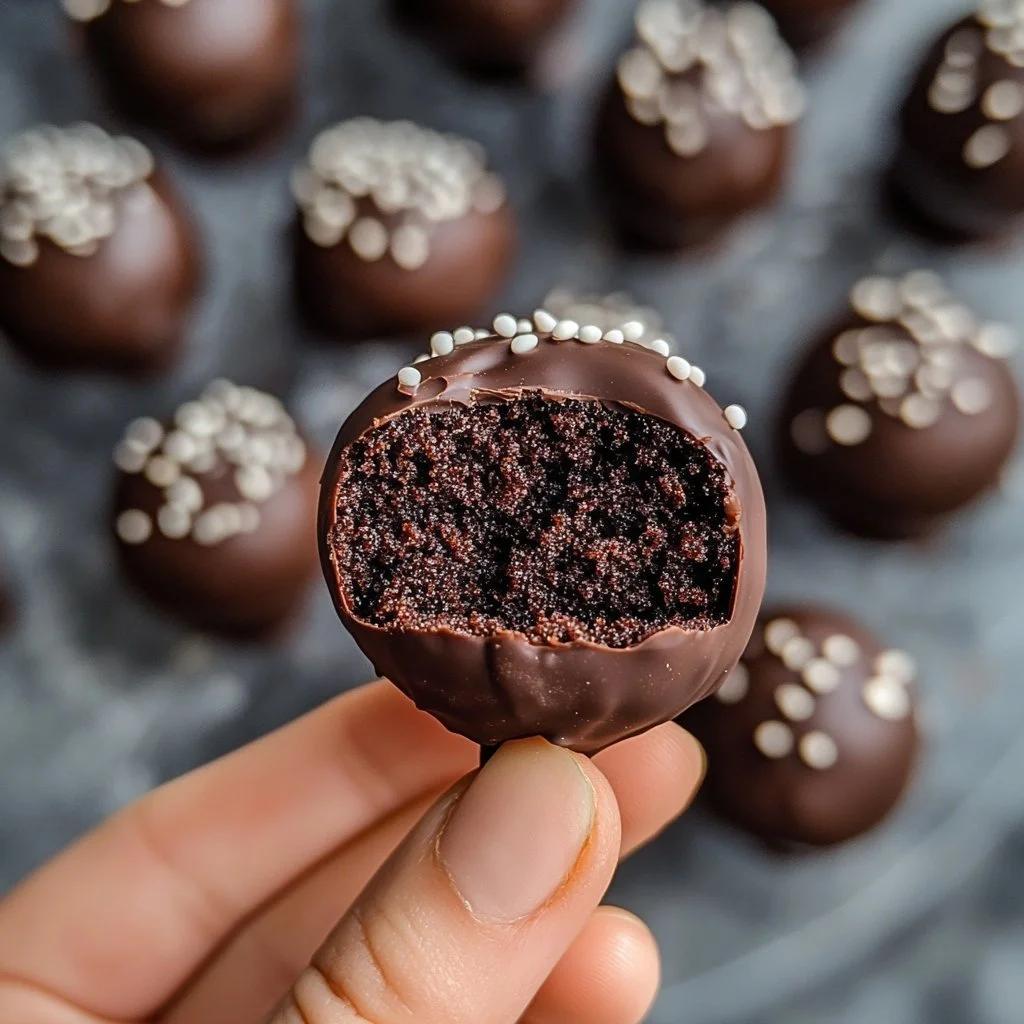
Starbucks Copycat Chocolate Cake Pops
Welcome to Eatimi! I’m Olivia Hart — a home-cook who believes delicious food doesn’t need complicated techniques. Here I share easy everyday recipes, family meals, quick ideas for busy days and helpful kitchen tips to make cooking simple and fun. My goal is to help you feel confident in the kitchen and enjoy homemade food with joy, comfort, and love. 💛
Baking has always held a special place in my heart, especially when it comes to chocolate cake pops. Memories of my first cake pop creations flood back every time I whip up a batch. I remember researching how to make the perfect treat that resembles the ones from Starbucks, and my excitement grew with each step.
Creating Starbucks copycat chocolate cake pops at home isn’t just about replicating an experience; it’s about personalizing it. It’s easy to roll up some crumbled chocolate cake, mix it with frosting, and dip it into melted chocolate for a delicious, bite-sized delight.
Chocolate cake pops make celebrations extra special and add a sweet touch to any gathering. With their rich chocolate flavour and your choice of sprinkles, these treats are sure to impress everyone.
Crafting Irresistible Chocolate Cake Pops
Fundamentals
Chocolate cake pops become delightful confections when made with a few fundamental ingredients. You start with a delicious, cooled chocolate cake. A perfectly baked cake will set the foundation for the amazing taste and texture everyone loves. The addition of frosting—either chocolate or vanilla—binds the cake crumbs together, ensuring every bite bursts with sweetness.
The beauty of chocolate cake pops lies in their versatility. You can decorate them with various toppings, creating a unique look and taste. Dark or milk chocolate melts envelop the pops and enhance their indulgent nature. Each step builds upon the last, transforming simple ingredients into an unforgettable treat.
Presence of a lollipop stick provides both stability and a fun way to enjoy these treats. It’s not just a cake pop; it’s a delightful experience ready to whisk you away into chocolate bliss.
Preparation/setup
Preparation stands as the cornerstone of your success when crafting these delicious cake pops. First, crumbling your cooled chocolate cake into a large bowl sets the stage. This crucial step determines the consistency of your cake pop dough. Mixing in the frosting ensures your creation has the right moisture and sweetness.
After rolling the mixture into small, uniform balls, placing them on a baking sheet lined with parchment paper guarantees that they won’t stick when it’s time to dip. Refrigeration for at least 30 minutes allows them to firm up, creating a delightful texture.
While your cake balls chill, take the time to melt the chocolate melts. Be patient and stir continuously to achieve a smooth consistency. This simple preparation elevates the overall quality of your cake pops and makes a significant difference in the final presentation.
Ingredients
- 1 chocolate cake (baked and cooled)
- 1 cup frosting (chocolate or vanilla)
- 2 cups chocolate melts (dark or milk chocolate)
- Lollipop sticks or cake pop sticks
- Decorative sprinkles or toppings
These carefully chosen ingredients come together to create cake pops worthy of any occasion. The chocolate cake forms the optimal base, while the frosting acts as a binding agent that enhances flavour. Chocolate melts ensure the cake pops are enveloped in a delectable coating that highlights their sweetness.
A range of decorative sprinkles can add flair and personality to each pop. You can customize them to suit a particular theme, event, or even a season. With essential ingredients in hand, you are prepared to dive into the fun creation process.
Directions
- Crumble the cooled chocolate cake into a large bowl, mixing in the frosting until well combined.
- Roll the mixture into balls, about 1 inch in diameter, and place them on a baking sheet lined with parchment paper.
- Refrigerate the cake balls for at least 30 minutes.
- While the cake balls chill, melt the chocolate melts in a microwave-safe bowl, stirring until smooth.
- Dip the end of each lollipop stick into the melted chocolate and insert it into a cake ball to secure the stick.
- Dip each cake pop into the melted chocolate, allowing excess chocolate to drip off.
- Optionally, coat the chocolate with sprinkles or other toppings while the chocolate is still wet.
- Place the cake pops upright in a foam or a stand to allow them to set completely.

Elevating Your Chocolate Cake Pop Experience
Technique
Mastering the technique lies at the heart of crafting delightful chocolate cake pops. Begin with ensuring that your cake is adequately cooled; a warm cake can make the frosting melt too quickly, resulting in a soggy texture. Proper cooling allows for better handling and ensures that the cake pops maintain their shape.
When you roll your cake mixture into balls, consistency is key. A uniform size not only helps with even cooling but also makes for a more impressive presentation. Aim for about 1 inch in diameter for the perfect bite-sized pop.
Dipping the cake pops into the melted chocolate requires practice. Dip gently and allow excess chocolate to drain off; a quick tap on the bowl’s edge can help with this. The goal is a nice, even coating that won’t pool at the base.
Tips/tricks
To make the process smoother, consider these handy tips. Using a cookie scoop can help you achieve uniform cake balls quickly, saving time. Additionally, letting your chocolate melts cool slightly before dipping can prevent any breaks or mushiness during the coating process.
Changing the temperature of the fridge can also make a difference. If it feels uncomfortable to the touch, allow the cake balls to chill longer, ensuring they are firm before dipping.
Experimenting with various toppings introduces another layer of creativity. Use contrasting colours of sprinkles or drizzles of white chocolate for an elegant touch.
Perfecting Chocolate Cake Pops
Perfecting results
With practice comes perfection, and each attempt at making chocolate cake pops adds to your skills. Keeping track of your process helps you understand what works best for you. For example, you might prefer dark chocolate coating over milk chocolate for a richer flavour.
Once you achieve the right consistency with your cake mixture, enjoy the confidence that comes with replicating a beloved recipe. The feedback from friends and family showcases how every effort is worth it when they savour the end result.
Taste testing is also essential. It’s the perfect excuse to enjoy a few cake pops throughout the process, ensuring that each batch meets your standards.
Troubleshooting/variations
Not every batch turns out perfectly, but that’s part of the journey. If your cake balls start to crumble when rolling, consider adding a touch more frosting to bind them better. On the flip side, if they feel too mushy, a little time in the fridge can help firm them up.
If you find your chocolate coating not adhering properly, check if the cake pops are too cold. Slightly warming them can help the chocolate stick more effectively, creating a smoother finish.
Variations abound with different flavours of cake and frosting. Consider using carrot cake with cream cheese frosting for a delightful twist.
Presenting Your Chocolate Cake Pops
Serving/presentation
Presentation can elevate your chocolate cake pops from good to spectacular. Use colourful stands or creative arrangements to showcase your sweets. A classic foam base can hold each cake pop while allowing easy access for guests.
Consider matching sprinkles or decor with the event theme for a cohesive look. Placing them in fun, festive wrappers can also add an extra layer of excitement. Garnishing with tasteful finishes such as edible glitter makes your final product truly eye-catching.
Pairings/storage
These delightful treats shine on their own but can pair beautifully with various hot beverages. Countless options, such as coffee or tea, complement the sweet, decadent flavours of the chocolate.
Storage also plays a vital role in enjoying your cake pops later. Keep them in an airtight container in the fridge for up to a week. Allowing the cake pops to come to room temperature prior to serving allows their full flavours to emerge.
By mastering this classic treat, you add a delightful chocolate cake pop to your culinary repertoire, ready to enchant the hearts and taste buds of anyone who indulges.
With a few straightforward steps and a sprinkle of creativity, making Starbucks copycat chocolate cake pops at home becomes a straightforward and rewarding venture. Enjoy this process, and let each bite remind you of sweet moments shared.
Chocolate Cake Pops
Ingredients
Method
- Crumble the cooled chocolate cake into a large bowl, mixing in the frosting until well combined.
- Roll the mixture into balls, about 1 inch in diameter, and place them on a baking sheet lined with parchment paper.
- Refrigerate the cake balls for at least 30 minutes.
- While the cake balls chill, melt the chocolate melts in a microwave-safe bowl, stirring until smooth.
- Dip the end of each lollipop stick into the melted chocolate and insert it into a cake ball to secure the stick.
- Dip each cake pop into the melted chocolate, allowing excess chocolate to drip off.
- Optionally, coat the chocolate with sprinkles or other toppings while the chocolate is still wet.
- Place the cake pops upright in a foam or a stand to allow them to set completely.