
📑 Table of Contents ▶
How to Make Perfect Cakesicles
Welcome to Eatimi! I’m Olivia Hart — a home-cook who believes delicious food doesn’t need complicated techniques. Here I share easy everyday recipes, family meals, quick ideas for busy days and helpful kitchen tips to make cooking simple and fun. My goal is to help you feel confident in the kitchen and enjoy homemade food with joy, comfort and love. 💛
Creating delicious cakesicles brings back memories of baking days spent in the kitchen with family. Those afternoons, filled with laughter and the sweet aroma of cake, ignited my passion for baking. Cakesicles uniquely blend cake and fun in a delightful treat that everyone can enjoy.
When you think of cakesicles, think of the endless possibilities. Every homemade cakesicle offers a bite of nostalgia, love, and creativity. The best part is that you only need a few ingredients to make this indulgent recipe. Imagine gathering your loved ones around as you craft these sweet delights together.
Let’s dive into the enchanting world of cakesicles and discover how to create these perfect treats right at home. You’ll soon understand why cakesicles have become such a popular dessert choice.
Understanding Cakesicles
Fundamentals
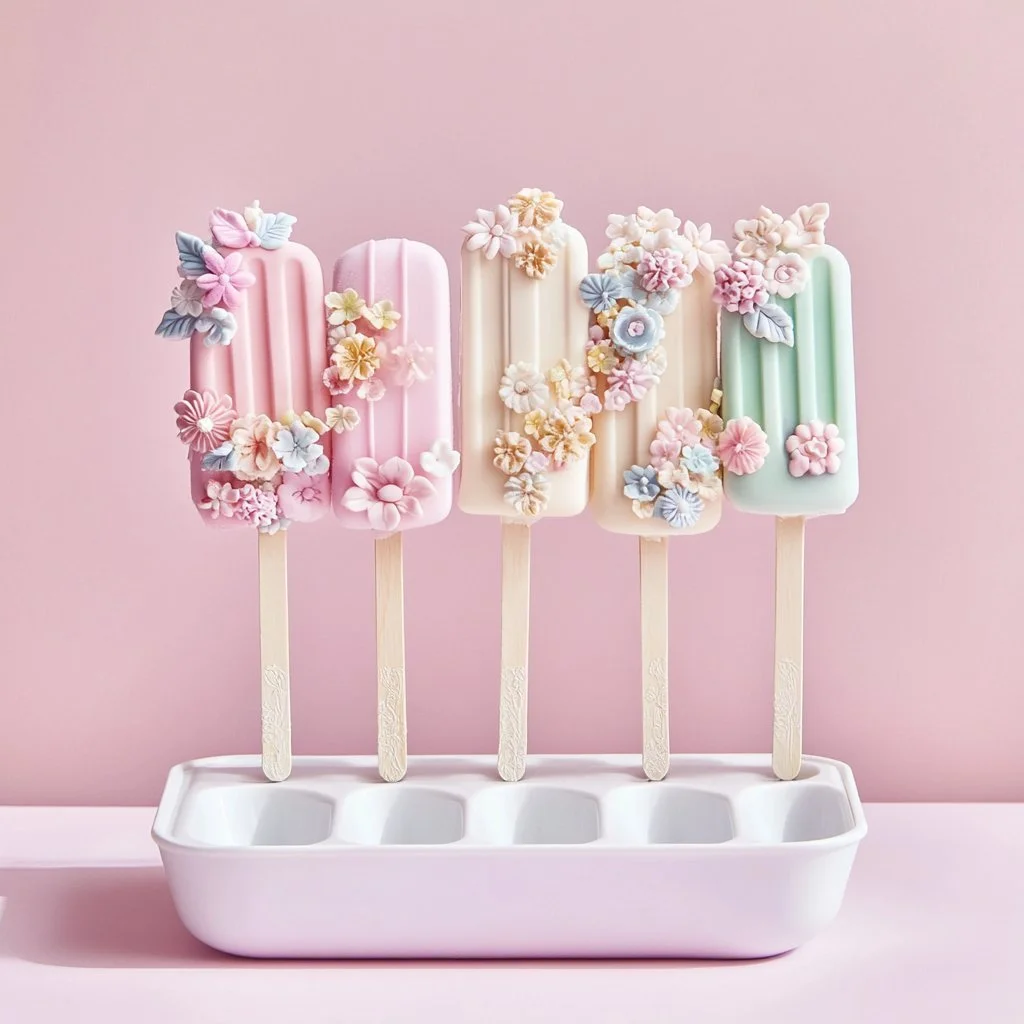
Cakesicles are perfect for any occasion, and they provide a wonderful excuse to indulge your sweet tooth. They consist of a cake and frosting mixture, shaped and coated in chocolate, then decorated to please the eye. Cakesicles not only taste amazing but also allow you to showcase your creativity.
Using a prepared cake is a game-changer. It saves time and ensures a consistent texture, making the process seamless. You can pick your favourite cake flavour, whether chocolate, vanilla, or something more adventurous, and transform it into luscious cakesicles.
Preparation/Setup
Get your workspace ready for cakesicle production. Gather all the necessary ingredients and tools. Ensure you have your prepared cake, frosting, popsicle molds, and sprinkles or edible decorations at hand. Set these ingredients on a clean, flat surface.
Before jumping into the fun, melt the chocolate or candy melts. This step ensures smooth application later on. Moreover, line a baking sheet with parchment paper to facilitate easy decorating once you dip the cakesicles in chocolate.
Ingredients
For your delightful cakesicles, you will need:
- 1 prepared cake of your choice
- 1 cup frosting (store-bought or homemade)
- Chocolate or candy melts for coating
- Sprinkles or edible decorations
Having these simple and relatable ingredients makes it easy to whip up a batch of cakesicles. You can’t go wrong with this sweet combination that everyone loves.
Directions
- Crumble the prepared cake into a bowl.
- Mix in the frosting, ensuring the mixture binds together.
- Pack the mixture tightly into the prepared popsicle molds.
- Insert popsicle sticks and freeze until solid, typically for 4-6 hours.
- After the cakesicles are frozen, carefully remove them from the molds.
- Melt the chocolate or candy melts in a microwave-safe bowl following the package instructions.
- Dip each cakesicle into the melted chocolate, allowing excess to drip off before placing them on a parchment-lined baking sheet.
- Immediately add sprinkles or edible decorations, as the coating will set quickly.

Elevating Your Cakesicles
Technique
Making perfect cakesicles isn’t just about gathering ingredients; it’s about technique. Mixing the right proportions of cake and frosting is key. The mixture should be moist but not overly sticky. If it feels too dry, add more frosting, but do so gradually.
Packing the mixture tightly into the molds prevents air pockets and ensures that your cakesicles hold their shape. When inserting popsicle sticks, push them down tightly to avoid them shifting while freezing.
Tips/Tricks
To achieve a smooth coat of chocolate, ensure it’s at the perfect melting point. If you overheat the chocolate, it can become gritty. Stirring the chocolate after melting will help maintain its smooth texture.
Experimenting with varieties of chocolate or candy melts can also add a creative twist to your cakesicles. Use white chocolate, dark chocolate, or even colourful candy melts for different styles and themes.
Perfecting the Cakesicle Experience
Perfecting Results
Once you get the hang of the process, aim for perfection! Use a thermometer to keep track of your chocolate temperature. The ideal melting temperature for chocolate is around 32–34°C (90–93°F).
After dipping each cakesicle, allow the excess chocolate to drip away before setting them down. This will prevent a messy finish and create a polished look.
Troubleshooting/Variations
If your cakesicles are too fragile and crumble, it’s likely due to insufficient binding. Add more frosting to the mix. Sometimes, a little experimentation is necessary. If you prefer a different flavour, feel free to mix in various extracts or add-ins.
Incorporating fruits or nuts can elevate your cakesicle game. Consider adding crushed Oreos or sprinkles to the cake base for texture. These small tweaks can make a big difference in flavour and satisfaction.
Presenting Your Cakesicles
Serving/Presentation
Presenting your cakesicles can be as delightful as making them. Arrange them on a decorative plate, or place them in a tall glass for a fun display. Consider using colourful ribbons or themed decorations to suit an event or celebration.
Don’t forget the importance of colour contrast! A vibrant sprinkle adds visual appeal against a creamy chocolate coating.
Pairings/Storage
Cakesicles pair wonderfully with various beverages, such as milk or fruit juices. They are perfect for parties, picnics, or simply enjoying at home.
Store leftover cakesicles in an airtight container in the freezer. They can last for several weeks, making them an excellent treat to have on hand for spontaneous gatherings or dessert cravings.
Perfect cakesicles can bring joy and sweetness to any occasion. With the right techniques and a bit of creativity, you can transform simple ingredients into a sensational dessert that will have everyone asking for seconds.
Cakesicles
Ingredients
Method
- Crumble the prepared cake into a bowl.
- Mix in the frosting until the mixture binds together.
- Pack the mixture into the prepared popsicle molds tightly.
- Insert popsicle sticks and freeze until solid, typically for 4-6 hours.
- Carefully remove the cakesicles from the molds.
- Melt the chocolate or candy melts in a microwave-safe bowl following package instructions.
- Dip each cakesicle into the melted chocolate, allowing excess to drip off.
- Place them on a parchment-lined baking sheet.
- Immediately add sprinkles or edible decorations while the coating is still wet.